Rigs are entire lighting designs containing multiple lights. HDR Light Studio is supplied with a range of example rigs and you can save your own Rig Presets too.
Rigs provide all the benefits of 'off the shelf' static HDRI maps, but without the limitations. Everything is editable in HDR Light Studio, the rig is a starting point and the lighting can be easily adjusted to suit your shot. Rigs are not limited to storing entire lighting setups. You may have a small collection of light sources that you use on most projects. Store them in a rig, and drag and drop that rig to add that set of lights in an instant.

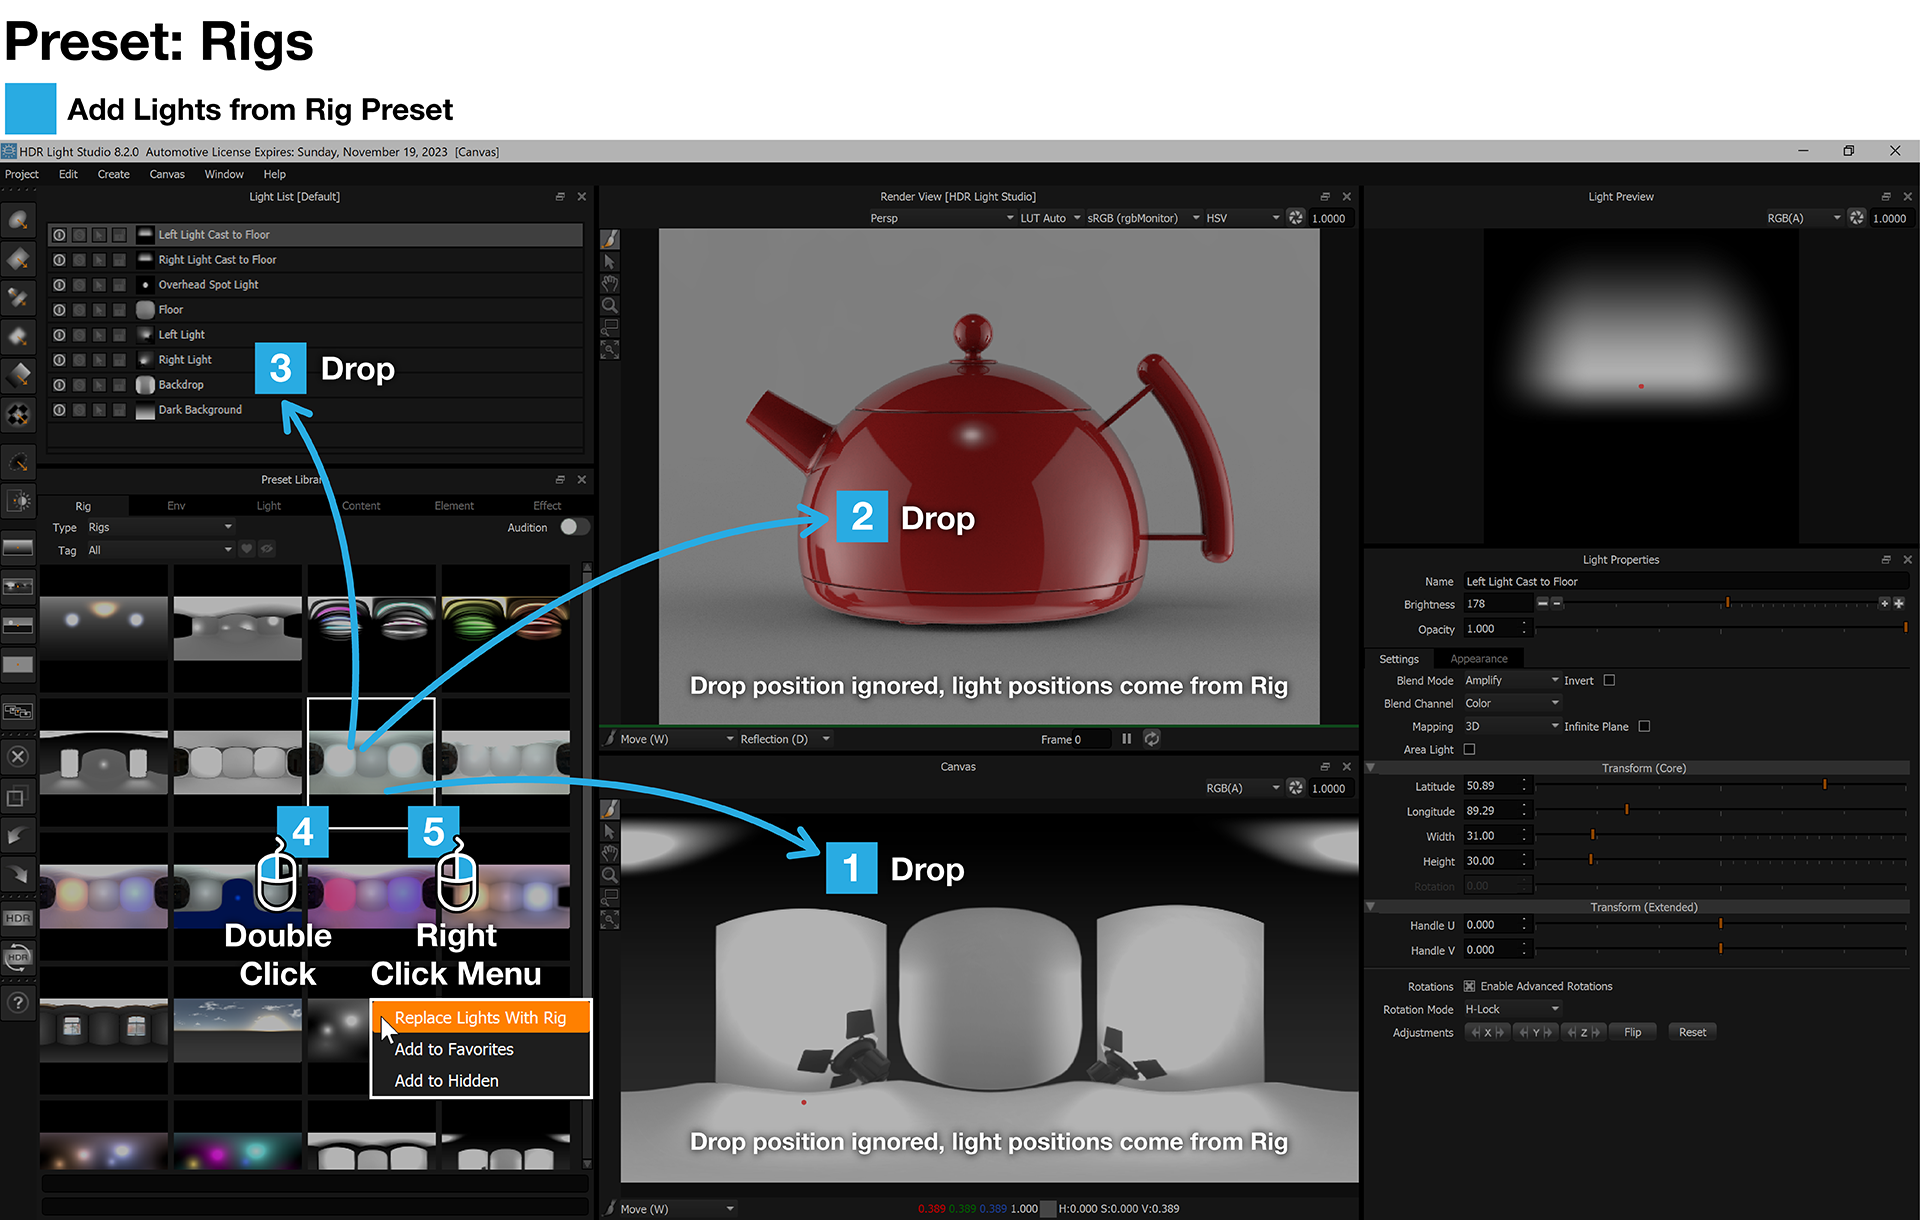
1. Drag and Drop onto the Canvas
All of the lights from the preset rig will be added to your current lighting project, at the top of the light list.
The lights in the rig will always be positioned where they were stored in the preset, therefore ignoring the location dropped.
2. Drag and Drop onto a Render View
All of the lights from the preset rig will be added to your current lighting project, at the top of the light list.
The lights in the rig will always be positioned where they were stored in the preset, therefore ignoring the location dropped.
3. Drag and Drop onto the Light List
All of the lights from the preset rig will be added to your current lighting project, at the top of the light list.
The lights in the rig will always be positioned where they were stored in the preset.
4. Double Click on the Preset
All of the lights from the preset rig will be added to your current lighting project, at the top of the light list.
The lights in the rig will always be positioned where they were stored in the preset.
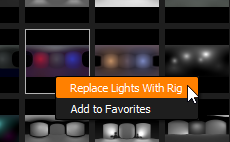
5. Right Click - Choose 'Replace Lights with Rig' (New in Tungsten Drop 4)
This will delete all lights and replace them with the rig lights. The lights in the rig will always be positioned where they were stored in the preset.
Rigs can not be Auditioned using the new Audition feature. So this is a really fast way to test different lighting rigs on your scene.

Next: Preset Lights
