To understand the range of features available in the HDR Light Studio main app, see the HDR Light Studio Reference Pages
Here we will concentrate on looking at the workflow of using HDR Light Studio live with SOLIDWORKS Visualize.
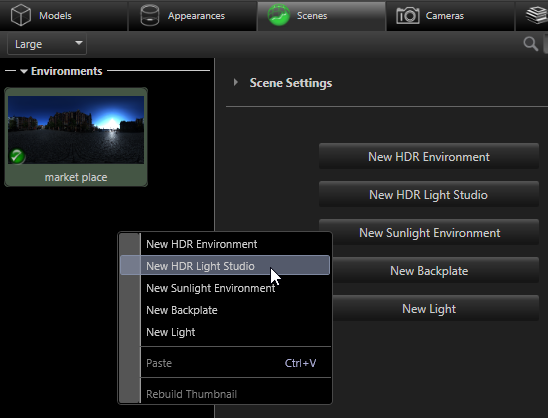
With the Scenes tab active, right click in the Environments area and select 'New HDR Light Studio', or click the 'New HDR Light Studio' button if this is showing in the settings area.
Please Note: The SOLIDWORKS Visualize project can contain more than one HDR Light Studio environment — so many lighting designs can be developed. HDR Light Studio environments can even be copied and pasted.
A new blank HDR Light Studio environment (default name HDR Light Studio, this can be changed) is created and HDR Light Studio is launched in a live connection.
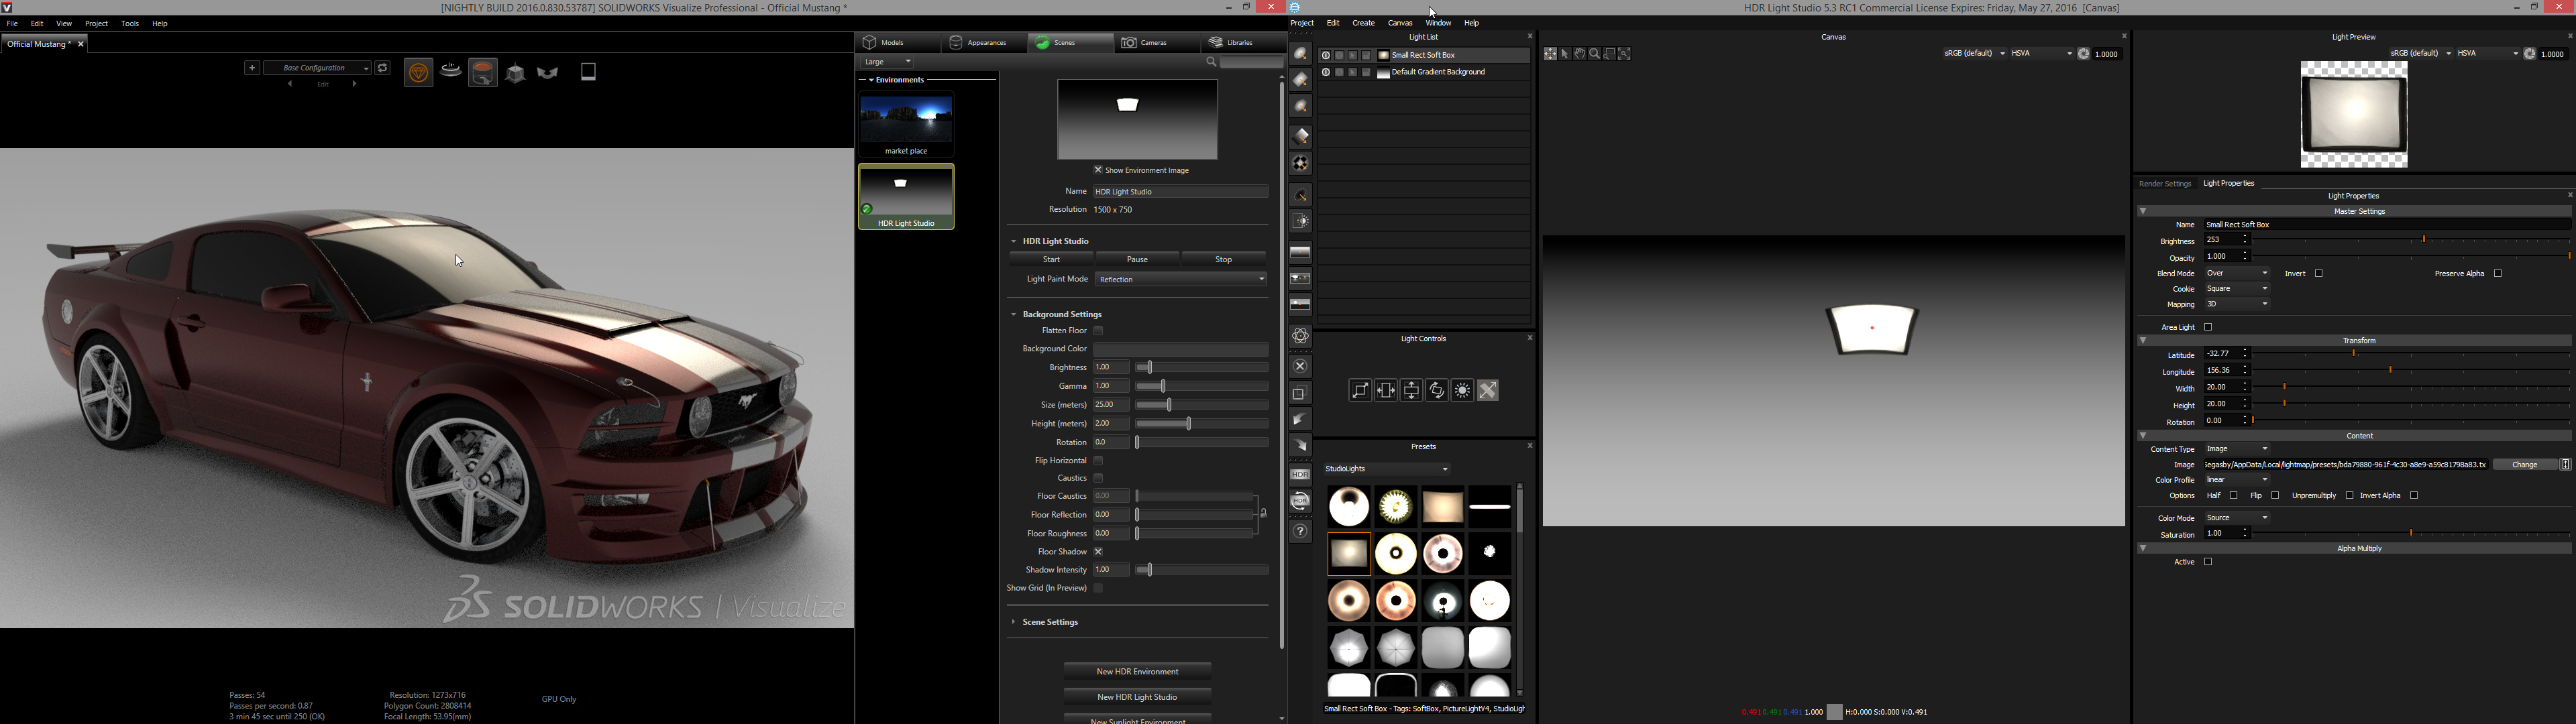
It works best to place the HDR Light Studio app on your second display if you have one. (shown below outlined in red on the right).
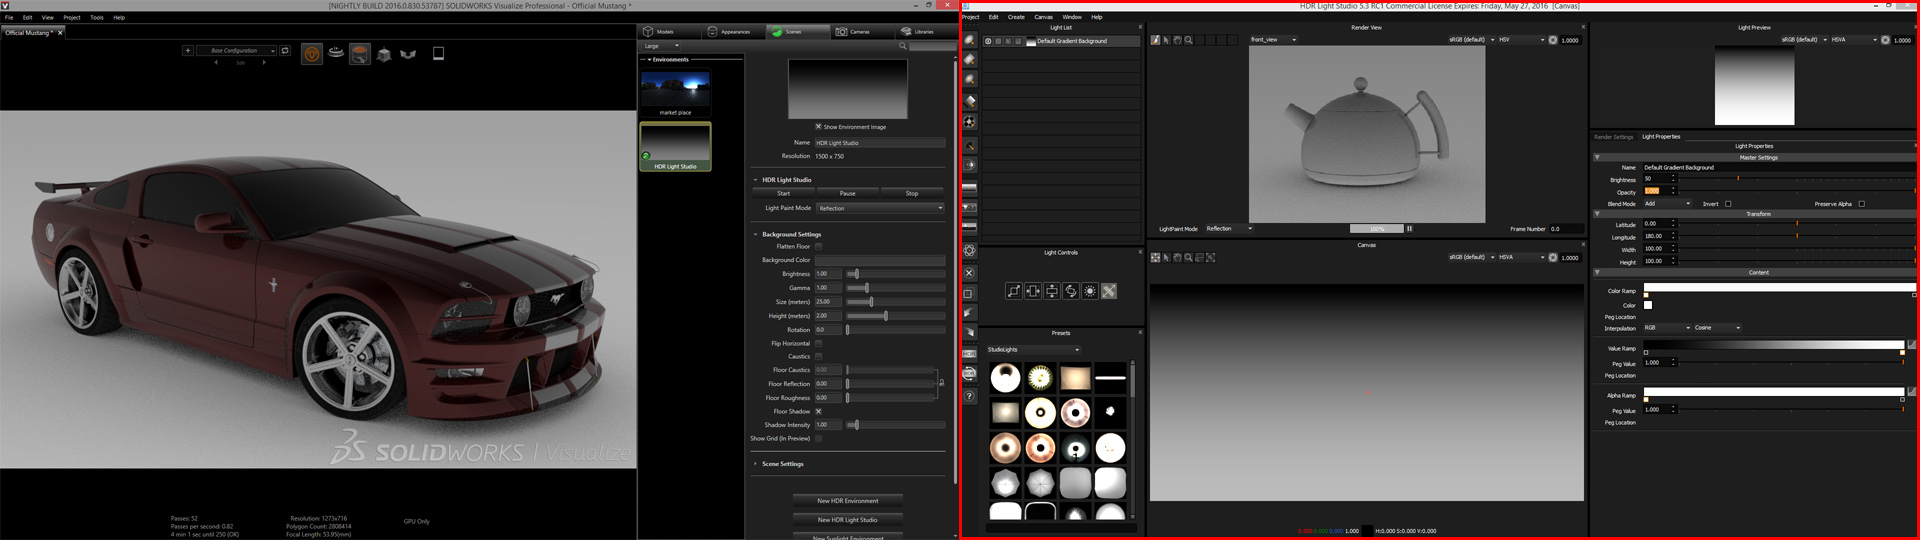
HDR Light Studio's Render View panel (the Kettle view) is not required in this workflow, so can be closed using the cross top right of the panel.
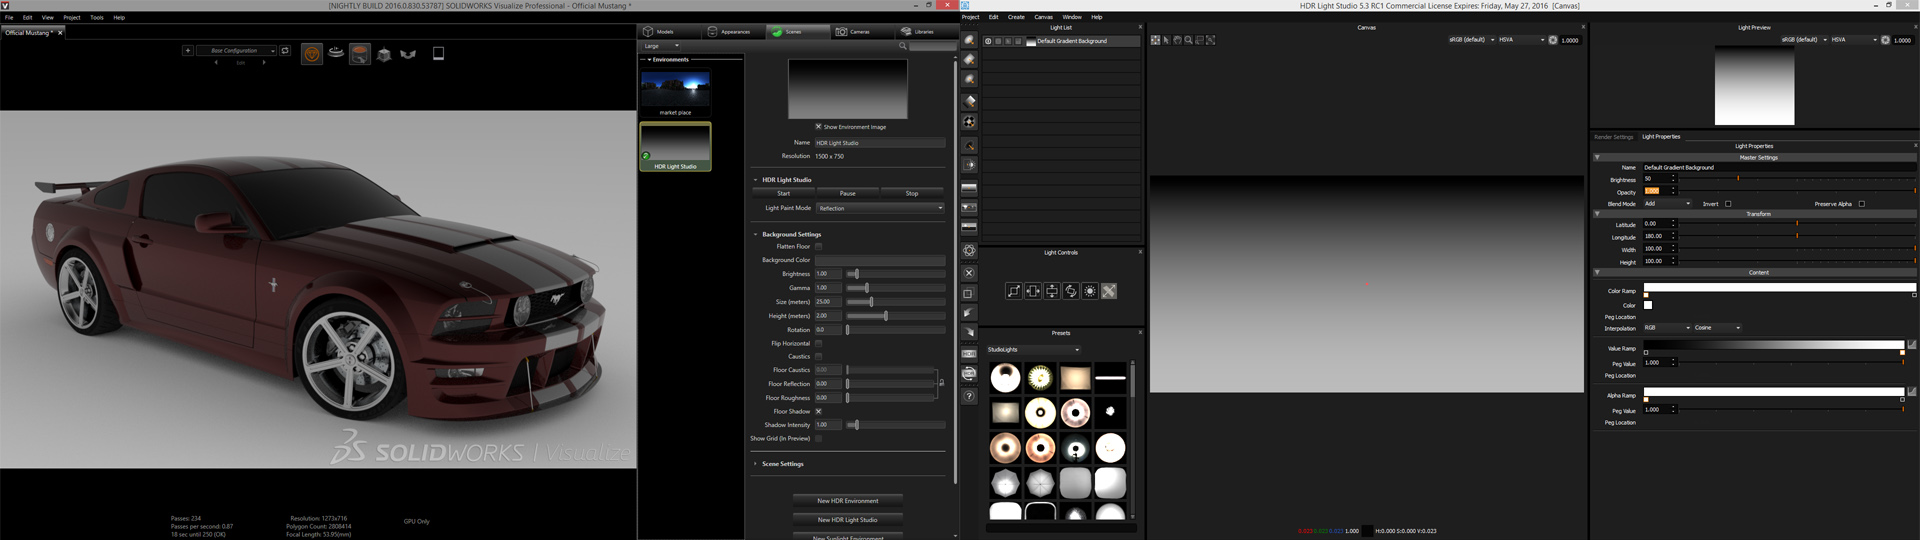
You are now ready to start creating your lighting.
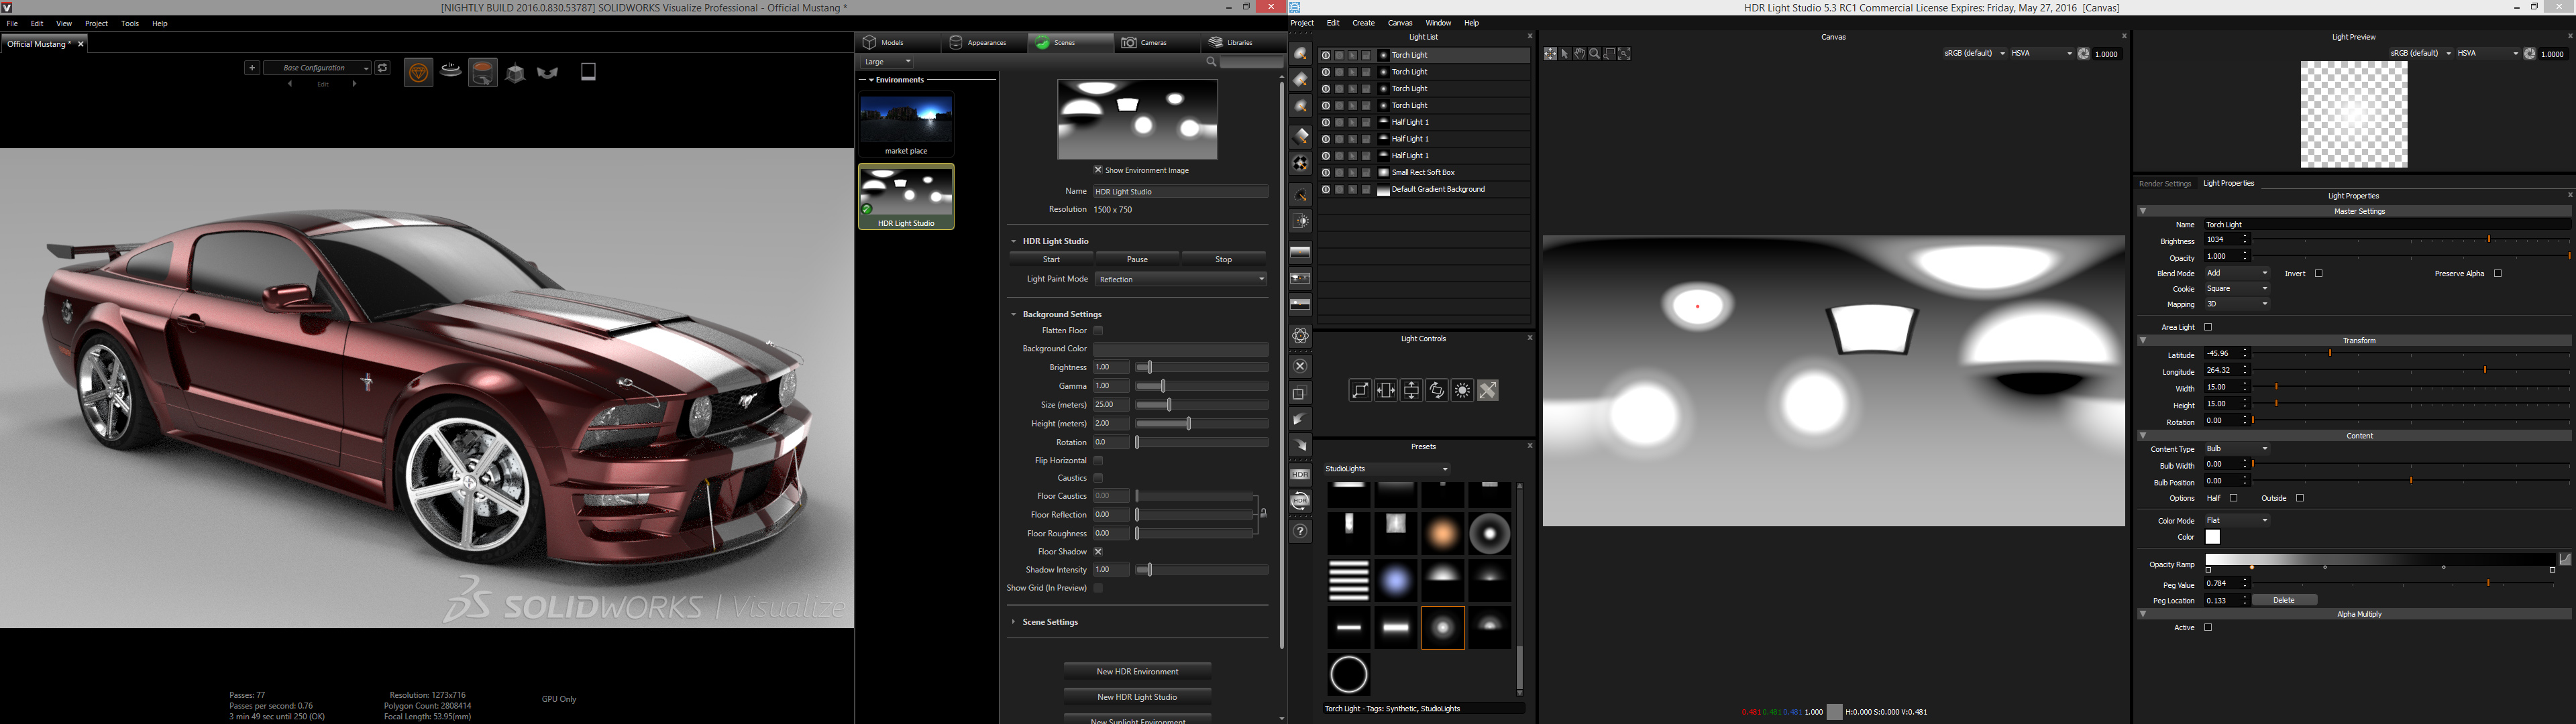
Create a light in HDR Light Studio by dragging one of the Preset lights onto the canvas.. The light will be added to the HDR Canvas.
Visualize will immediately updates, so you can see the lights effect on your 3D model - but the light is not in the right location yet.
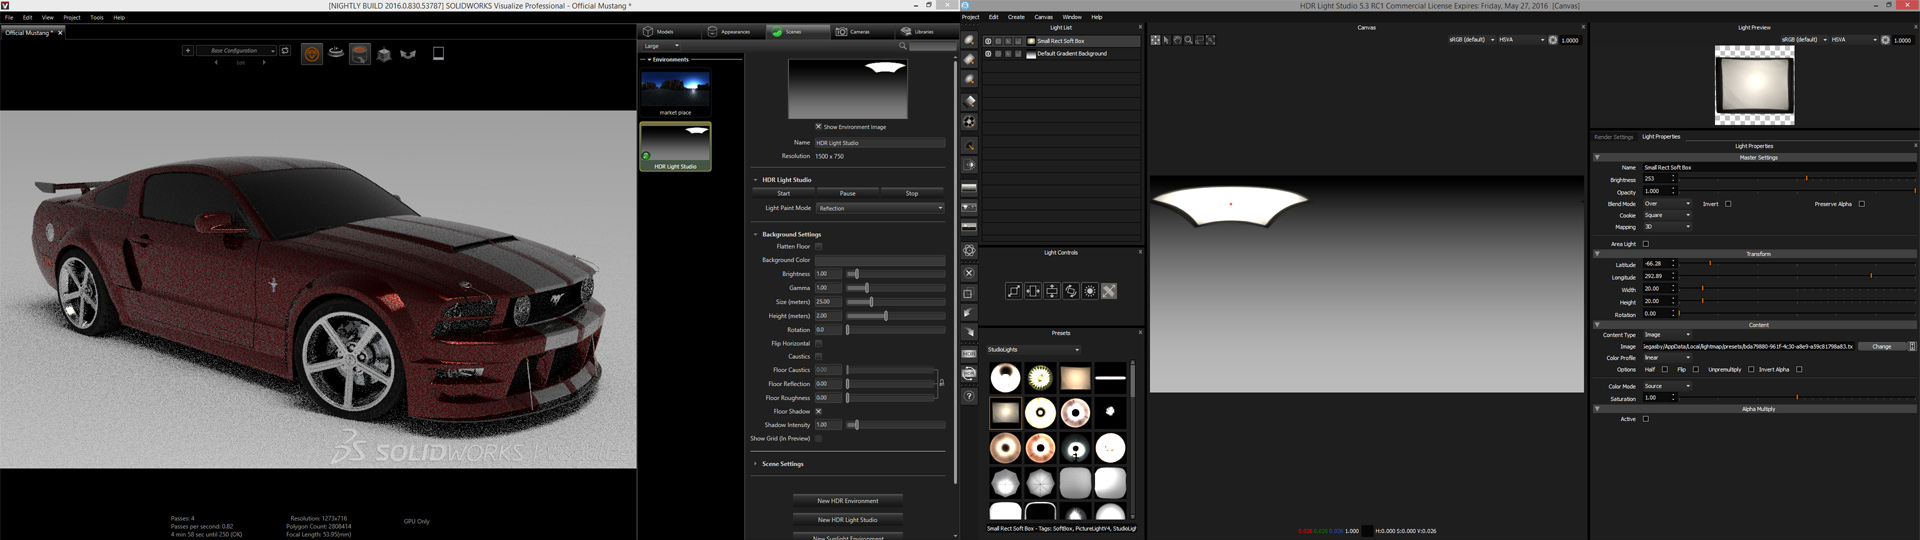
Next we need to position the light source. By default the LightPaint mode is set to Reflection - this is the most useful LightPaint mode as most of the time you will be placing lights to reflect in your model.
Simply click on the 3D model in the Visualize view to position your active light in HDR Light Studio to reflect in that position (the active light is highlighted in the Light List in HDR Light Studio).
Continue to create new lights, position them with LightPaint and adjust their properties until you get a lighting look you are happy with.
Lights can also be selected by right clicking on the 3D model. This can be very useful to find lights you would like to adjust once the lighting design gets more complex — especially if you are not renaming your lights to indicate their lighting purpose.
The live HDR canvas is only low resolution, this makes it fast and responsive whilst you are designing your lighting. If you place lights with defined hard edges you will see they look jagged in Visualize, don't worry — the final step is to render a high resolution and high quality final HDRI map on disc to light your final Visualize render.
To do this simply press the HDR Render button in HDR Light Studio.

The Production Render window will be shown.
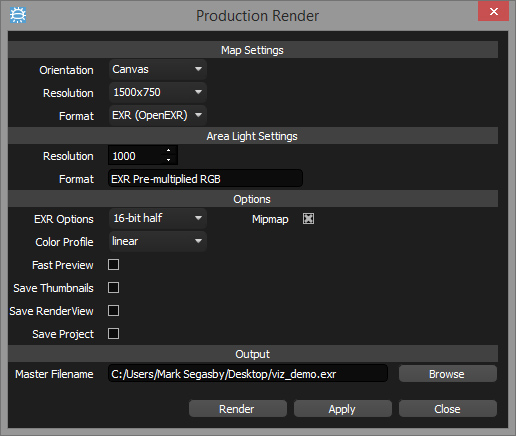
In the Map Settings section, select the Resolution you want for the HDRI map.
Press the Browse button and choose a file name and location for your HDRI map.
Press Render to make the HDRI map.
Your scene will automatically update to use this file on disc for the lighting. But if any changes are made to the design in HDR Light Studio, the scene will revert to using the lo-res live data.
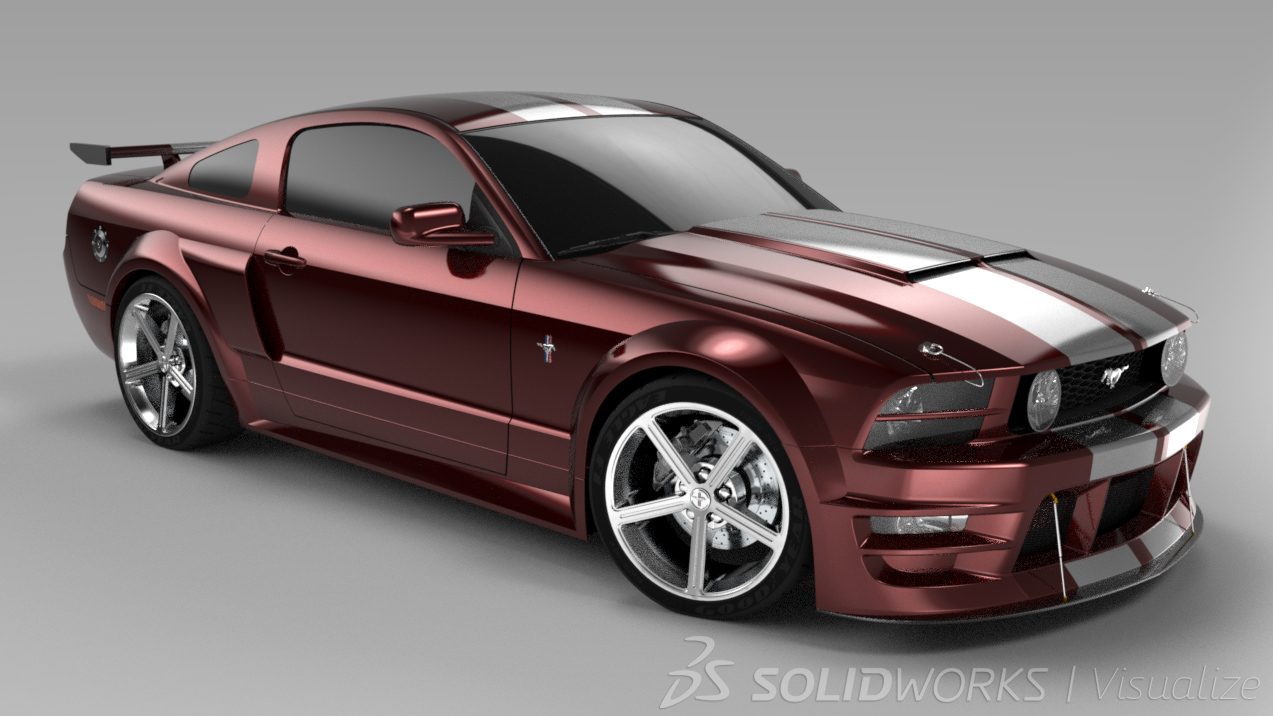
So here's the final shot lit with the new HDR file we generated:
To close HDR Light Studio press the Stop button or to hide HDR Light Studio press the Pause button.
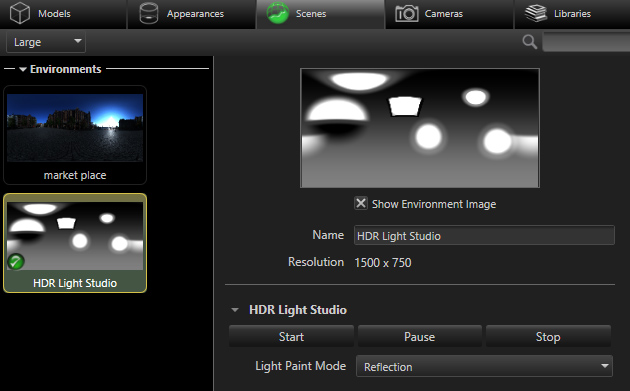
Press Start to both launch or un-pause HDR Light Studio.
