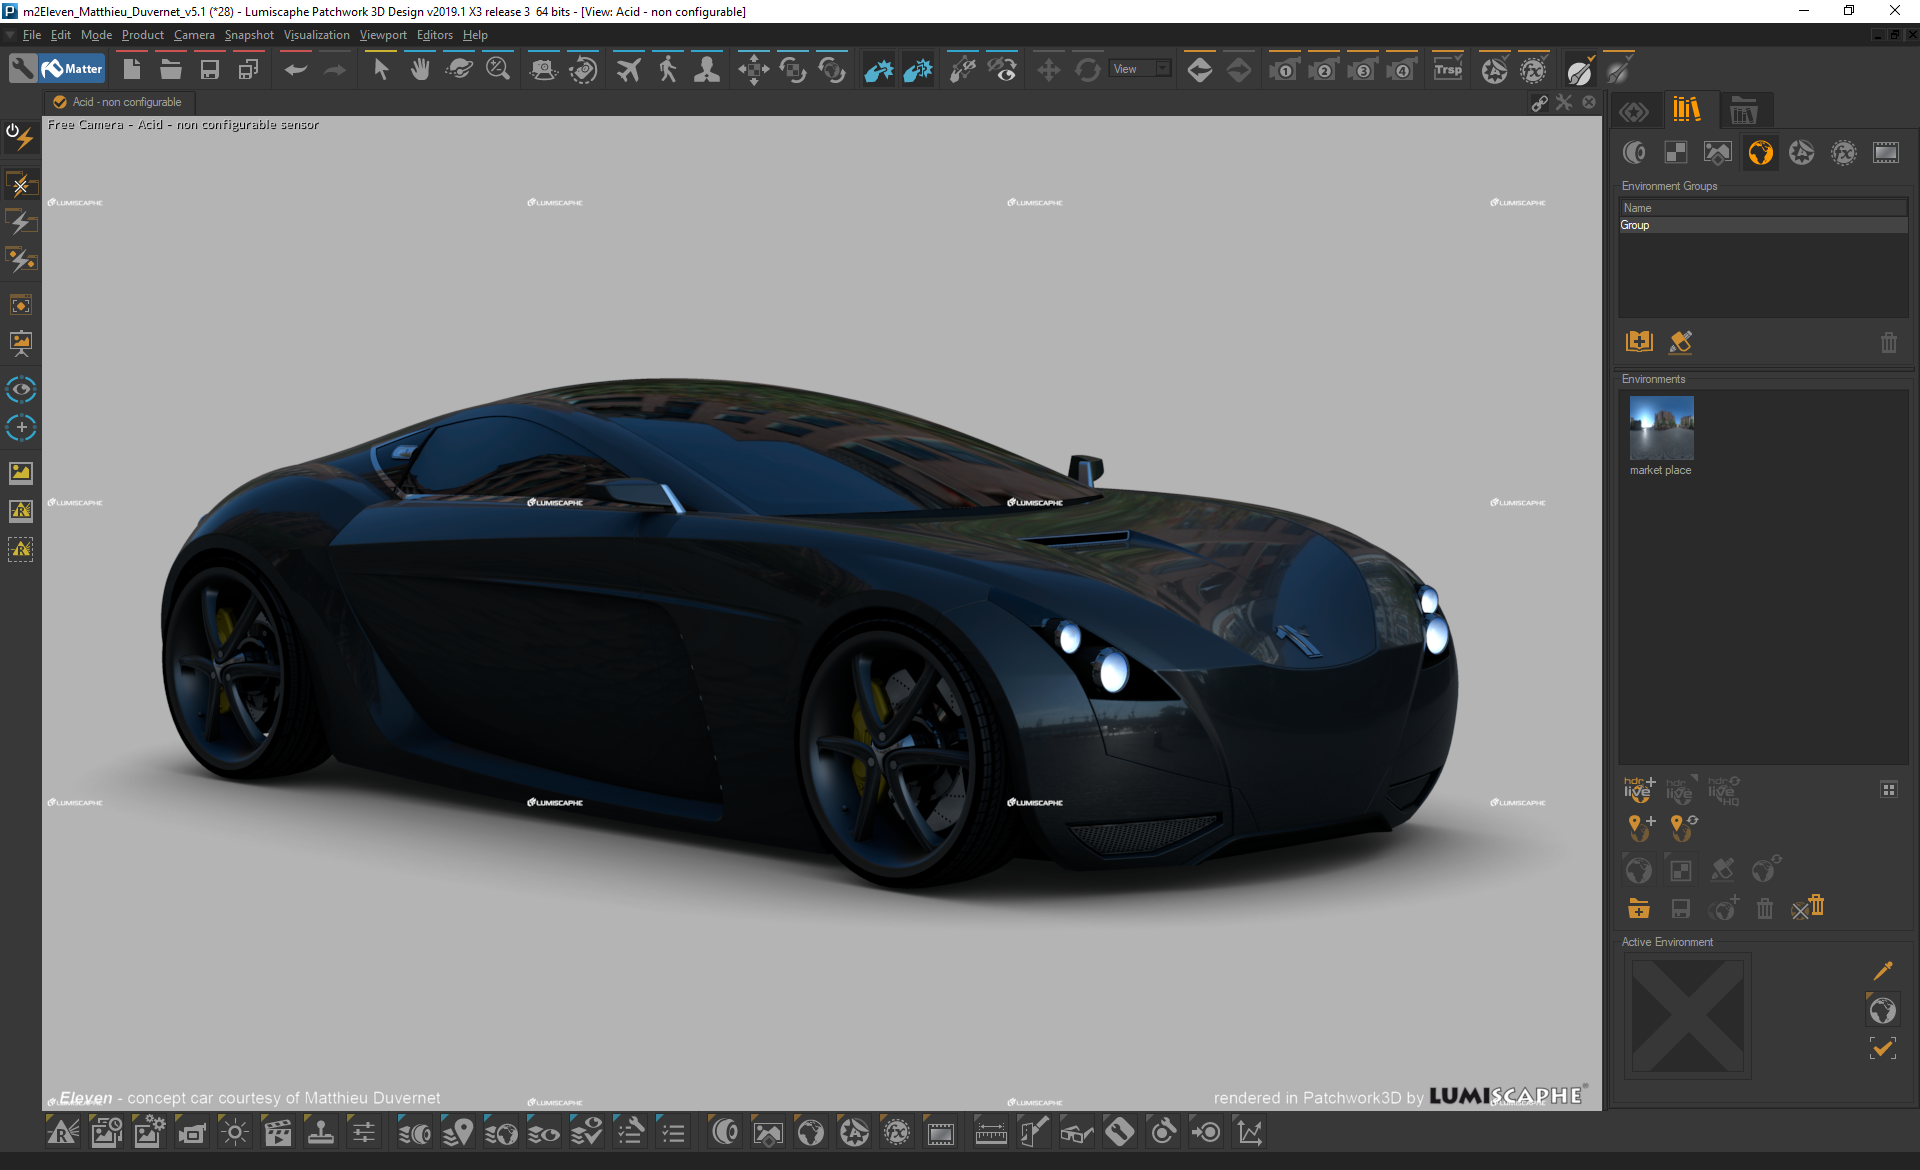
Figure 1 shows a car scene, lit by a HDRI map that was loaded in Patchwork3D.

Figure 1: Car scene lit by an existing HDRI map
You can edit existing HDRI maps using HDR Light Studio in conjunction with Patchwork3D to enhance the lighting in your scene.
Ensure you already have a scene loaded and a new HDR Light Studio environment created with HDR Light Studio running. To learn how, please see Workflow Tutorial before you begin.
STEP 1: Once your HDR Light Studio connection with Patchwork3D starts, delete the ‘Default Gradient Background’ by selecting the light in the 'Light List', Right-Clicking on it and selecting ‘Delete’ (Figure 2).

Figure 2: Deleting the default gradient background in HDR Light Studio
STEP 2: Add a picture background light in HDR Light Studio by clicking on the ‘Picture Background’ icon from the toolbar on the left (Figure 3). The light will appear in the 'Light List' (Figure 4).
Figure 4: Picture background button

Figure 4: Picture background is created
STEP 3: While the ‘Picture Background’ light is selected, in the ‘Light Properties’ under the ‘Content’ section, click on the ‘Load’ icon next to the ‘Image’ field to load a HDRI map of your choice (Figure 5)

Figure 5: Loading a HDRI map image
STEP 4: Find your HDRI Map, select it and click ‘Open’ (Figure 6). If asked, convert the file into a mip-mapped and tiled image for better performance.

Figure 6: Choosing the HDRI map to load
STEP 5: By default, the HDRI map’s rotation does not match with VRED (compare Figure 1 and 7). To prevent this, in HDR Light Studio in the ‘Light Properties’ panel, under the ‘Transform (Core)’ section, change the ‘Longitude’ to 0 (Figure 8).

Figure 8: By default, the HDRI map's rotation in HDR Light Studio is not matching the rotation in Patchwork3D

Figure 8: Changing the Longitude from 180 to 0 adjusts the roation of the HDRI map for it to match with Patchwork3D
STEP 6: You can now start editing the existing HDRI map (Figure 9)

Figure 9: Edited HDRI map
