HDR Light Studio is a standalone lighting application, providing a set of tools and content dedicated to lighting 3D scenes. Using HDR Light Studio connected to Patchwork3D, provides the ability to create custom HDRI maps to light your scenes, with lights chosen and positioned to provide the perfect effect on your model. As you work with HDR Light Studio, the lighting is updated in real-time in Patchwork3D, where you can see the lighting interact with your 3D scene.
This workflow tutorial will teach you how to use the connection between Patchwork3D and HDR Light Studio.
It will not teach you how to use HDR Light Studio itself. Please see our 'Getting Started' content here to learn the HDR Light Studio interface and the basic features.
When using HDR Light Studio connected to Patchwork3D and a change to the HDRI map design is made in HDR Light Studio, Patchwork3D is instantly updated with this new lighting. HDR Light Studio shares a low resolution HDRI of the lighting design (proxy) during the lighting design process. At the end of this process, the HDRI map is rendered by HDR Light Studio as a high quality and high-resolution file on disk that is then used by the Patchwork3D environment.
HDR Light Studio can be used to create:
• Studio Lighting from scratch
• Edit/Enhance/Augment existing HDRI environments by loading them into HDR Light Studio
• Create convincing lighting for a back-plate image without an associated HDRI map
1. Starting HDR Light Studio in Patchwork3D
If you already have a scene loaded in Patchwork3D, please skip to Step 5.
For those less familiar with Patchwork3D, you can start here.
STEP 1: Start Patchwork3D. Figure 1 shows what your screen may look like.
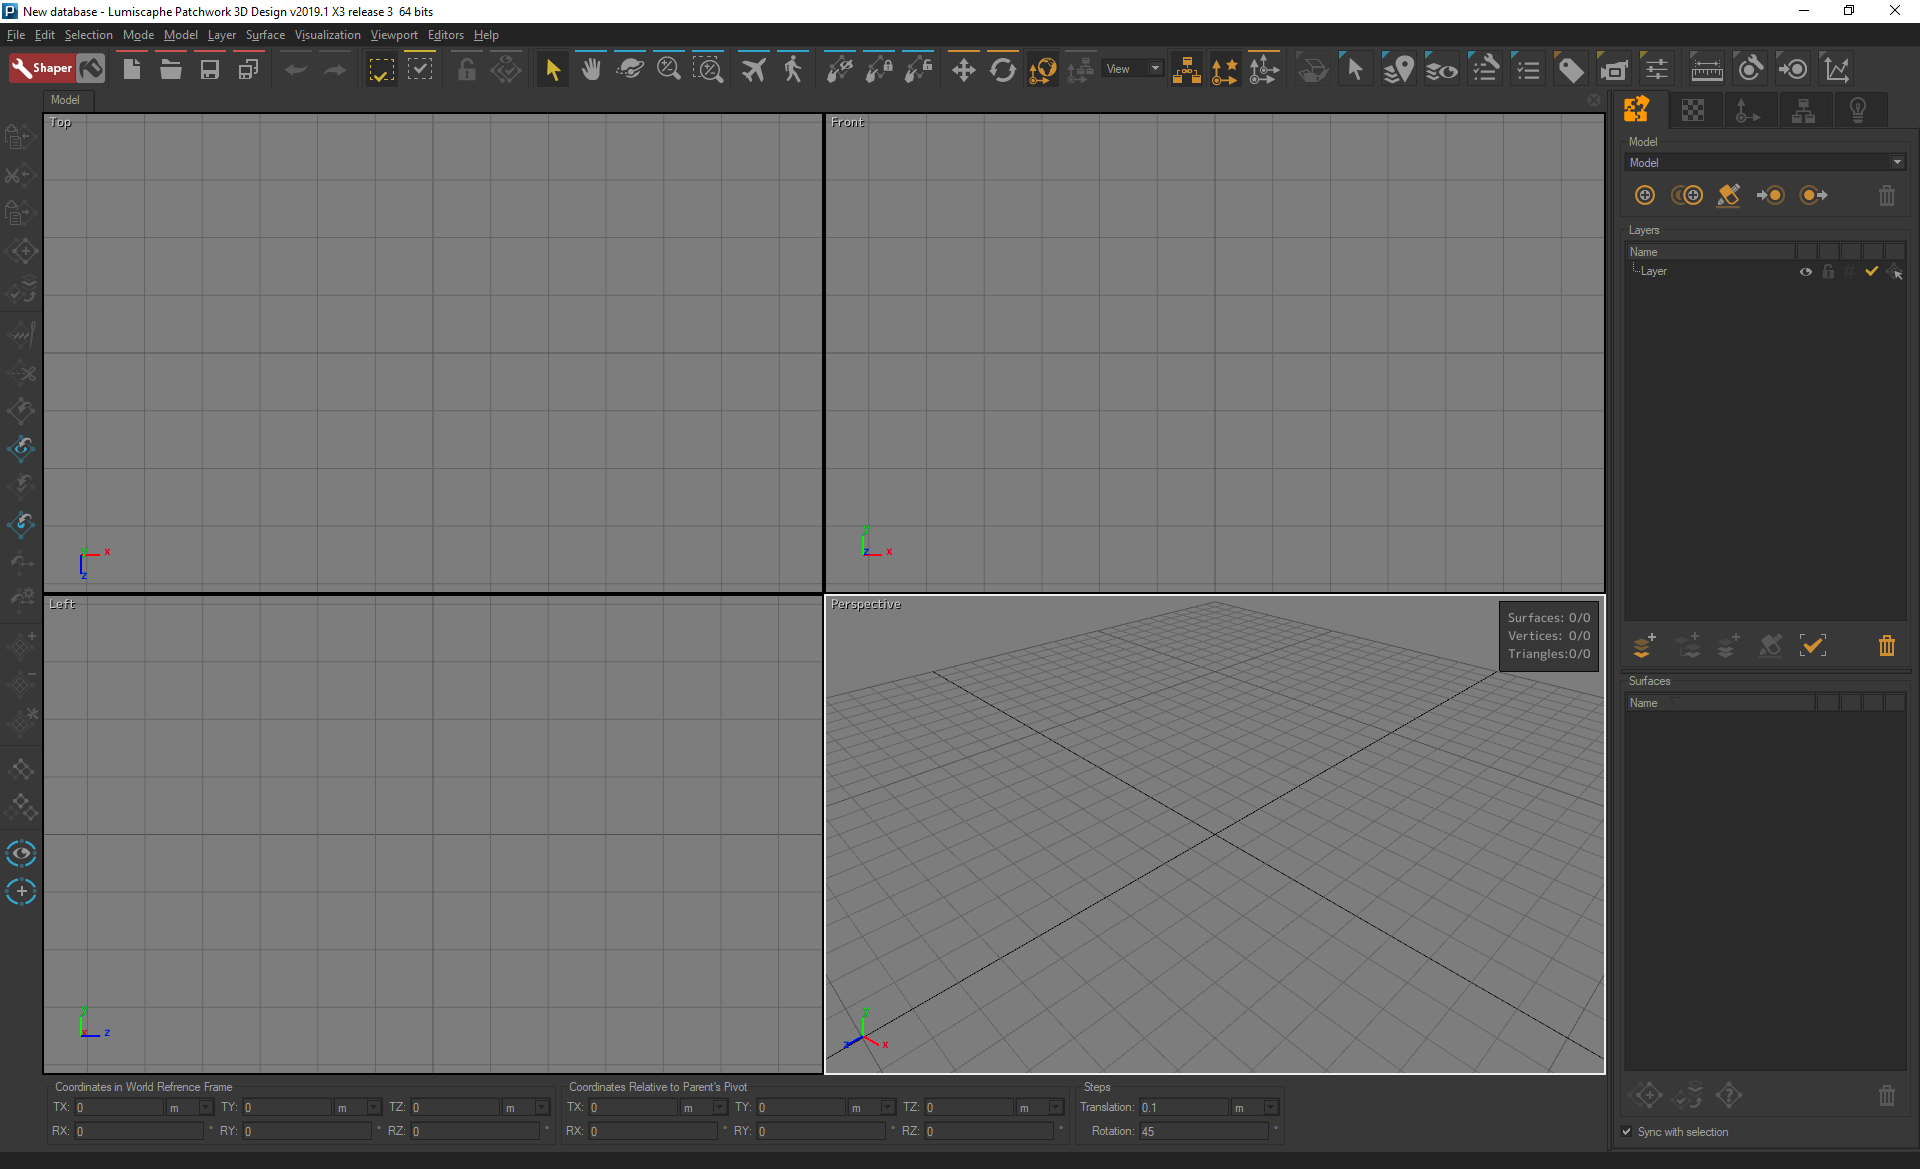
Figure 1: Patchwork3D on startup
STEP 2: To load a Patchwork3D scene, go to File > Open (see Figure 2) in the top toolbar or hit CTRL + O on the keyboard. Then, find your scene and click on ‘Open’. The scene will now load in Patchwork3D (see Figure 3).
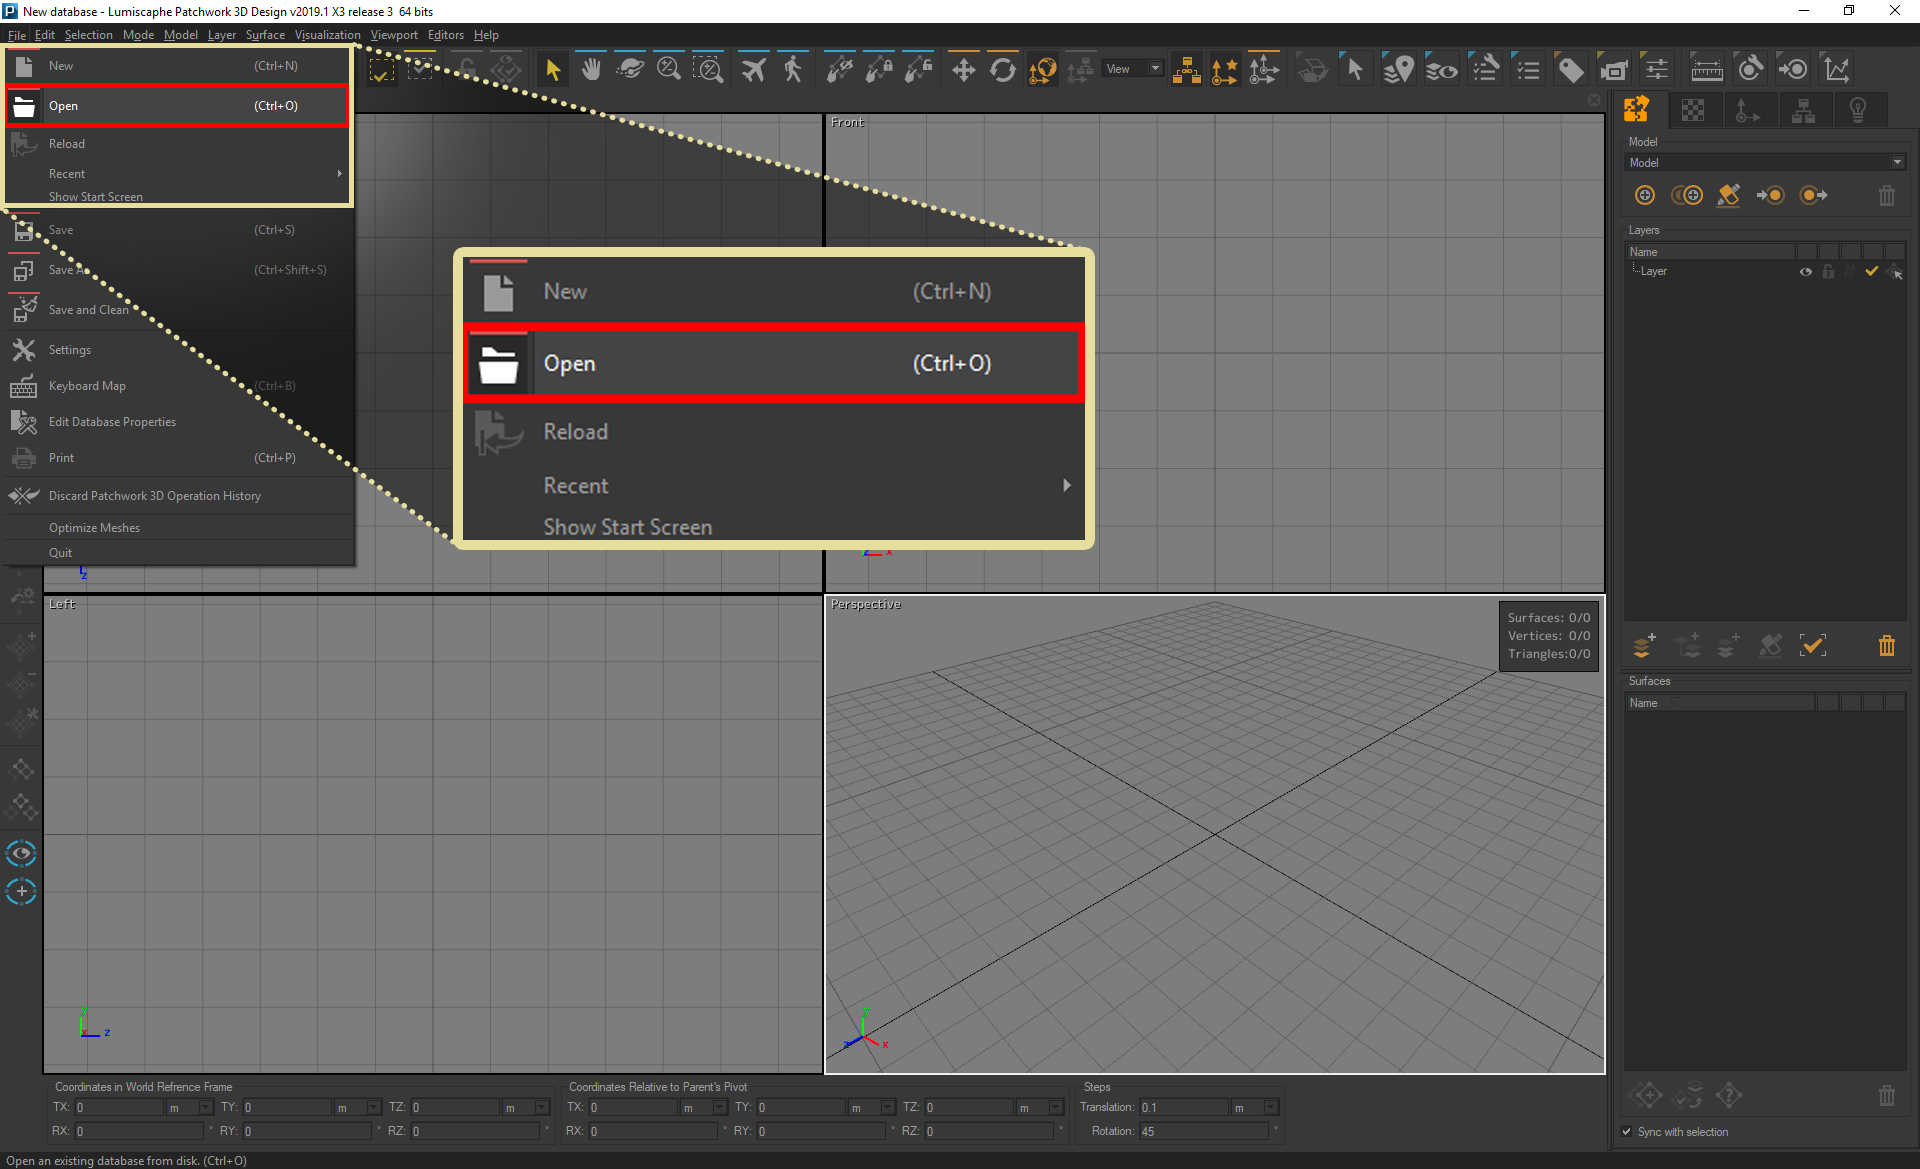
Figure 2: Loading a scene
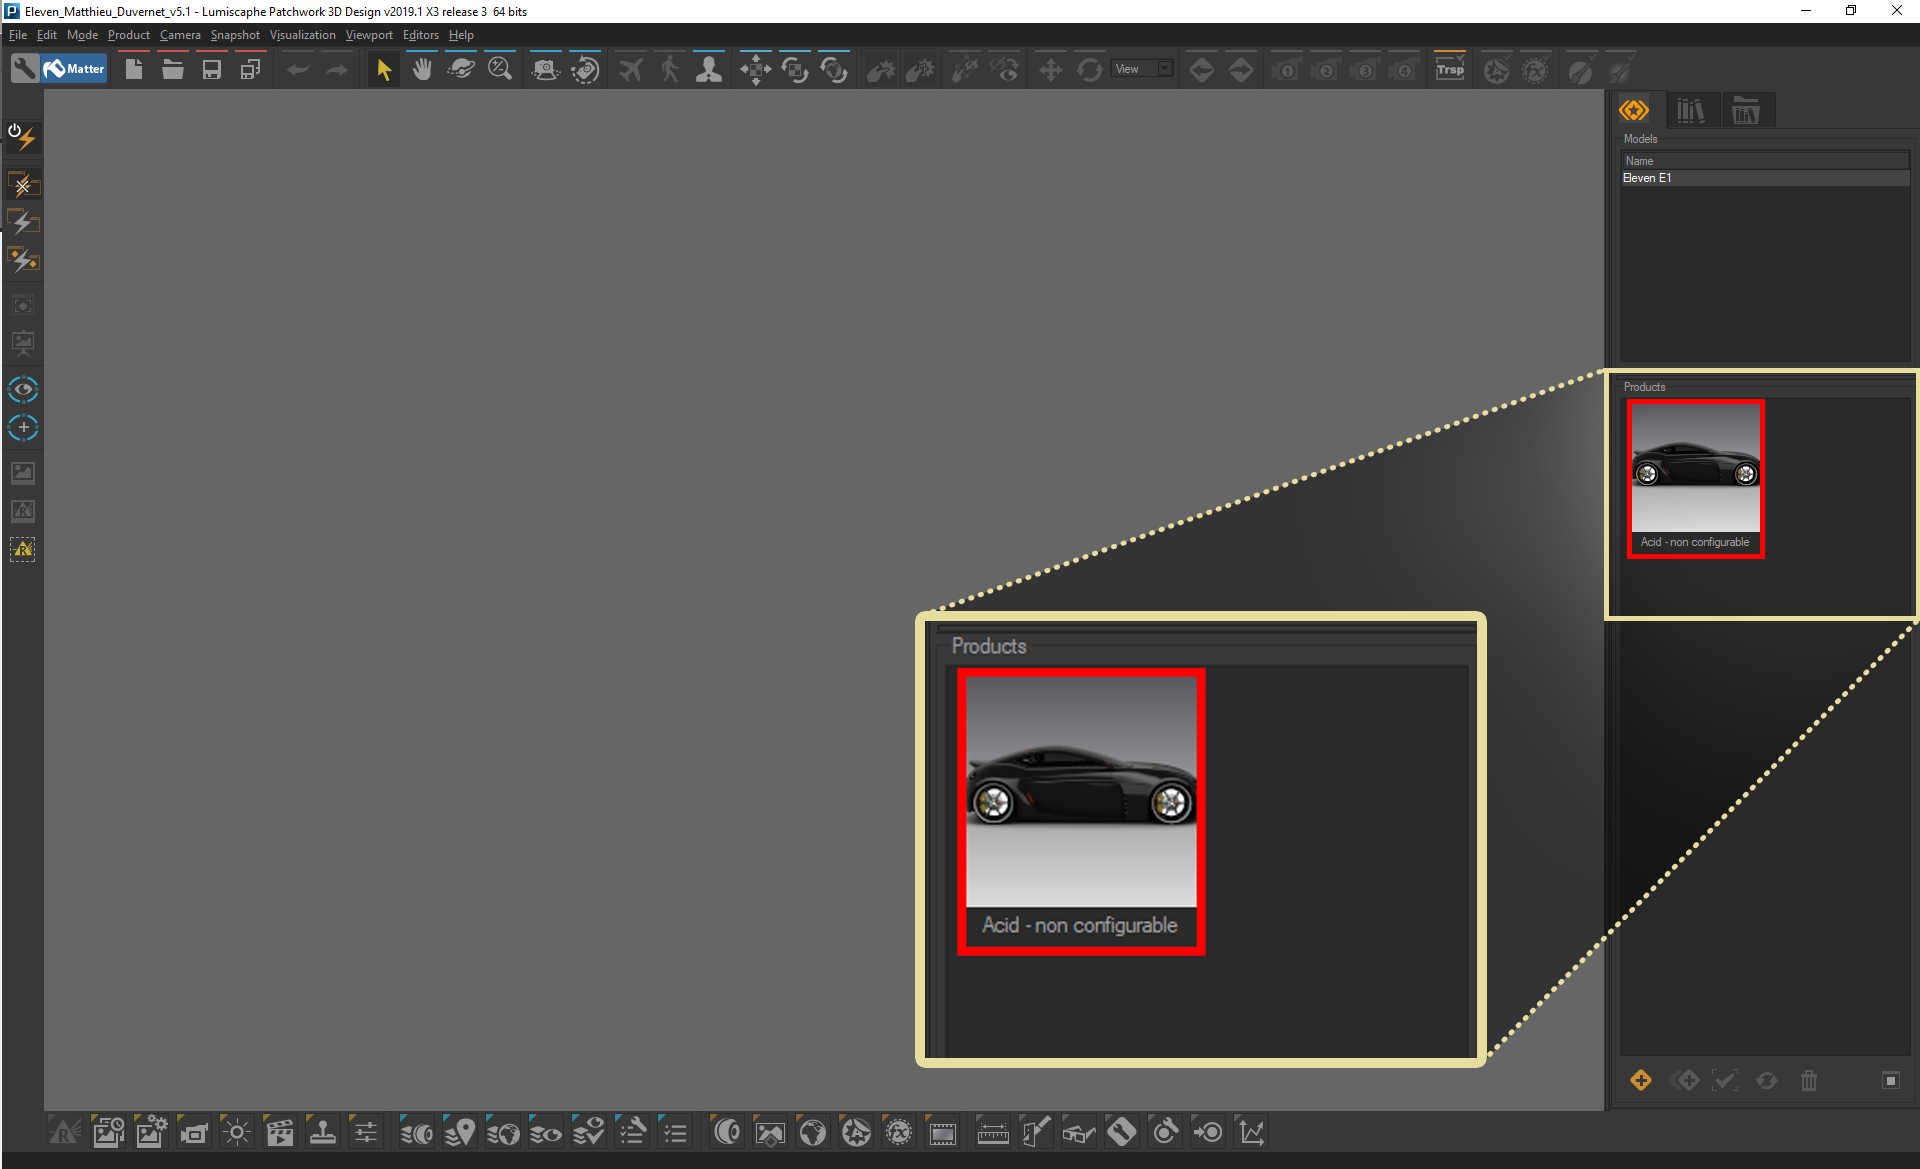
Figure 3: Loaded scene
STEP 3: Double-Click on your scene in the ‘Product’ panel to make it visible in the Patchwork3D Matter viewport (see Figure 4).
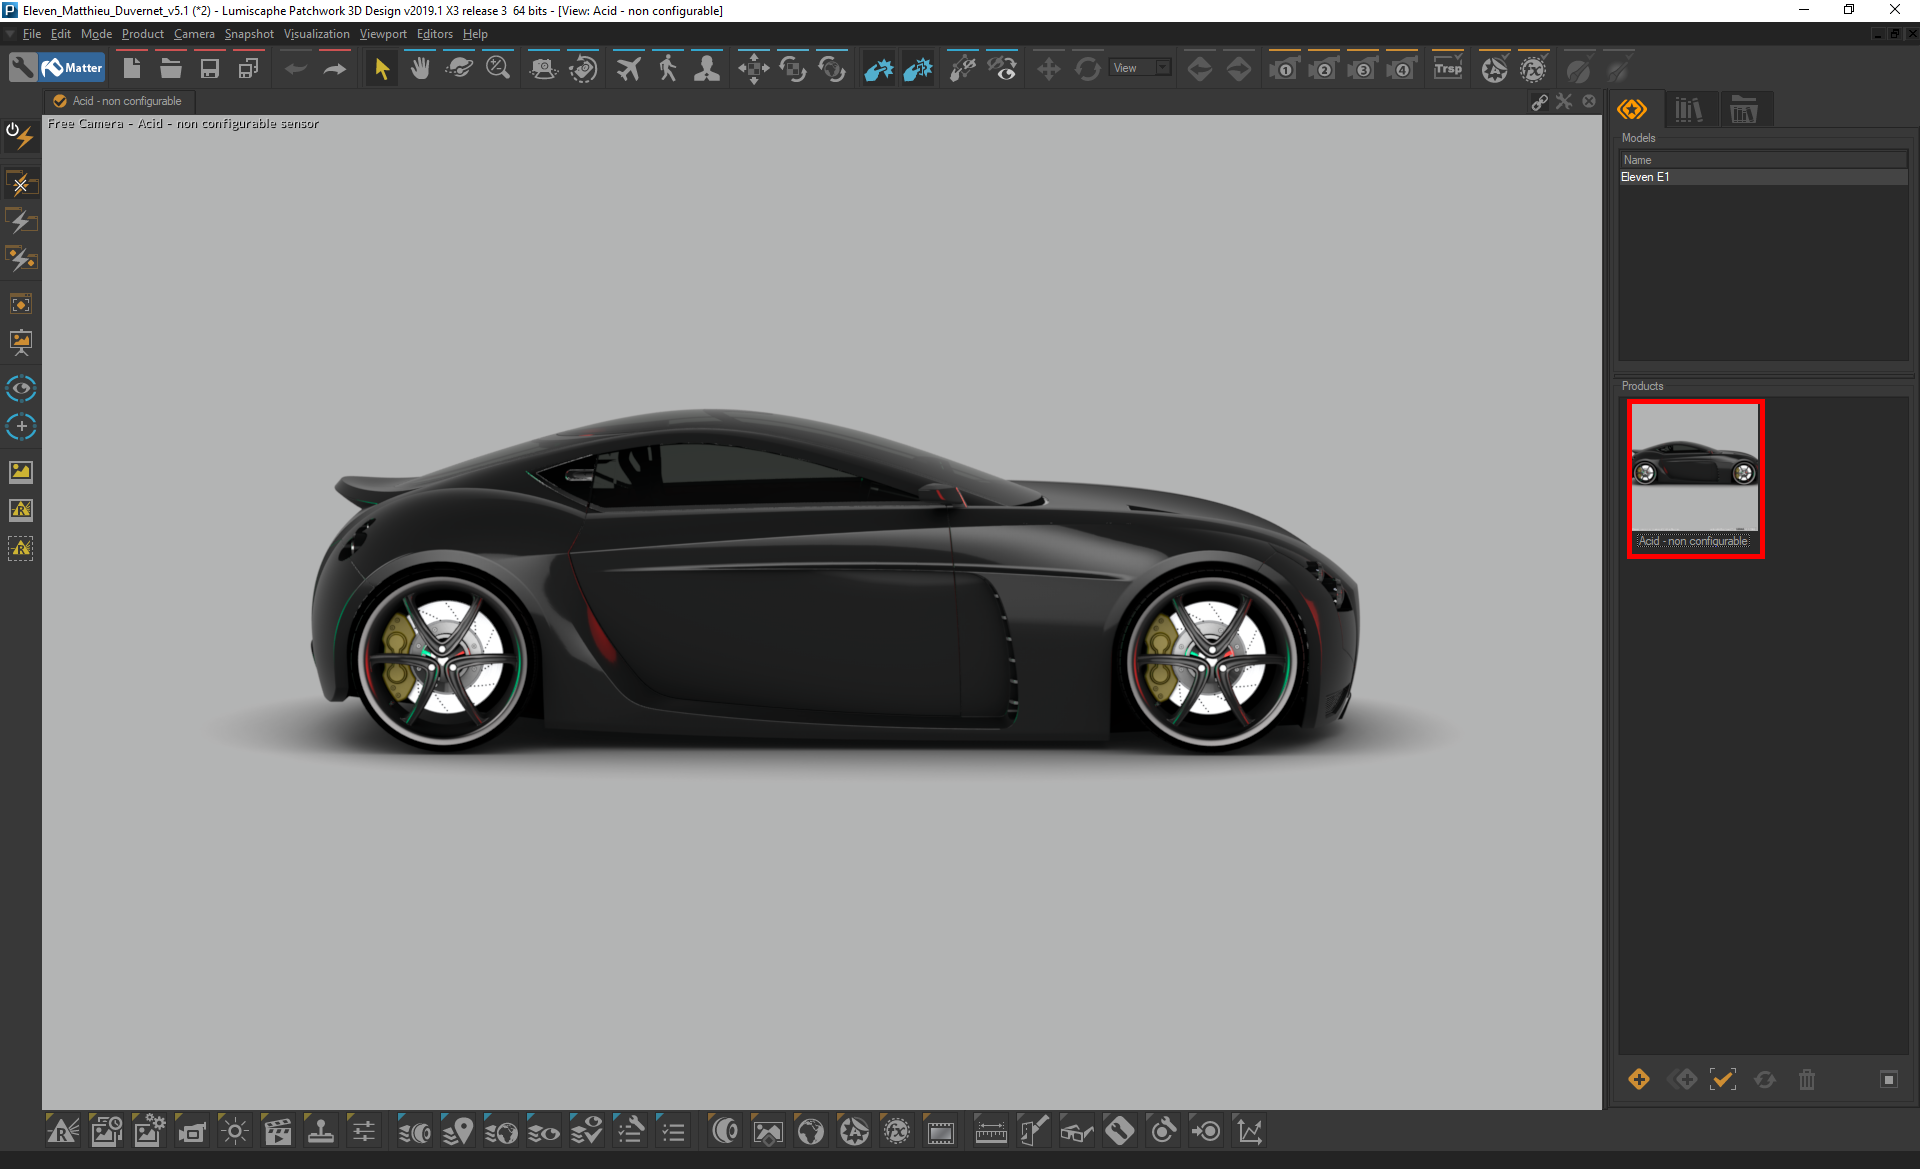
Figure 4: Active scene in Patchwork3D viewport
STEP 4: Adjust your camera view using the ‘Orbit’ tool from the top toolbar (see Figure 5) or activate it by hitting C on your keyboard.
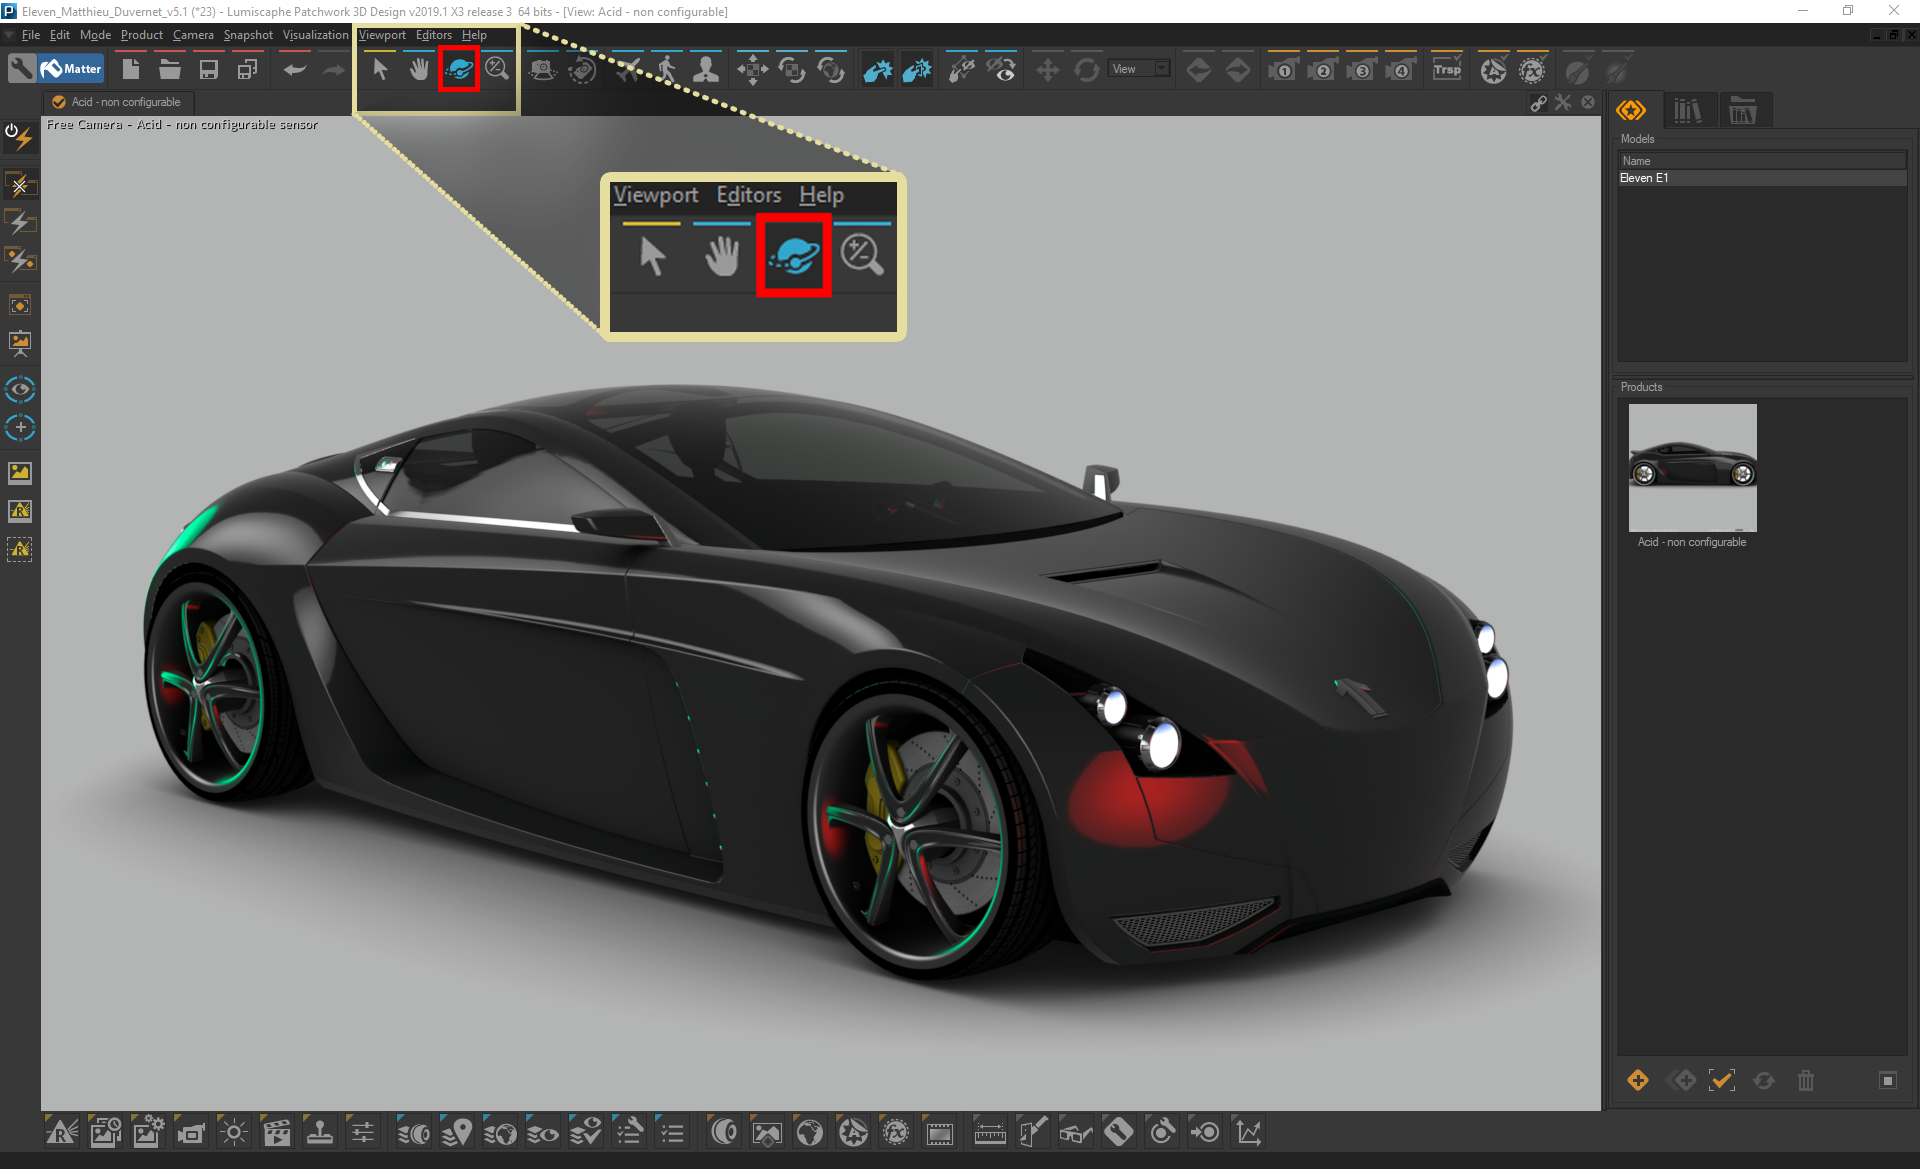
Figure 5: Scene with an adjusted camera view
STEP 5: On the right of the Patchwork3d interface, click on the ‘Internal Libraries’ icon to open the ‘Internal Libraries’ tab (see Figure 6).
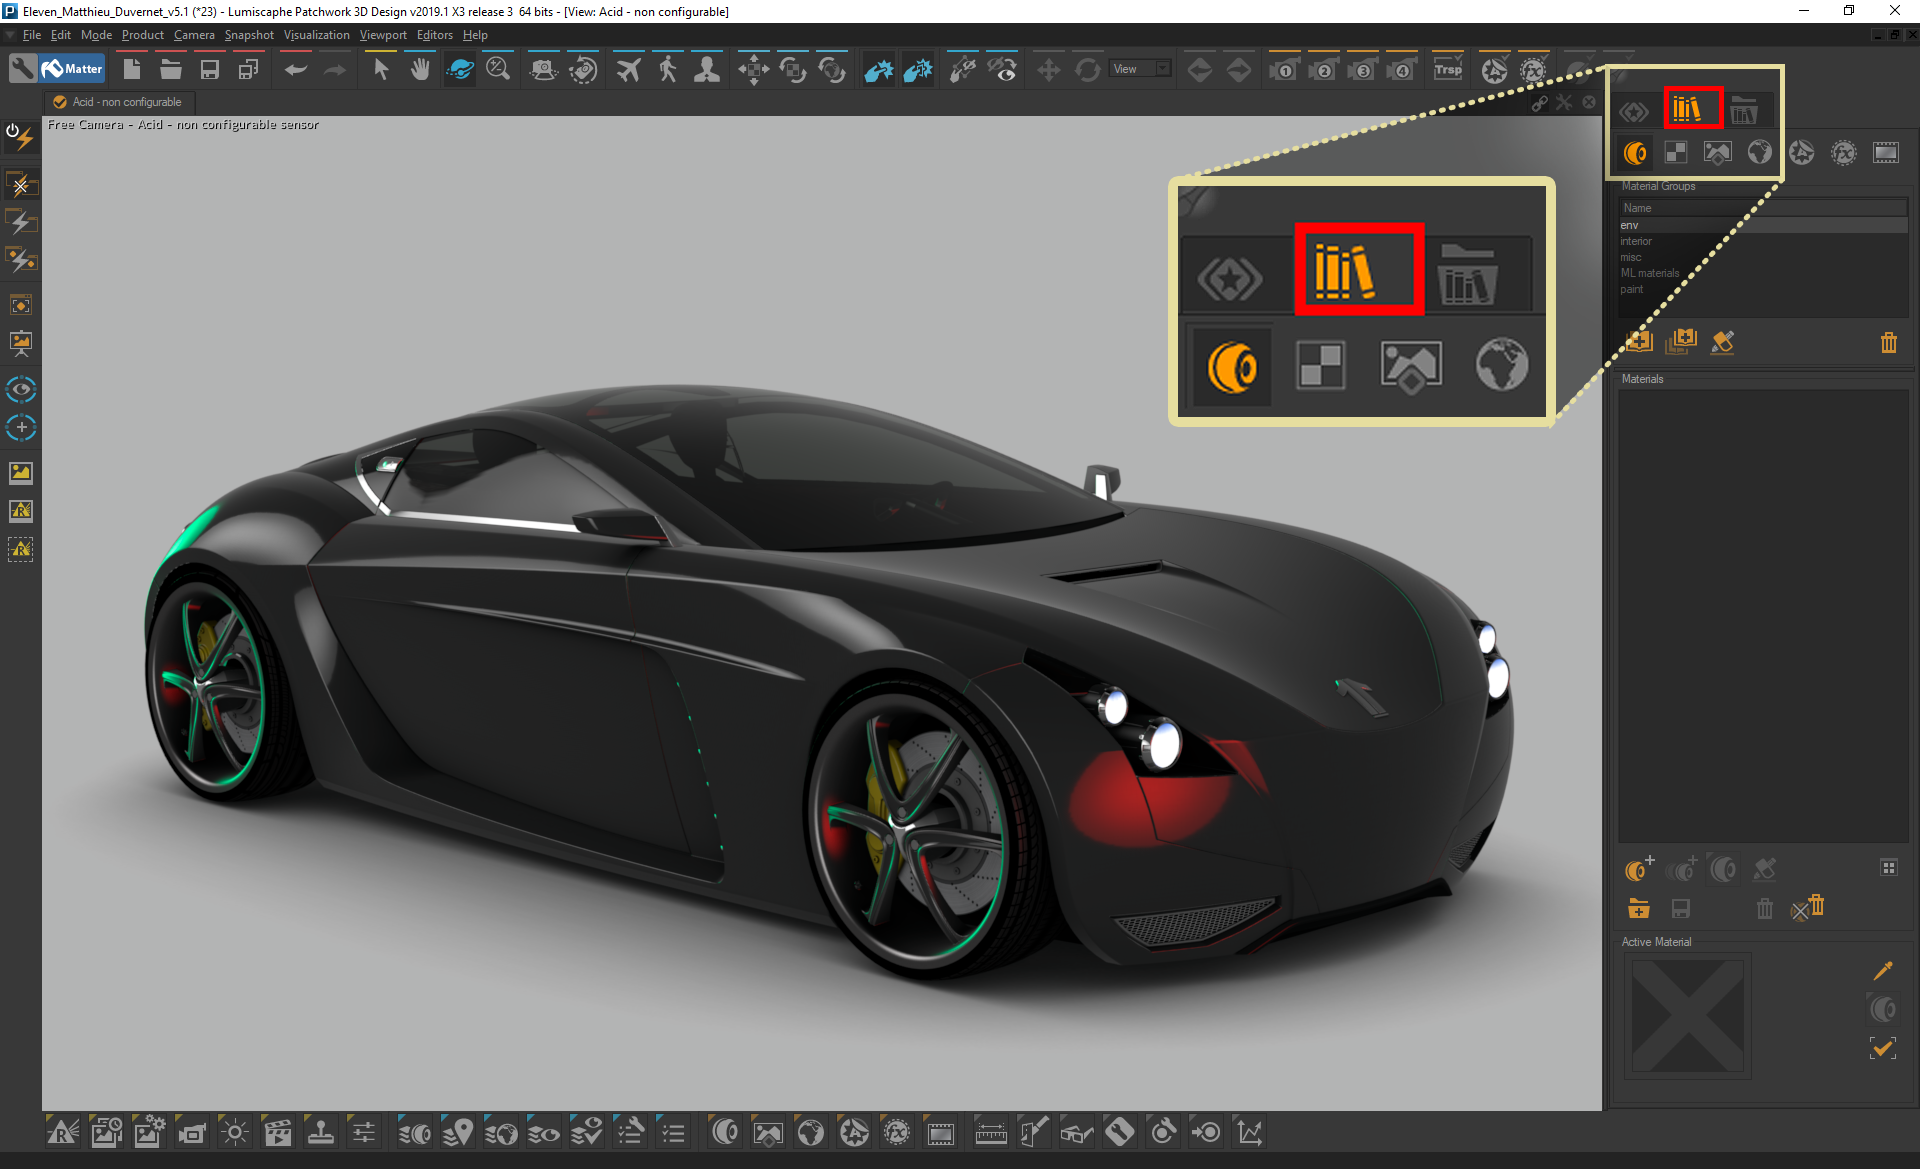
Figure 6: Internal Libraries tab opened
STEP 6: Inside the ‘Internal Libraries’ click on the ‘Environment Library’ icon to access HDR Light Studio connection (see Figure 7). Alternatively, hit 4 on the keyboard.
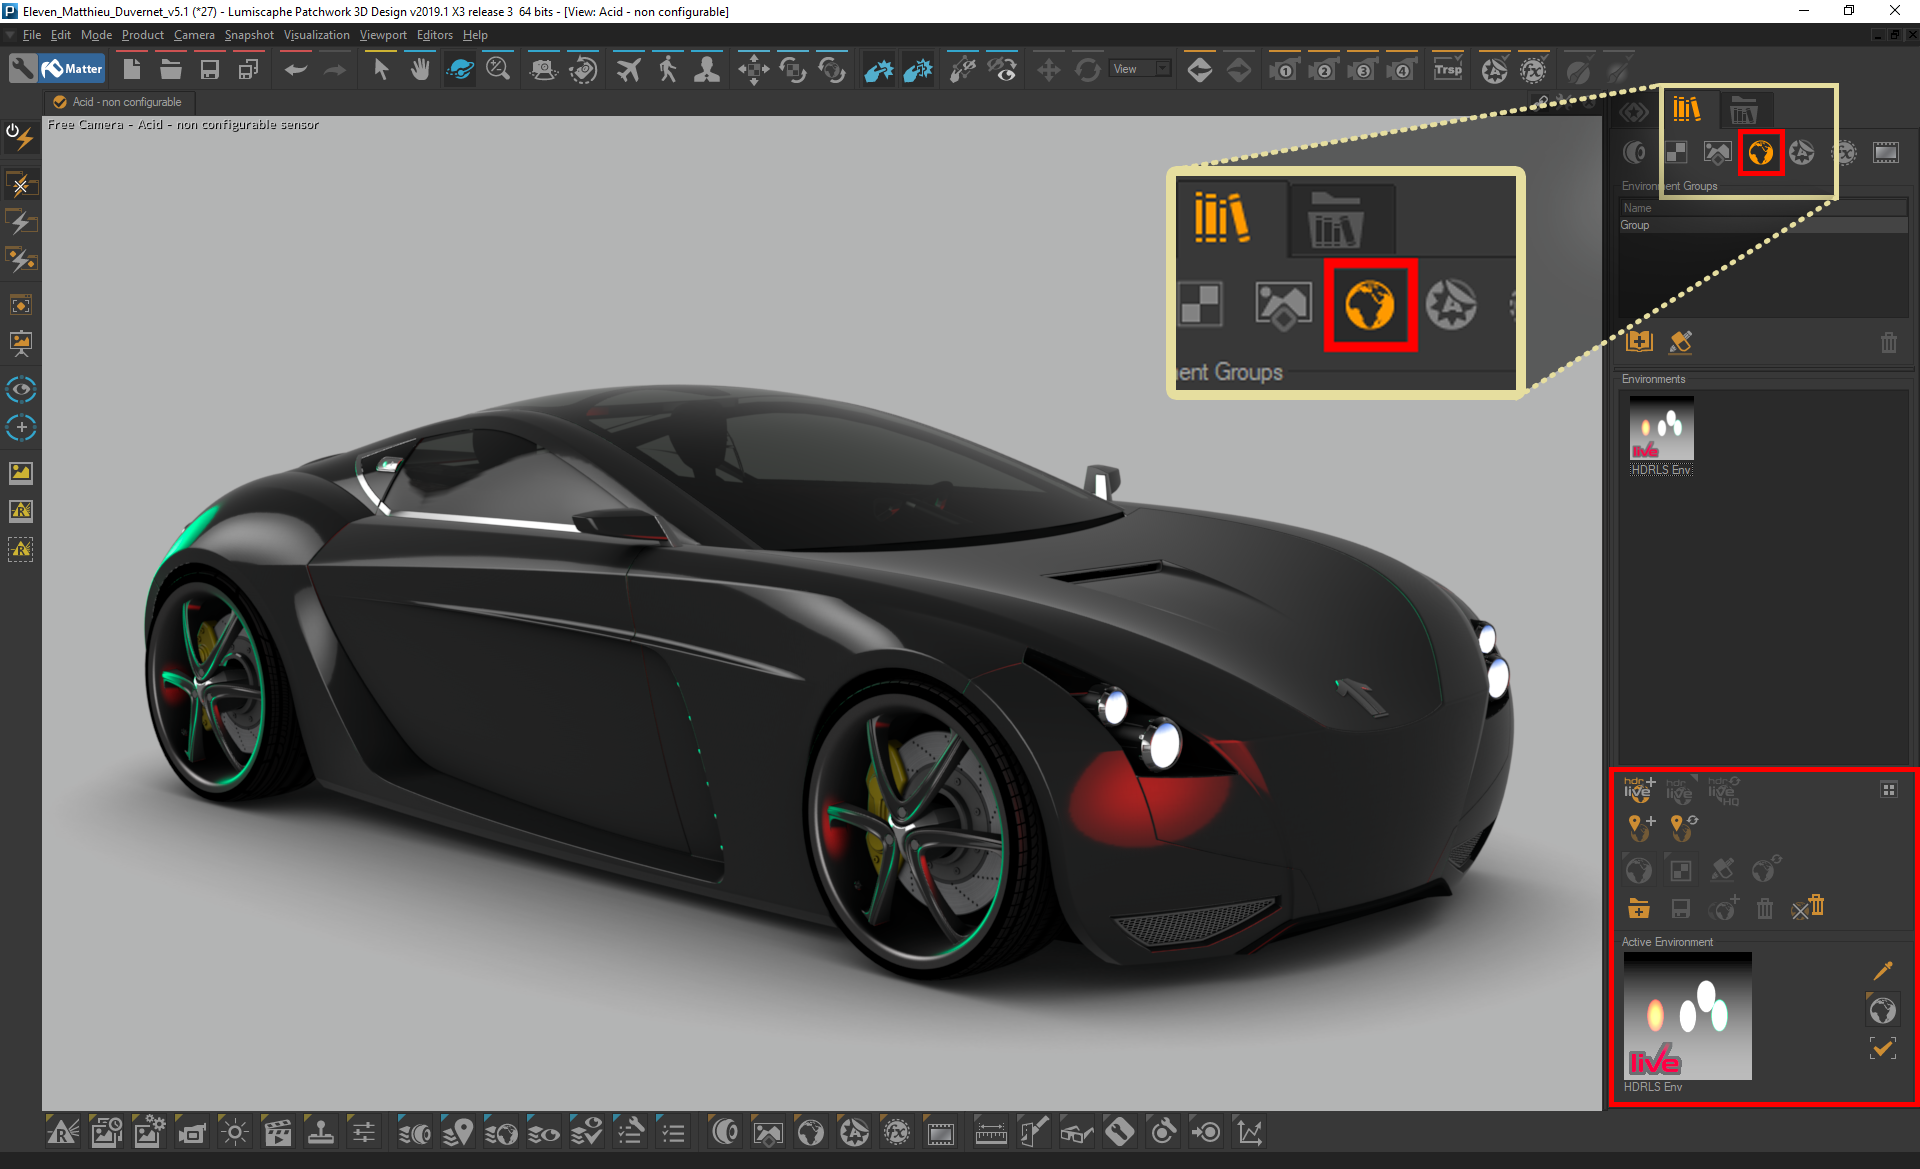
Figure 7: Accessing HDR Light Studio connection through the Environment Library
You may not have an environment set up for your scene yet. In this case, your Environment Library will be empty (see Figure 8). Either way, we will create a new environment to start lighting our scene with HDR Light Studio.

Figure 8: Empty Environment Library
STEP 7: Create a new environment to light with HDR Light Studio by clicking on the ‘Create Environment with HDR Light Studio Live’ icon at the bottom of the ‘Environments’ section in the ‘Environment Library’ (see Figure 9).
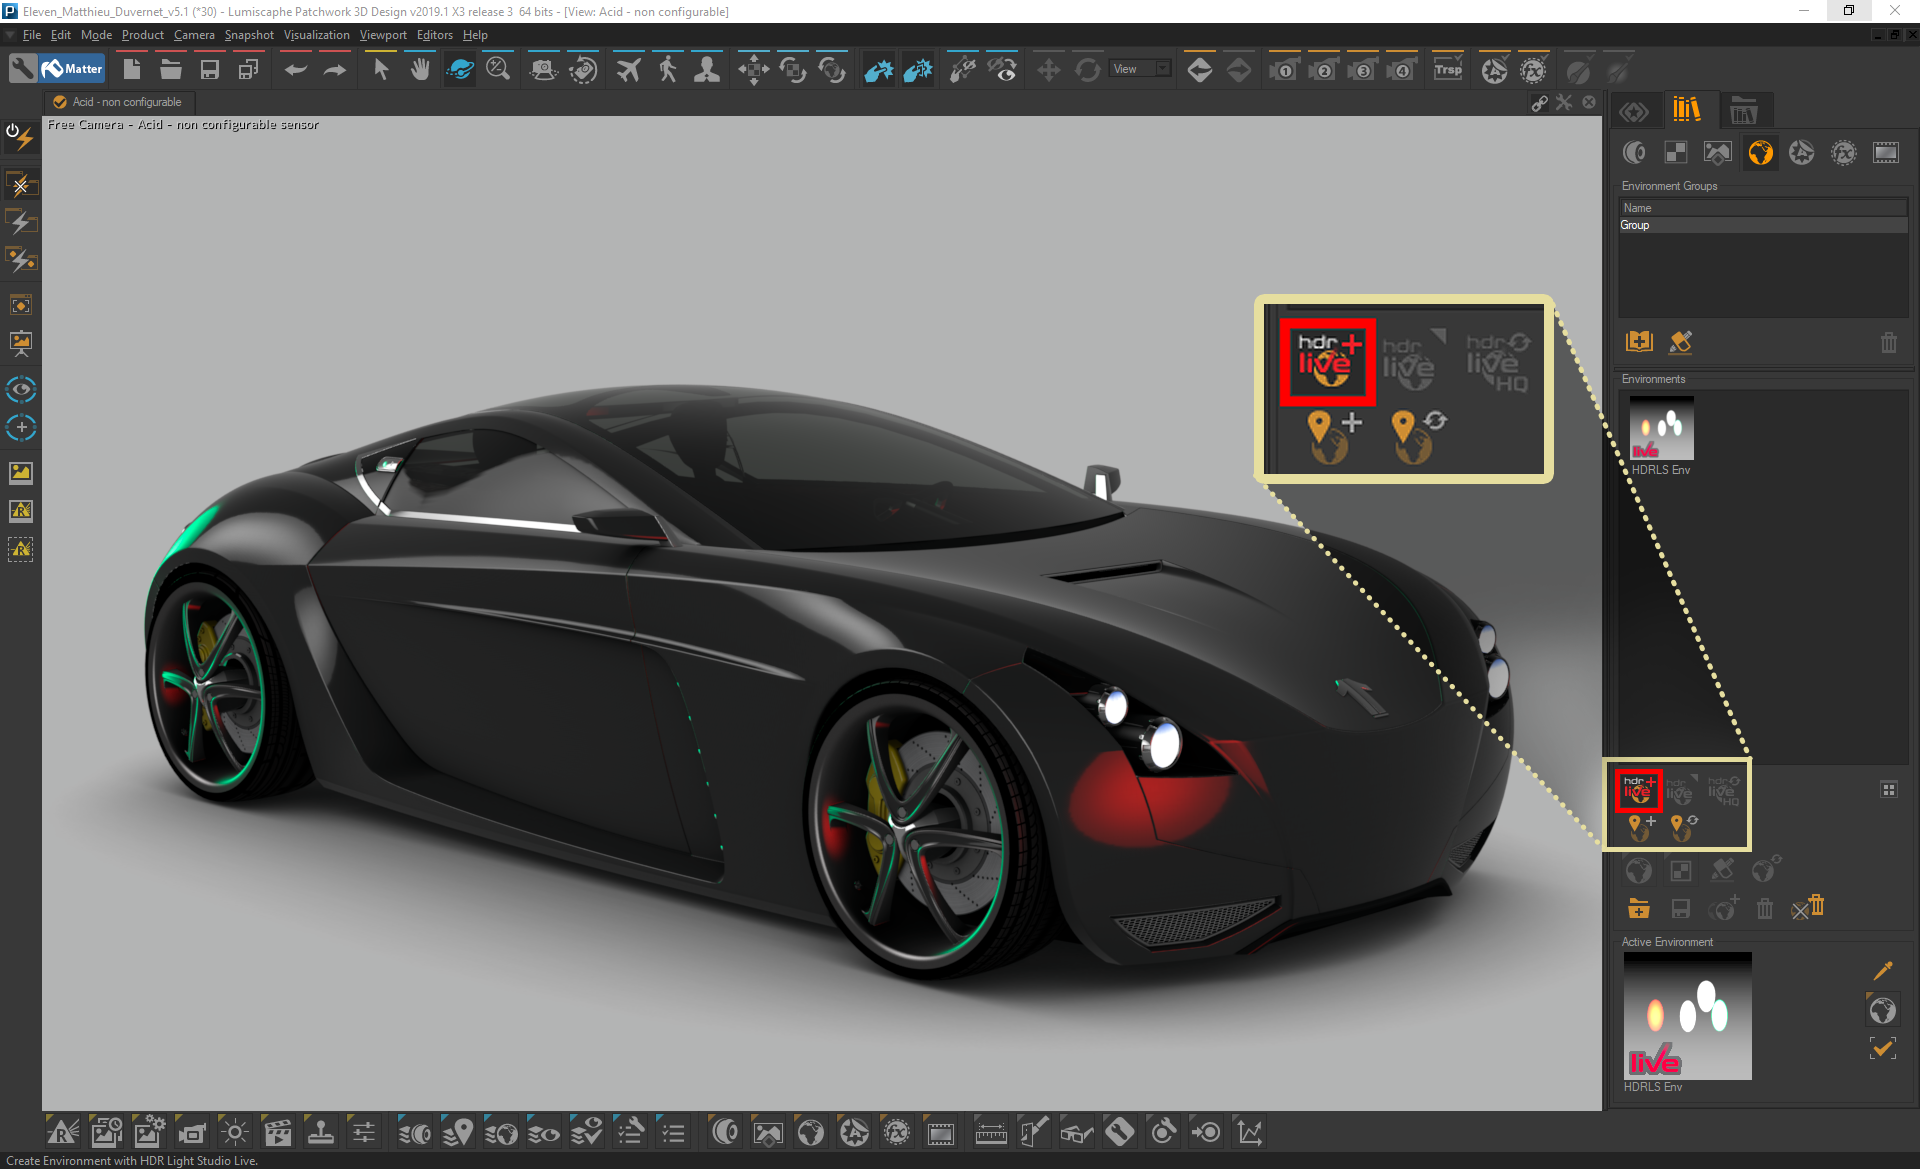
Figure 9: Creating a new environment and starting HDR Light Studio connection
A new environment called ‘HDRLS Environment’ by default is created (see Figure 10) and HDR Light Studio connection will launch (see Figure 11).
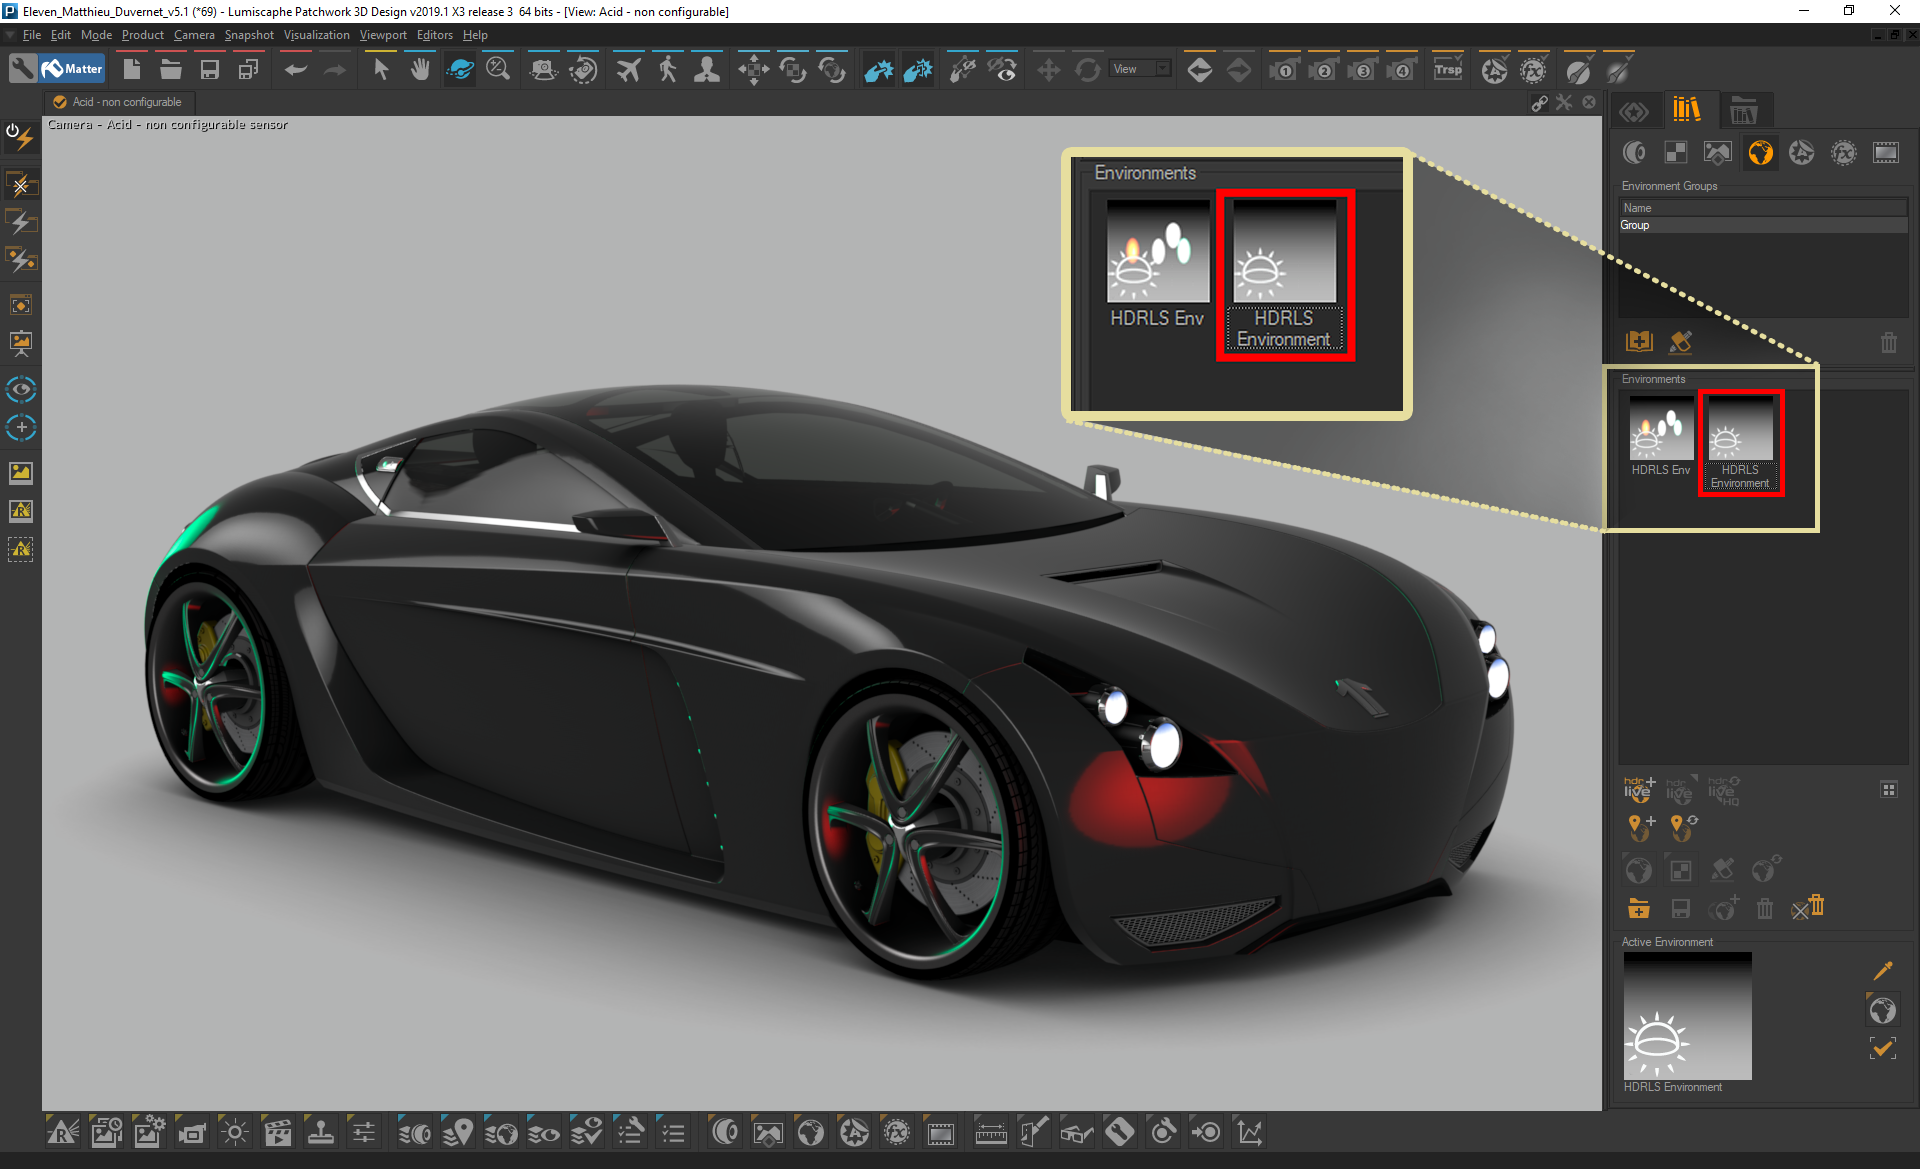
Figure 10: HDR Light Studio environment is created
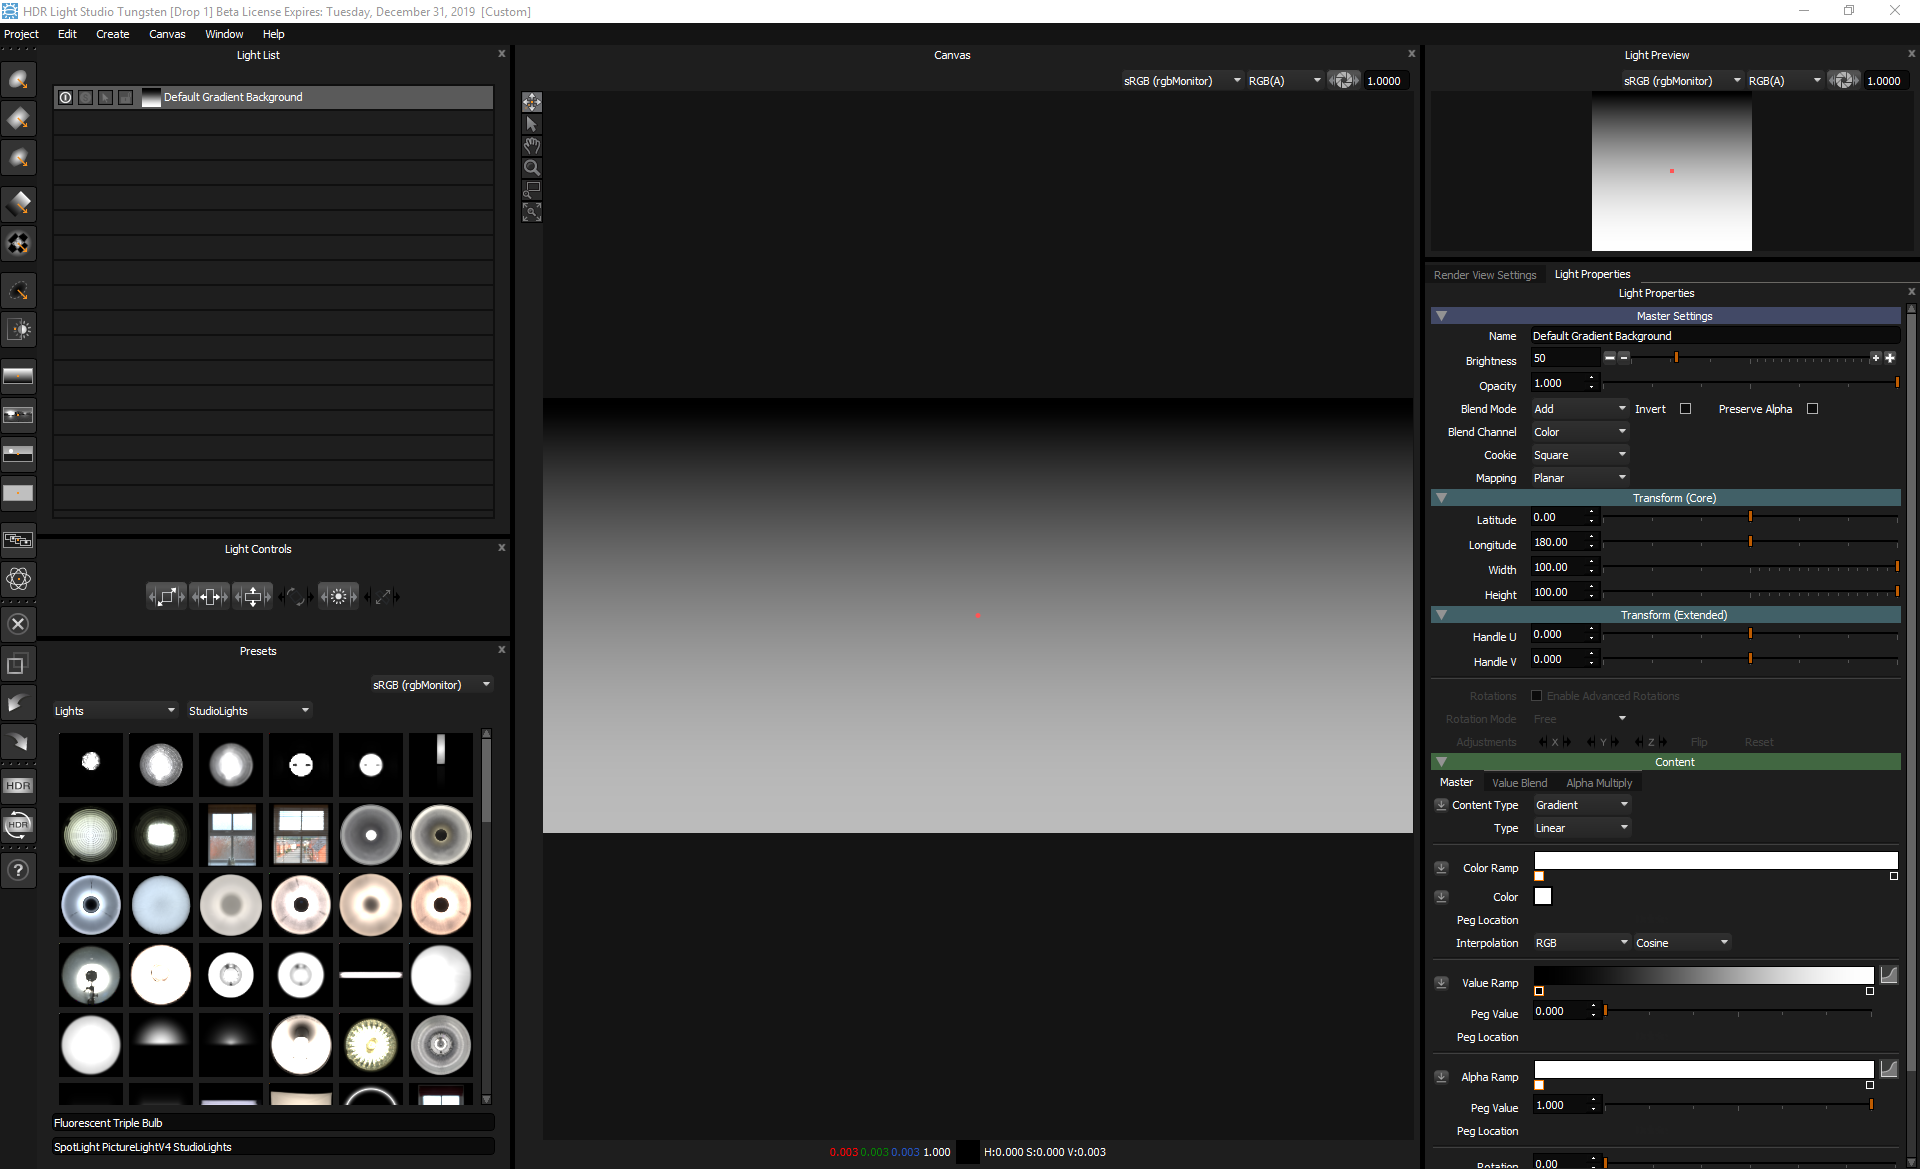
Figure 11: HDR Light Studio on startup
STEP 8: Place the HDR Light Studio interface onto your second display, if you have one (see Figure 12). Otherwise, you will need to rearrange the HDR Light Studio interface to see both HDR Light Studio and VRED on the same display, which is not ideal and can get crowded.

Figure 12: Patchwork3D (left) running with HDR Light Studio connection (right)
Notice how the scene is not lit by the environment we have just created with HDR Light Studio, i.e. ‘HDRLS Environment’ (see Figure 12). This is because the environment is not yet assigned to the scene.
STEP 9: Drag and drop the ‘HDRLS Environment’ onto the scene (see Figure 13). This assigns the environment to the scene. As a result, the scene will now be lit by ‘HDRLS Environment’ (see Figure 14).

Figure 13: Assigning HDRLS Environment to the scene

Figure 14: Environment created with HDR Light Studio assigned to the scene
2. Painting Lights on HDRI Map using LightPaint
STEP 1: In HDR Light Studio add a ‘Rect Light’ from the toolbar on the left (see Figure 15). Then in Patchwork, from the toolbar at the top, click on the ‘HDR Light Studio LightPaint Reflection’ icon. You can now Left-Click to position your light on your model. In this example, we have left-clicked on the car’s hood/bonnet (see Figure 16).
Figure 15: Selecting a Rect Light from the toolbar on the left in HDR Light Studio

Figure 16: Rect Light painted on the car model
The selected light has moved to a position on the HDRI map that will 'reflect' in the 3D model where clicked. This is because the LightPaint mode in Patchwork3D is set to 'Reflection'.
STEP 2: Create another ‘Rect Light’ in HDR Light Studio, just like in STEP 1. In the ‘Light Properties’ panel, the brightness of the light has been changed to 800 so that its effect on the scene will be more visible. In Patchwork3D, from the toolbar at the top, change LightPaint mode from Reflection to Illumination by clicking on the ‘HDR Light Studio LightPaint Illumination’ icon. You can Left-Click on the model to paint the light using Illumination mode. In this example, we have Left-Clicked on the driver’s rear alloy wheel (see Figure 17).

Figure 17: Rect Light painted on the model using illumination mode
The selected light has moved to a position on the HDRI map that will 'illuminate' in the 3D model where clicked. This is because the LightPaint mode in Patchwork3D is set to 'Illumination'.
STEP 3: In Patchwork3D you can click on the ‘Raytrace Active Viewport’ icon in the left toolbar to see a more accurate preview of your lighting (see Figure 18). This may take a while to complete. Paint more lights until you are happy with the lighting design (see Figure 19).

Figure 18: The scene after being raytraced

Figure 19: Lighting design made in HDR Light Studio
3. Producing the Final HDR Content
HDR Light Studio can render higher resolution, high quality sub-sampled HDR images on disk for Patchwork3D to use instead of the proxy content used during the lighting design process.
STEP 1: In Patchwork3D, click on ‘HDR Live HQ’ button (see Figure 20). This opens the 'Production Render' panel in HDR Light Studio.

Figure 20: Render button for the HDR Light Studio connection
STEP 2: In HDR Light Studio Ensure the ‘Orientation’ for the map is set to 'Patchwork3D/Patchwork3D' (see Figure 21)

Figure 21: Setting the map orientation to match with Pathwork3D
STEP 3: Adjust the rest of the settings according to your needs. Set the Resolutions for the HDRI map. Choose a file name and location for the HDRI content using the 'Browse' button. Click ‘Render’ and HDR Light Studio will calculate the final content, save it on the disk and automatically update Patchwork3D to use that content (see Figure 22).

Figure 22: Rendering the final HDRI map file
STEP 4: HDR Light Studio projects can be saved from the HDR Light Studio interface (CTRL + S or Project > Save Project, see Figure 23) at any time during the lighting process as a HDi file (native HDR Light Studio project file), even when using HDR Light Studio via a connection. If you were to open HDR Light Studio in a connection with Patchwork3D, this project can be loaded into HDR Light Studio using Project > Open Project. The lighting design would load into HDR Light Studio replacing its current design, and would then be synced back into Patchwork3D. This is how you can move lighting between Patchwork3D projects or between other supported 3D software.
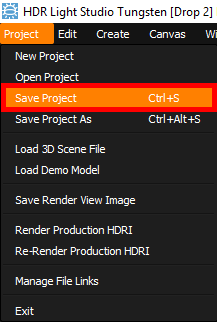
Figure 23: Saving HDR Light Studio project
STEP 5: Close HDR Light Studio connection from the HDR Light Studio interface, Project > Exit (see Figure 24). If any further changes are now made to the lighting in HDR Light Studio, all content will be updated to use the updated proxy versions again. So, please ensure you ‘stop’ the HDR Light Studio connection after you have produced your production lighting.
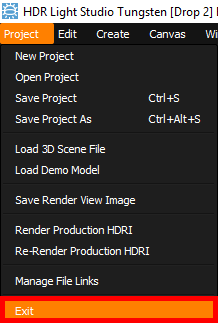
Figure 24: Stopping the HDR Light Studio connection
