Step 1: Installing the main HDR Light Studio application
Follow these instructions to install HDR Light Studio on a computer running Mac OS X.
1.Download the .dmg file from our web site.
2.Double click on the .dmg file.
3.Read the End User License Agreement and Agree to proceed.
4.Double click on the InstallHDRLightStudio.pkg file to run the installer and follow the prompts.
The application, HDRLightStudio.app, is installed to the directory /Applications
Note for Demo Users
Now you can start HDR Light Studio and press the 'Run Unlicensed in Demo Mode' button.
The restrictions in this unlicensed mode are:
•Project saving and embedding is disabled
•Rendering out HDRI content is disabled
•HDRI content shared via a Connection will have a red water mark light
•Live resolution of the HDRI map is limited to 646 pixels wide, and area lights is limited to 64 pixels
•Saving of User Presets is disabled
Step 2: Activation (Node Locked Licenses)
If you have bought a floating license, please read Installing a Floating License.
Start HDR Light Studio.
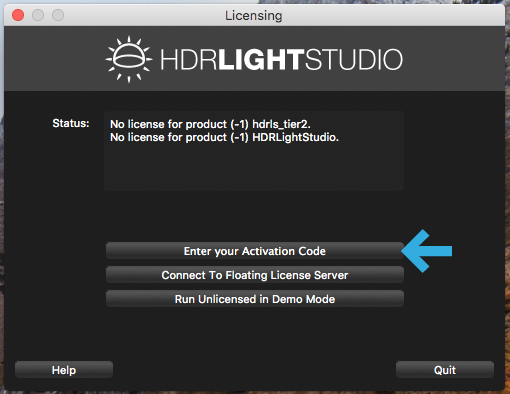
The software is not yet licensed - therefore a Licensing dialog appears after the splash screen.
If you have purchased a node locked license, you will have been provided with an Activation Code.
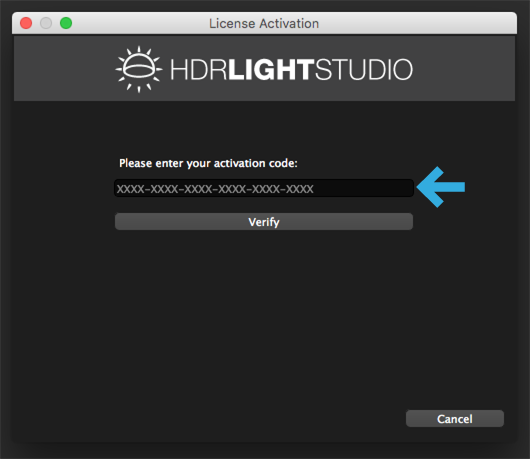
Activation codes have 24 characters and are presented in 6 blocks of 4 characters.
Press the Enter an activation code button.
Copy and paste (or manually type) the Activation Code provided into the text field.
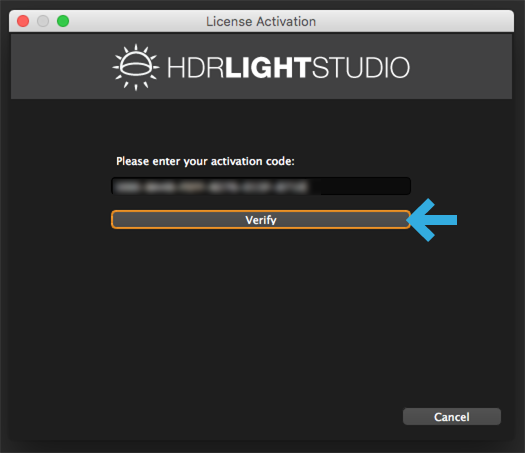
Press the Verify button.
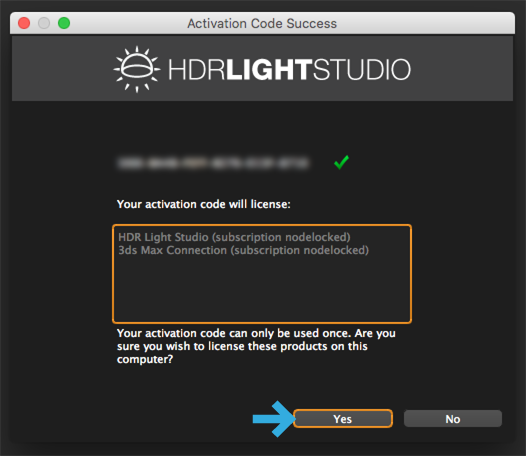
The status of the activation code is now checked on our servers and a summary of the licenses that will be generated is given.
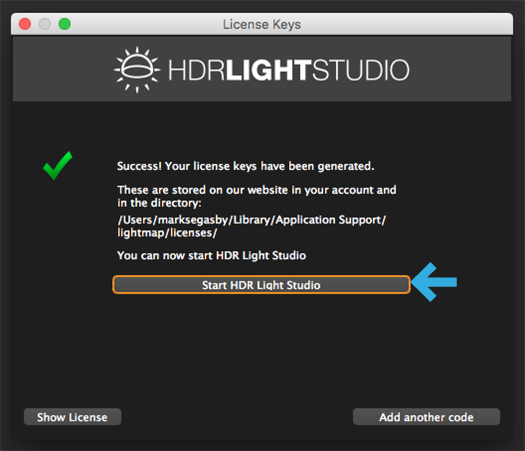
Press Yes to continue. Your licenses will be retrieved and installed on your computer.
Press Start HDR Light Studio and the software will open fully licensed.
What's Next: If you have purchased HDR Light Studio, install the high-resolution Presets
