An image is loaded as the content for this type.
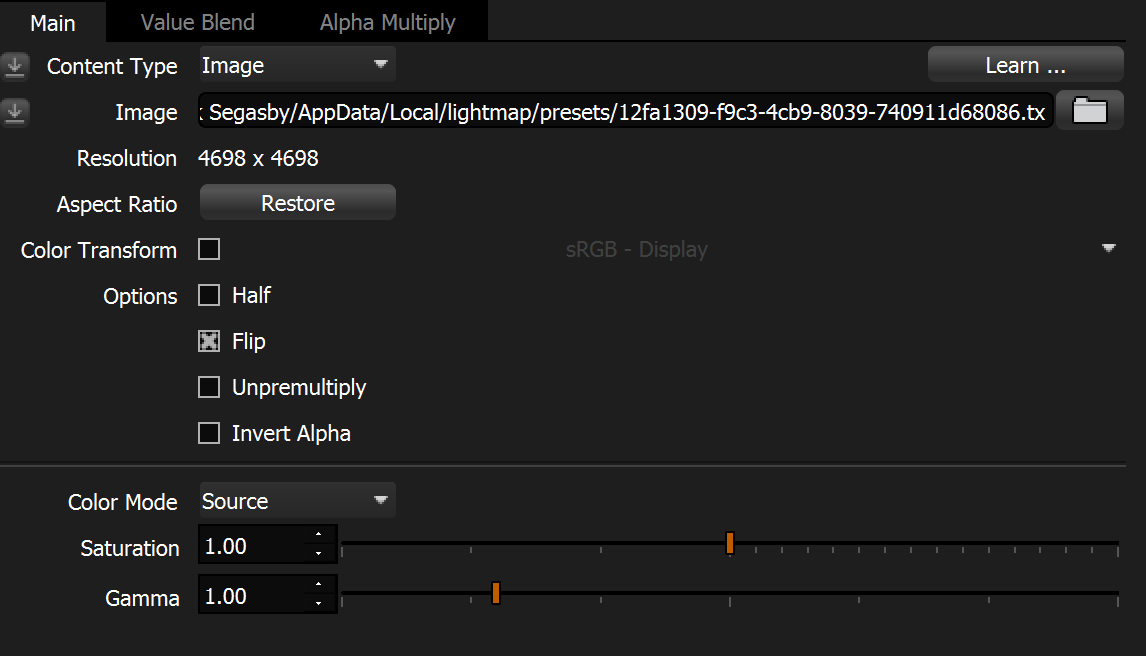
Image
To load a new picture or change an existing one, click on the Folder icon button and select an image file, or drag the file from a file browser and drop it into this field.
The following is a list of supported image file formats: BMP, DDS, DPX, FITS, HDR, ICO, IFF, JPEG, OpenEXR, PNG, RLA, SGI, TIFF.
If the image being loaded is 1,500 pixels wide or larger, you will be prompted to convert the image into a TX file. For more information about Converting to TX files, see Working with Images.
Resolution
Displays the pixel resolution of the loaded image
Aspect Ratio
To adjust the height of the light to match the loaded image's aspect ratio, press the Restore button.
Color Transform
Enable the check box to select a colorspace reverse transform from the loaded OCIO config.
Set this to tell HDR Light Studio what color profile has been embedded into the values in this loaded image. For example, most LDR images will have color a profile sRGB already applied. So select sRGB in this drop-down to convert the image to linear. Most HDR images should already be in linear color space and this setting can be left off.
Missing Colorspace Message

If you open a project and see the Missing colorspace in red (as above), it means that colorspace isn't in your current OCIO config file. The color transform will be disabled.
What to do:
Change it: Turn on the color transform and pick a different colorspace
Restore it: Don't change anything. Instead, load the OCIO config file that was used when the project was created and restart HDR Light Studio and reload the project.
For more information see: Color Management
Options: Half
Removes the bottom half of the light.
Options: Flip
Horizontal Flip of the image
Options: Unpremultiply
If the loaded image RGB values have already been multiplied by the alpha, this provides a method to un-premultiply them, so we get proper results when using the alpha channel in conjunction with this image. Otherwise we could get white fringing on the image.
Options: Invert Alpha
Inverts the alpha channel in the loaded image.
Color Mode
Choose how to color the image. There are 3 options:
Source - the color of the image comes from the image. A saturation slider allows the intensity of the colors to be adjusted.
Flat - choose a single color to colorize the whole image.
Ramp - use a linear or radial gradient to colorize the image.
Saturation
Adjusts the saturation of the loaded image

Saturation value examples: 0, 0.5, 1 (matches the source, no change), 1.5
Gamma
Adjusts the gamma of the luminance of the loaded image. (put simply its an image contrast control)

Adjusting the Gamma of the whole HDRI map. Example values: 0.5, 1 (no change), 2.2

Adjusting the Gamma of a light source. Example values: 0.5, 1 (no change), 2
See how the gamma adjustment can be used to change the character of the light source. In the example above, a tracing paper light, the fall-off of the light across the paper has been dramatically changed by using the gamma control alone. Gamma is very useful for adjusting the character of image based light sources.
