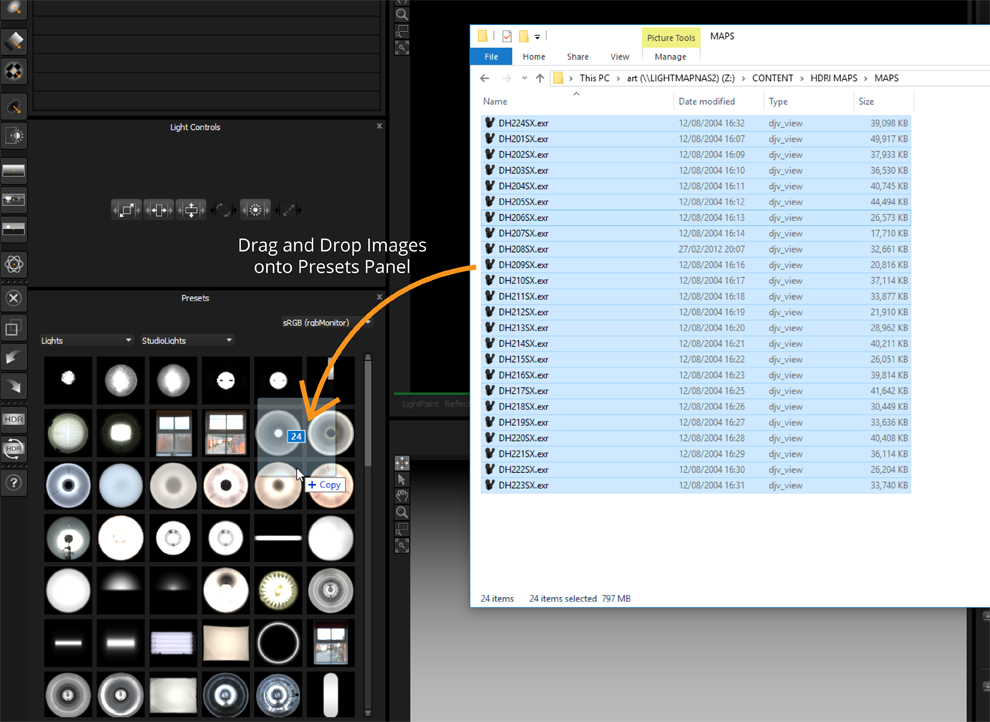
If you have a range of images you would like adding to the User presets, you can drag and drop the images onto the Presets panel, and they will be added as Element: Images.
This is ideal if you have a library of HDRI maps that you would like available inside HDR Light Studio.
Any images that have a ratio of 2:1 will automatically be available from the Env tab in the presets panel. Making it easy to find your HDRI maps.
Simply drag and drop the selected images from a directory in your OS onto the Presets panel.
It doesn't matter what type of content is active in the drop-down menus, the images will always be added as Element:Images
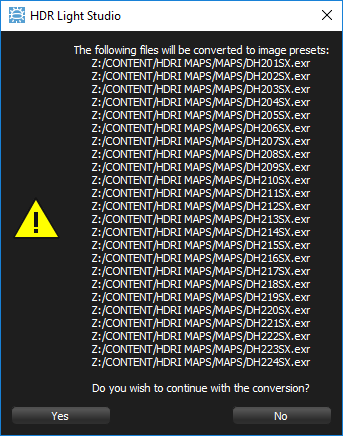
Once the images have been dropped, you will be asked to confirm you wish to continue with converting the images to presets.
Choose Yes to continue.
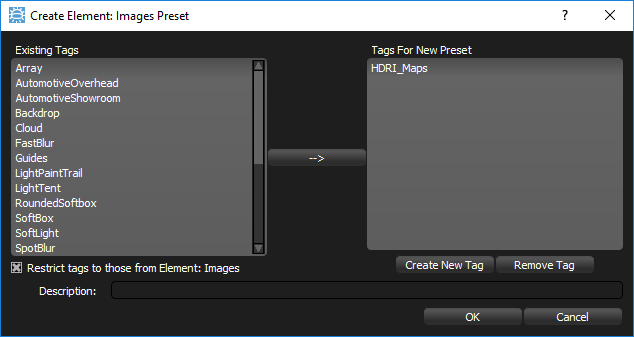
The Presets name/description will be inherited from their file names. But you should tag them appropriately. Here we have created a new tag HDRI_Maps
Press OK to continue.
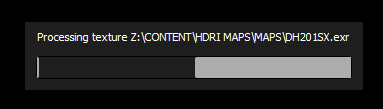
Now each image will be processed into a .tx file that is added to the User Presets folder, with an accompanying .xml file describing the preset.
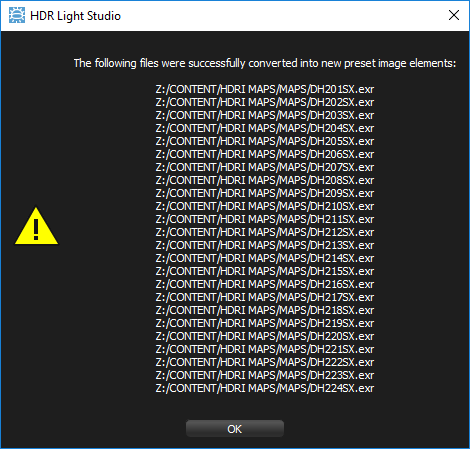
Once all of the images have been processed a confirmation will be displayed.
Press OK to close the panel.
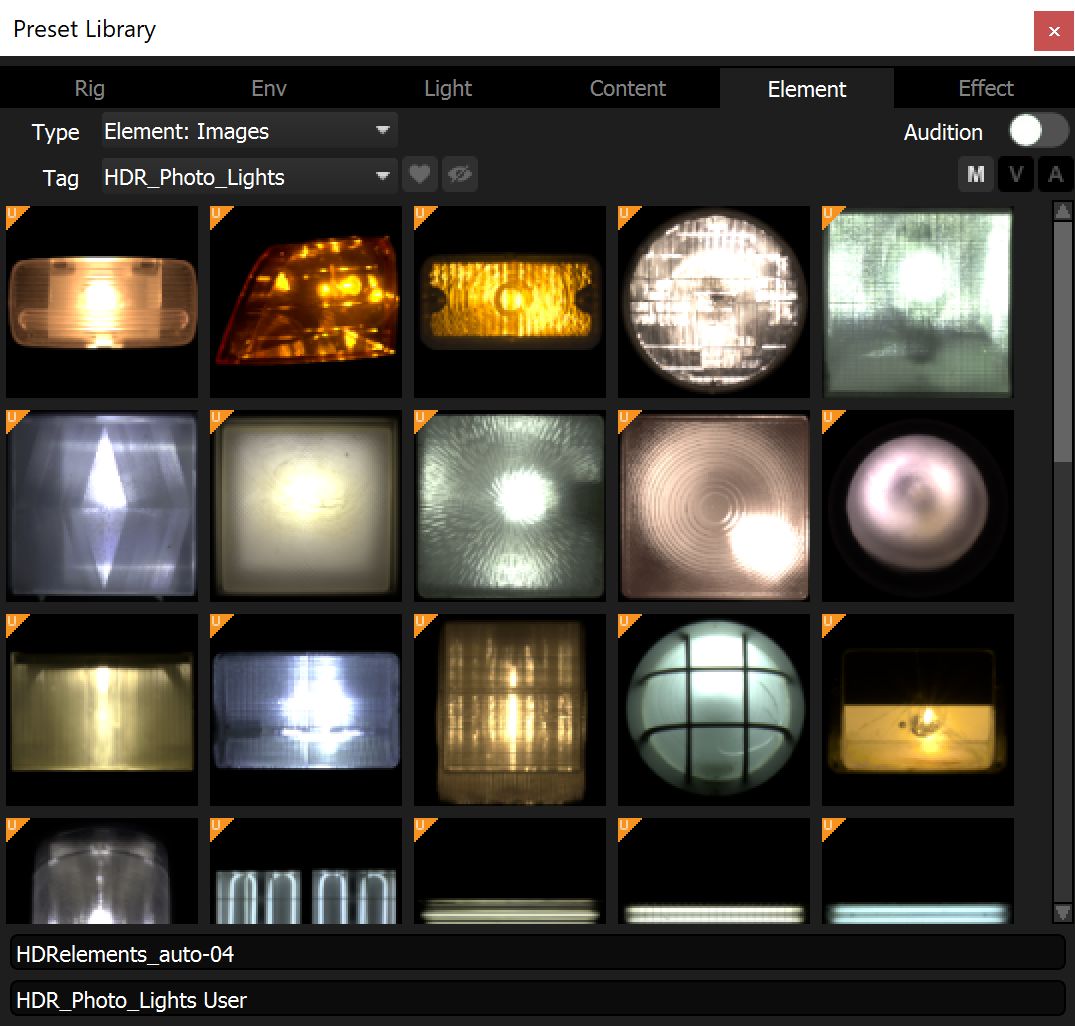
If you select Element: Images and the tag HDRI_Maps, you will now be able to see the images that have been added to the User Presets.
You can rename, tag and delete your added User Presets using the User Preset Management panel.
Next: Preset Preferences
