Start LightWave 3D.
Load a model.
Show the Render Globals dialog. Use <CTRL>-P or click on the Render tab. In the Global Illumination tab select Enable Radiosity.
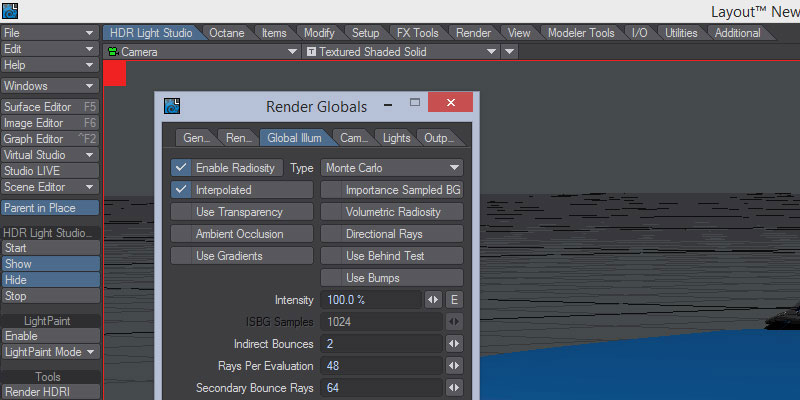
Enable Radiosity
Click on Windows - Backdrop Options (<CTRL>-F5). Click on Add Environment and select HDRLS_environment. This sets up the transfer of image data enabling you to light in HDR Light Studio and see the results in LightWave 3D.
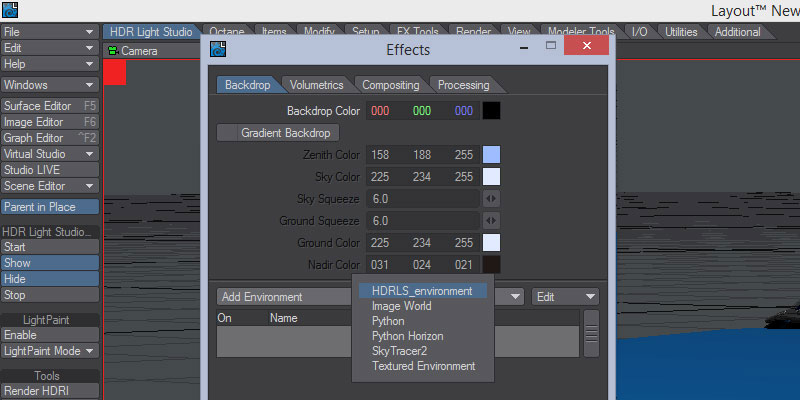
Add Environment
Set your Render View to VPR to see the effects of your lighting in LightWave's renderer.
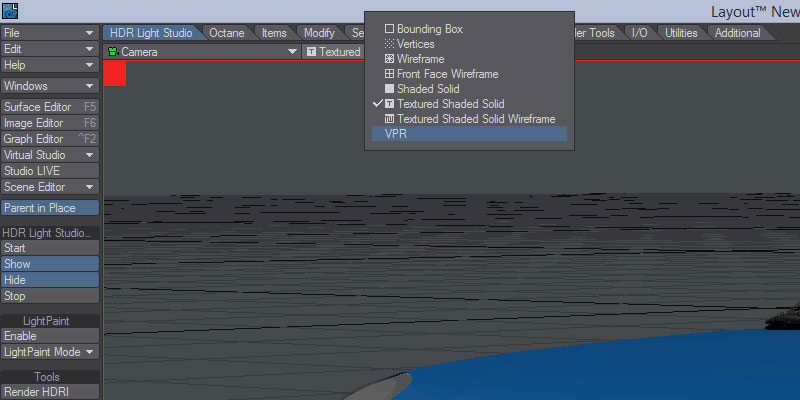
Select VPR
Initially this lighting will be white because HDR Light Studio isn't yet running.
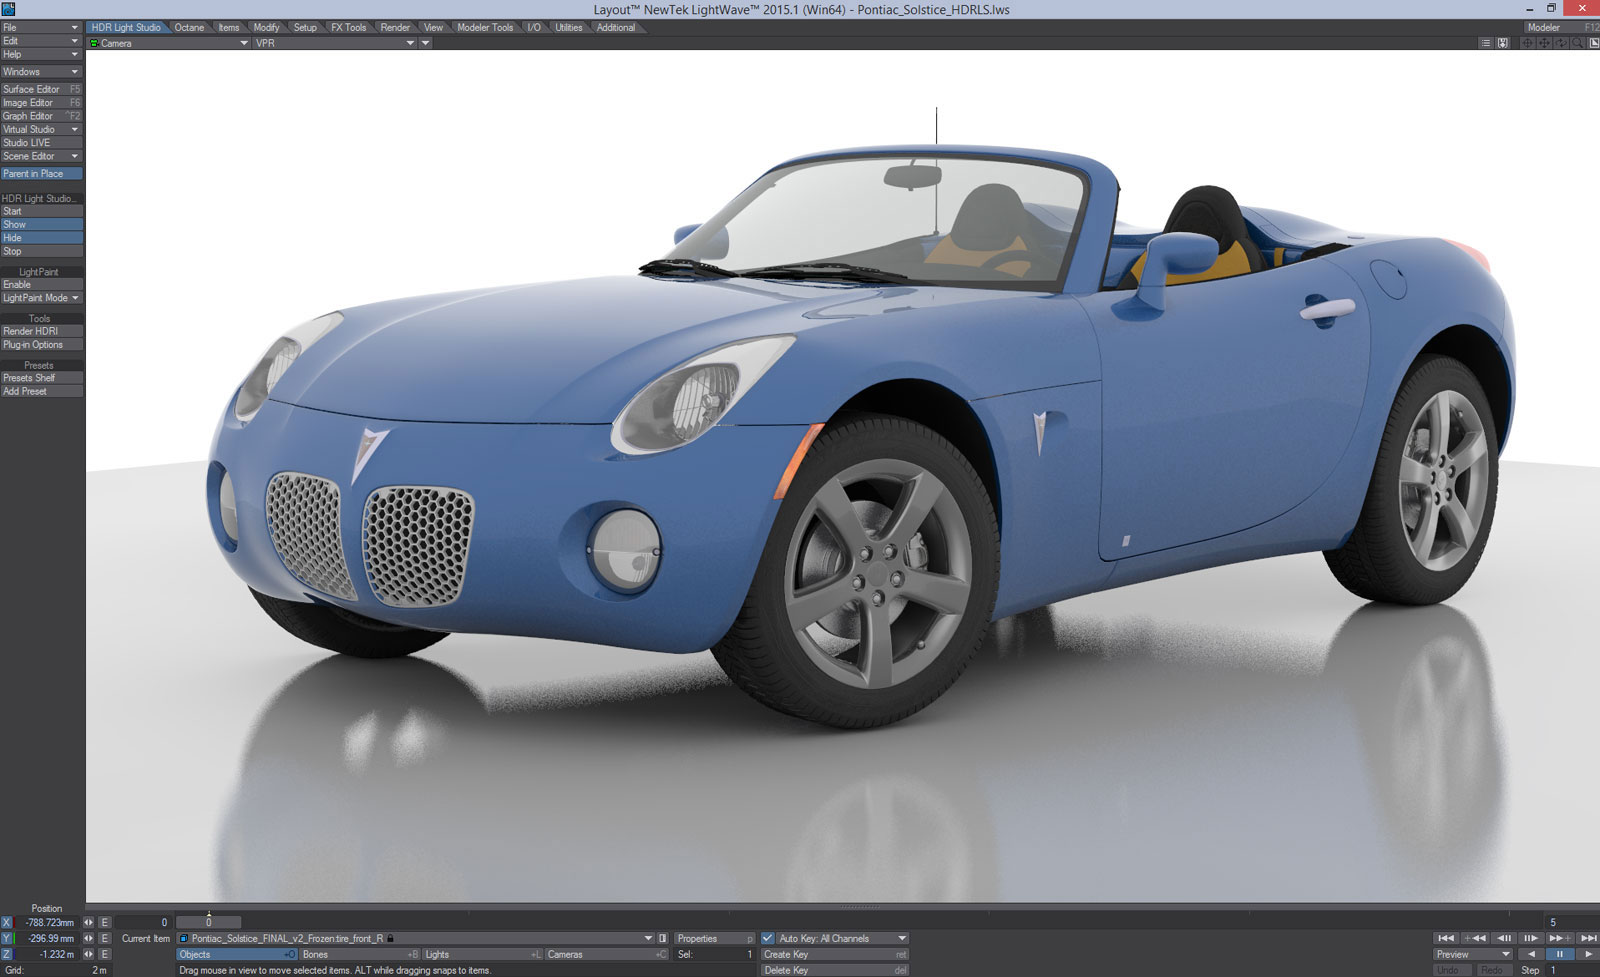
Default lighting
Select HDR Light Studio - Start.
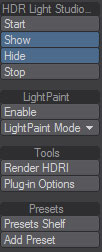
Select Start to start HDR Light Studio
HDR Light Studio will start with the default gradient.

HDR Light Studio lit with the default gradient light
Click on a Round Light in HDR Light Studio. By default this is placed in the center of the canvas and the effect can be seen in the VPR. If you move the light on the canvas, the VPR will re-render with the new light position.

Round Light
Rather than guess where to position the light on the canvas to get the effect you want on the car, use LightPaint to position the lights by clicking on the model. Press LightPaint - Enable and select LightPaint Mode - Reflection.
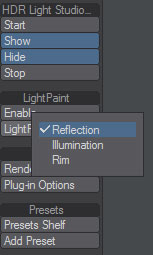
Select LightPaint - Reflection
Now click near the headlamp. You will see the new position of the round light on the canvas and see that light reflecting in the side of the car where you clicked.

Using LightPaint to position the lights
Use LightPaint Mode - Illumination to position the light 'normal' to the surface to illuminate the area selected, this is ideal for matte objects. Use LightPaint Mode - Rim mode to position the light directly on the HDRI map that is visible in the background of your shot - this creates a rim lighting effect or can be used to place lights in the background to create a nice background effect. If LightPaint is active, 'Right Clicking' on your 3D model will select the light sources used. So right click on a reflection to select the light that is creating that reflection.

A more complex lighting design
The image data passed to LightWave 3D is at a proxy resolution to give an interactive lighting experience. Once you are happy with your lighting, you need to render a high resolution, high quality .hdr or .exr file on disk. Click on Tools - Render HDRI (or use the render button in HDR Light Studio), enter a file name and press Render.

Final render
The final step is to replace the reference to the temporary proxy file with the high resolution file we've just rendered to disk. Go back to Windows - Backdrop Options (<CTRL>-F5). Select Add Environment - Textured Environment.
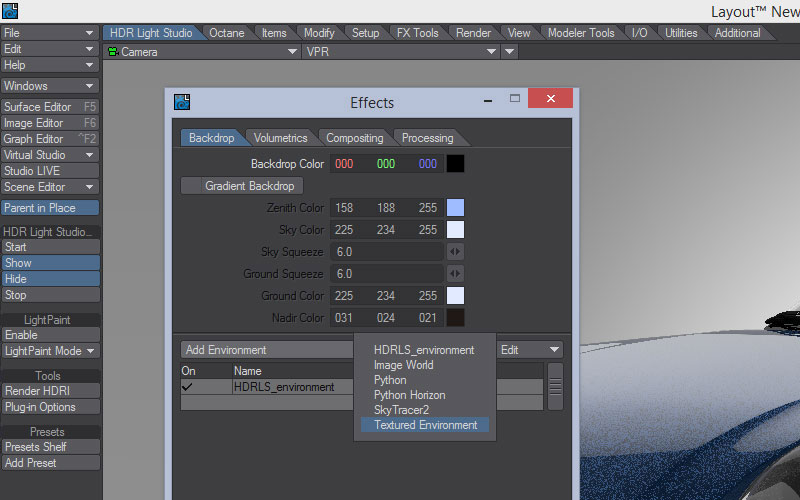
Replace low-res proxy with high-res final render
Double click (or right mouse click) to show its properties and click on Texture.
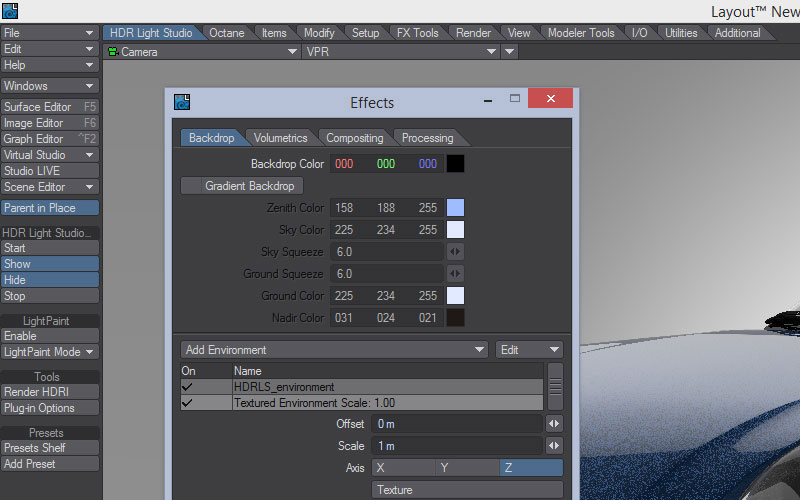
Properties
Set the Projection to Spherical, make sure the Texture Axis = Y, click on Image and select Load Image and pick the high resolution file you rendered.
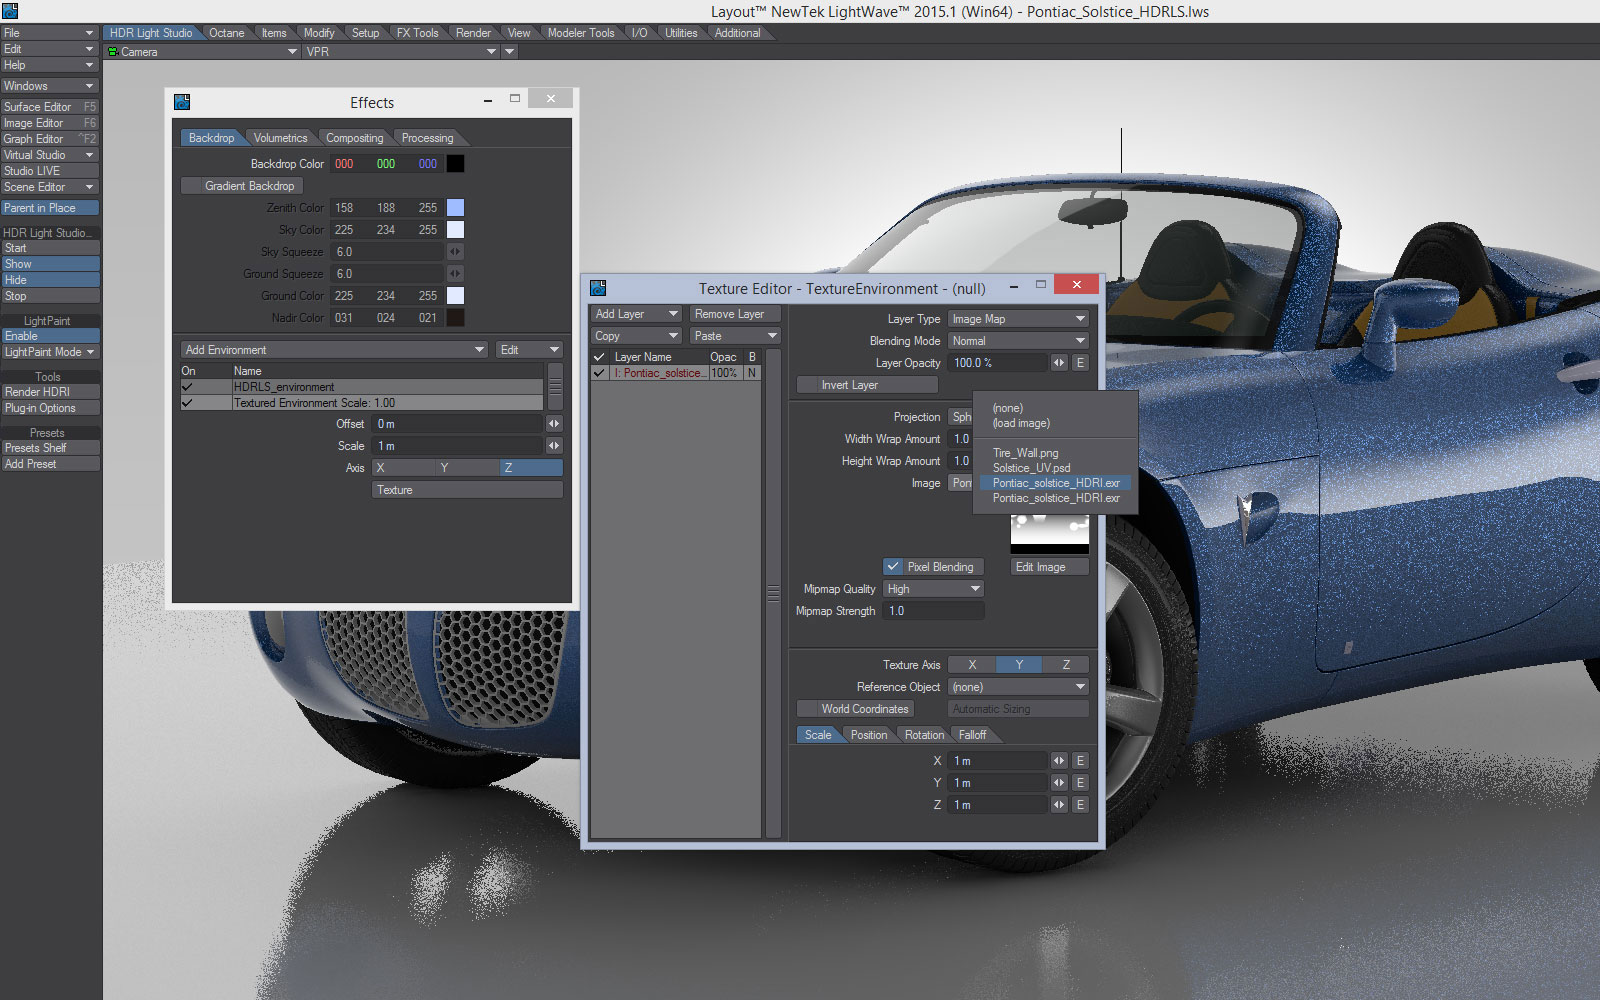
Edit the properties
Close the texture properties and switch off the visibility of the HDRLS_environment.
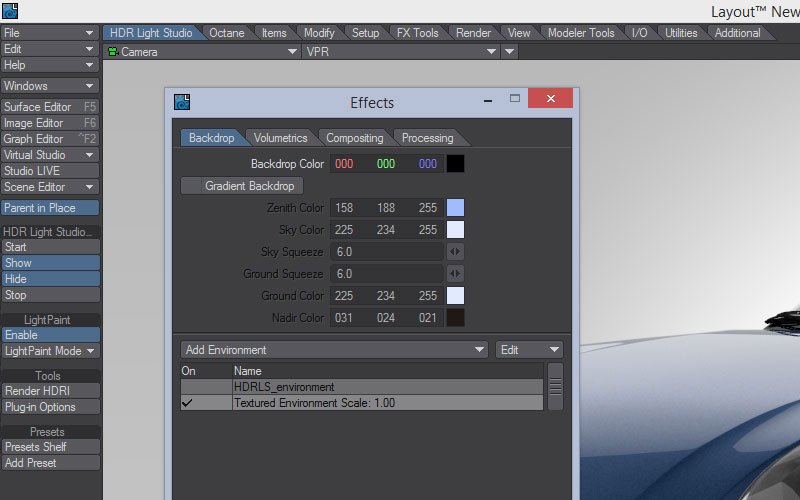
Switch off HDRLS_environment
You should now see the lighting update in the VPR. It will be using the high resolution HDRI map on disk. Lights that appeared pixelated before, should now be smooth. You can now use this lighting to render your final image in LightWave 3D. You can also share this scene with another LightWave 3D user. They will not need HDR Light Studio to render it.
If you save your LightWave 3D scene, the HDR Light Studio lighting design will be embedded in the file. So the next time you load that LightWave scene, you can start HDR Light Studio and the lighting design is automatically loaded and ready to adjust. You can also save the lighting design from within the HDR Light Studio app, using the Project > Save Project. Lighting designs can be re-loaded using Project - Open Project.
If you Stop HDR Light Studio, this will close the HDR Light Studio app and will purge the HDR Light Studio data. Use the Show/Hide Interface buttons to toggle between it being shown/hidden.
Presets
Over time you will build up a collection of favorite lighting designs which can be reused between LightWave 3D projects. However, there is another way to access projects using the Presets Shelf. The Preset shelf can be used to store, retrieve, and hot swap HDR Light Studio lighting designs. Simply press the Presets Shelf button to show the current presets. Ensure you use the top left drop-down within the shelf to select (This User) WorkSpace. Press Add Preset to store your current HDR Light Studio state as a Preset. Double click on any preset thumbnail on the shelf to load it into HDR Light Studio and to replace your current lighting design. You will be required to confirm the loading of the new lighting design unless you have disabled this in the Plug-in Options - by disabling the 'Enable presets load confirmation'. With this disabled you can very quickly try out different lighting designs by double clicking its thumbnail.
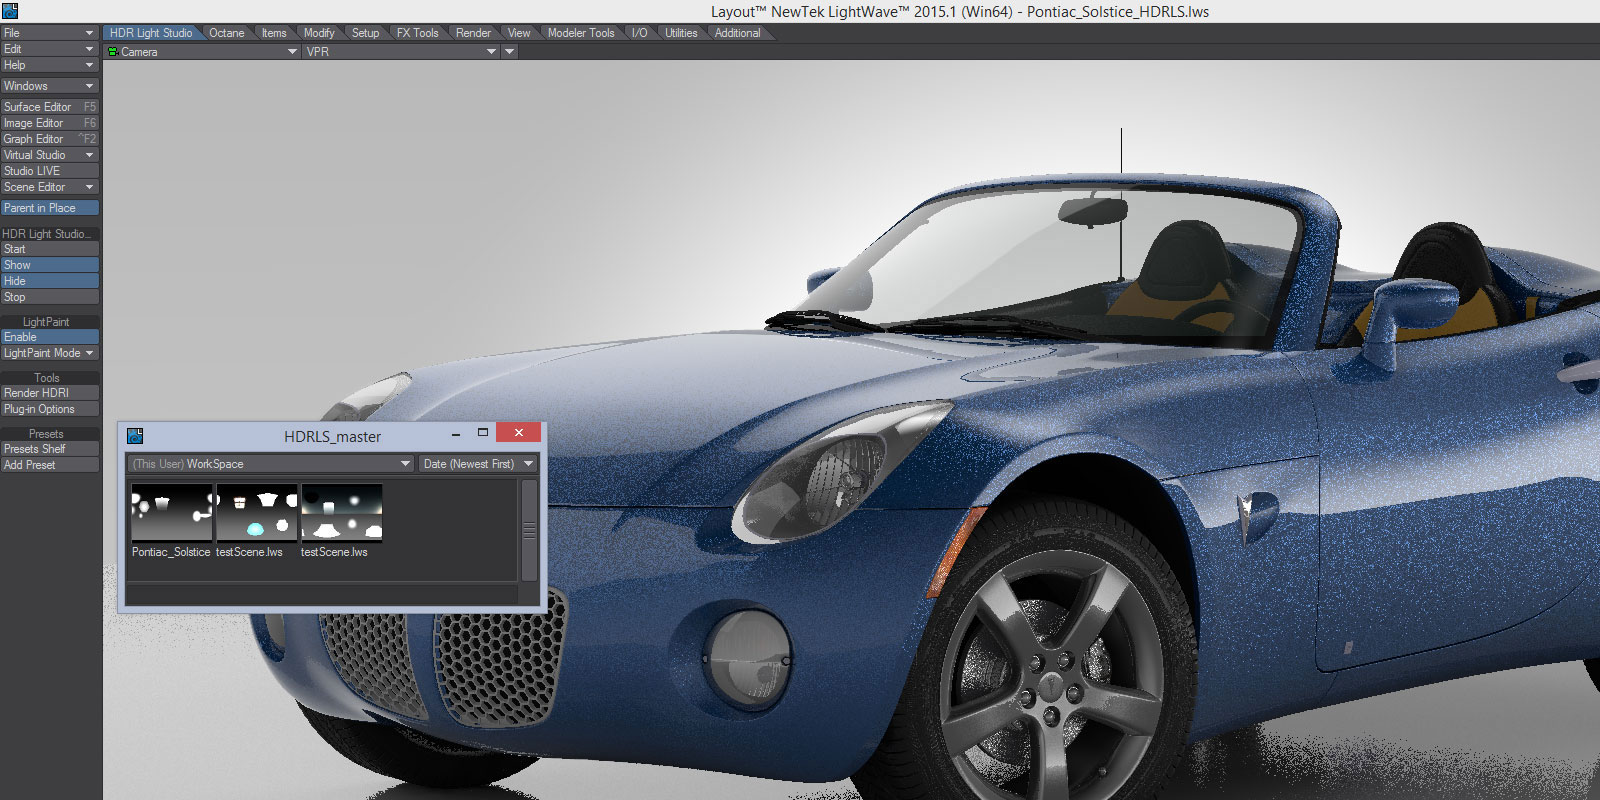
Presets
Note: Big thanks to www.lewis.tomsoft.hr for the use of his Pontiac LightWave 3D scene file in this tutorial.
