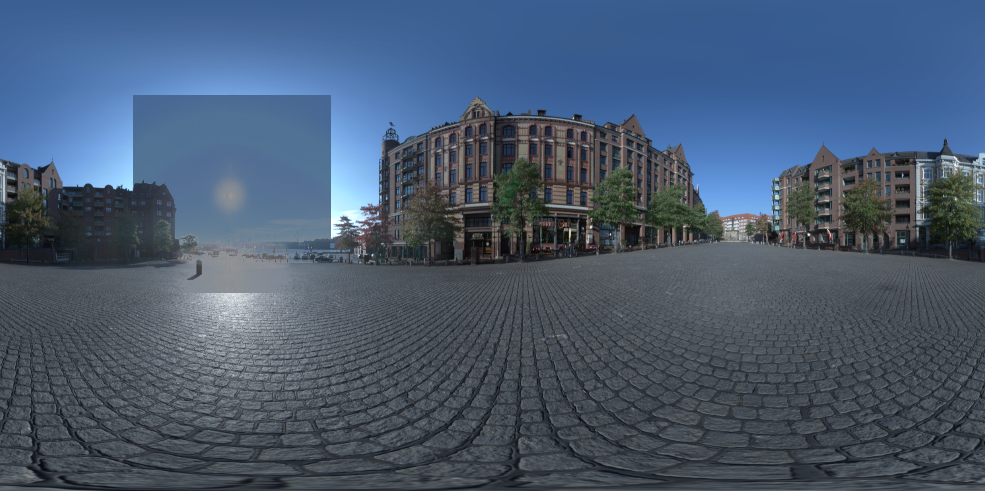
This blend mode uses the brightness value of the light to limit the brightness of the underlying canvas values.
This is the blend mode used for the SunShade light.
See how the square light, set to blend mode Low Pass, is limiting the brightness of the underlying HDRI map. Blocking the brightness of the sky and sun, but leaving the darker values untouched.

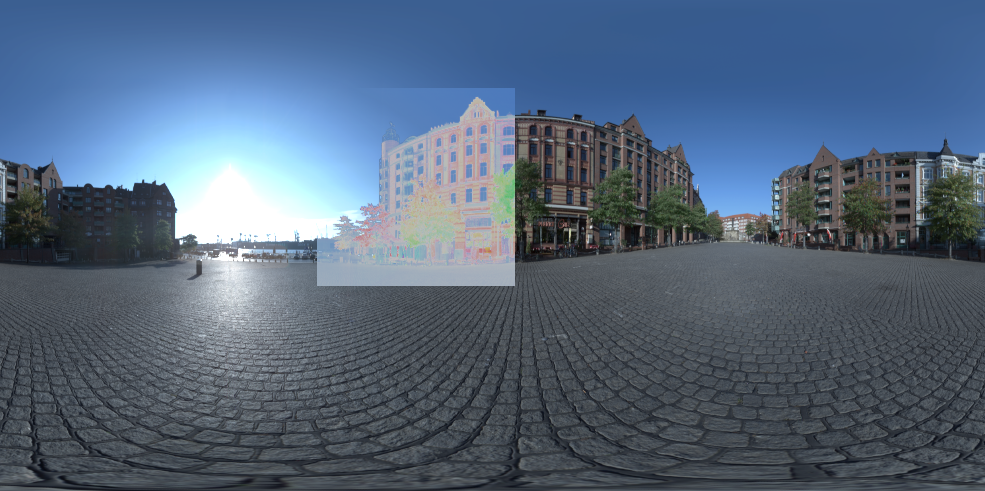
Use the invert option to use the brightness value of the light to limit the darkest value of the underlying canvas values.
So in this example the square light has a minimum brightness matching the light's brightness. The darkest areas of the image are matching the brightness of the square light.

This chart is useful for understanding how the low pass blend mode works. See how the pixels are clamped on the middle chart, and the lowest values raised to meet the lights value on the right hand chart.

The alpha of the light is now taken into account when using Low Pass blend mode.
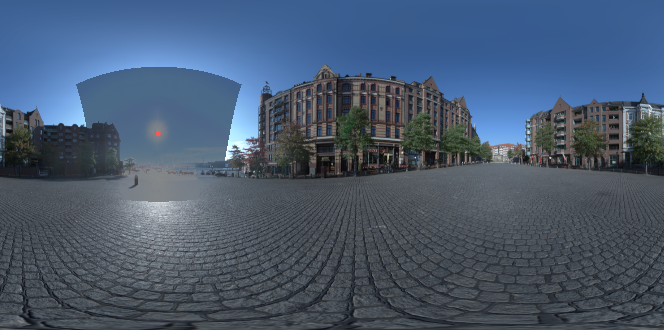
The image below shows using a soft round light with Low Pass blend mode. It ignores the alpha and uses only the value of the light within the blend.
This results in hard edges to the Low Pass effect and you can see the square of the light.

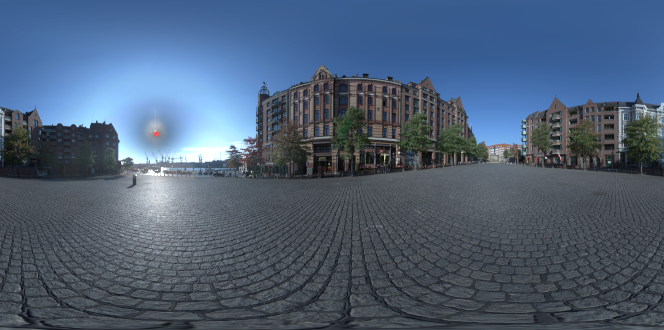
The image below was created using Tungsten, and the alpha of the round light is now used in the blend calculation.
This has resulted in alpha being used to control where the Low Pass blend is affecting.

