(New in Tungsten Drop 4)
The User Preset Management panel is opened by going to the menu Edit > Manage User Presets
This panel is the only way to manage your User Presets.
This panel can take a few seconds to appear as the user presets are loaded into this panel.
 Selecting a Preset to Edit
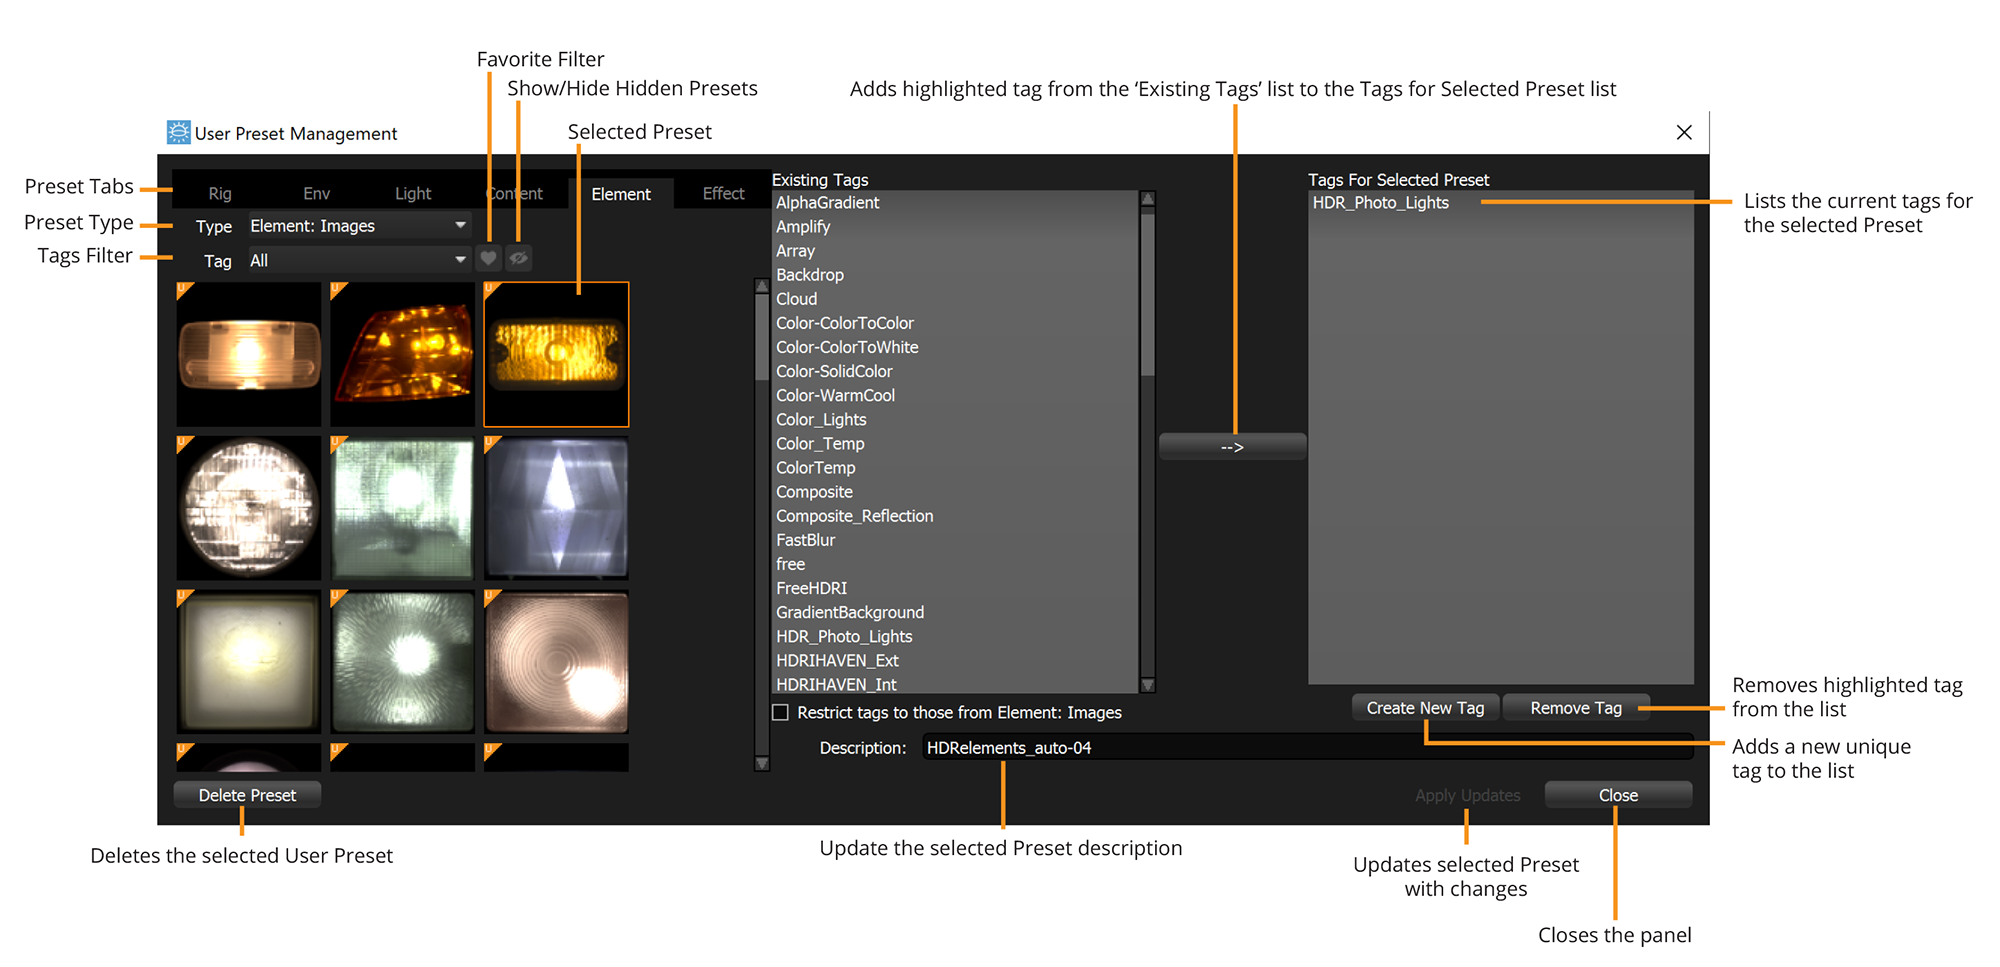
The panel includes a region displaying the installed user presets. These are filtered with the same controls as used in the main Presets panel in HDR Light Studio.
Find the preset you want to edit and select it by clicking on the thumbnail. The selected preset is highlighted with an orange outline, and its Description (name) and Tags are then displayed.
Deleting a Preset
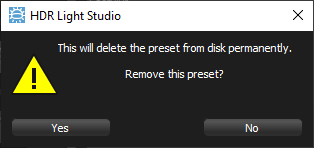
With a single User Preset selected, press the Delete Preset button. (Multiple light selections is not supported at this time)
A warning dialog will appear checking if you really want to permanently delete the user preset.
Please note: Images referenced in a Preset will not be deleted. These images may be used in previous HDR Light Studio projects, and deleting them will mean old projects will not load correctly.
Changing the Description
This is effectively the name for the preset as shown in the preset panel. With the preset selected, type a new name in the Description field, and then press the Apply Updates button to change the name.
Changing the Tags
With the preset selected you can add tags from the Existing Tags list using the button, or select a existing tags and remove them with the Remove Tag button. To save the changes to Tags, press the Apply Updates button.
Once you have finished editing your user presets, press the Close button, to close this panel.
Next: Batch Import of Images to User Presets
