Open the Rhino scene that you want to light using HDR Light Studio.
Go to, or open, the Environment Editor Panel.
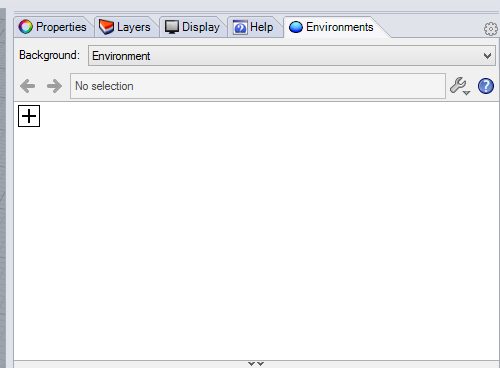
Press the + button to add a new environment to your Rhino scene.
The Open Window appears differently depending on which renderer is active. In this case it’s the Rhino Renderer and looks like this.
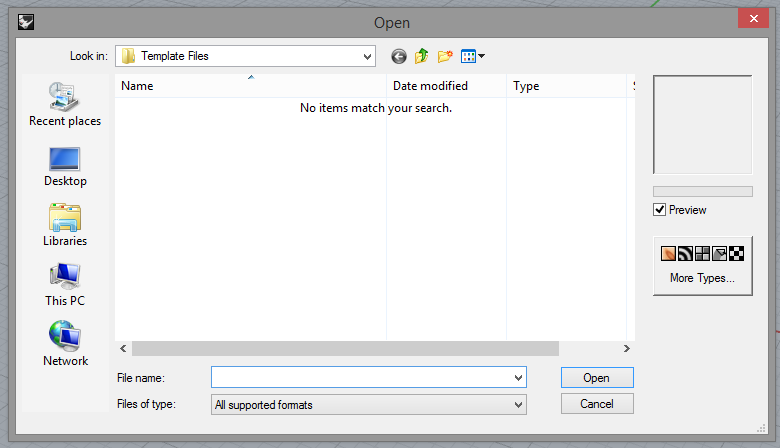
Press the ‘More Types…’ button
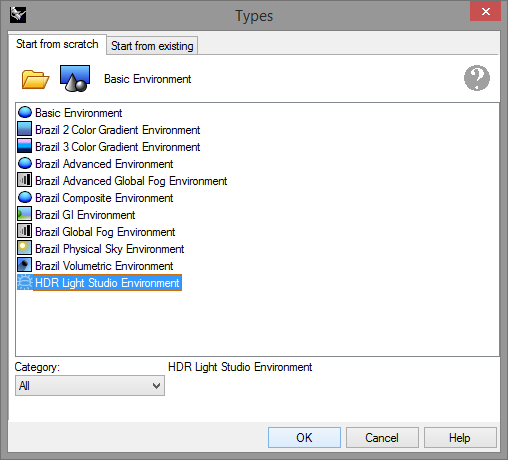
Select HDR Light Studio Environment from the list and press OK
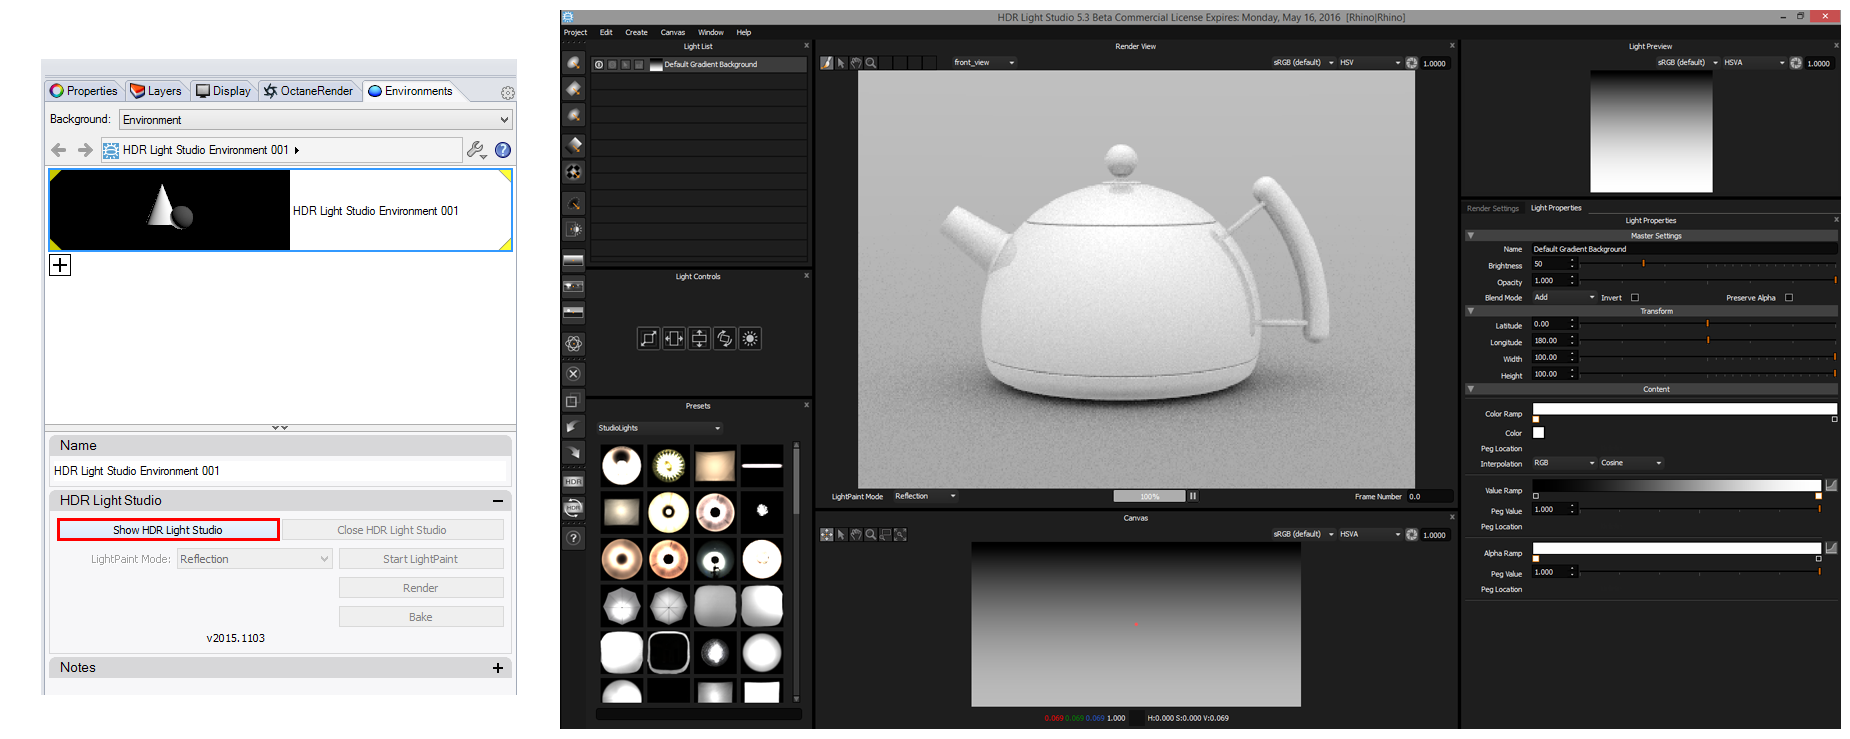
A HDR Light Studio Environment 001 has been added to the Environments Editor Panel, and is active. When a HDR Light Studio environment is active, below it you can see the controls for the HDR Light Studio connection.
Press ‘Show Light Studio’ to start HDR Light Studio. HDR Light Studio is now opened and connected to this environment texture in Rhino. You may want to place the HDR Light Studio interface on a second monitor, or adjust its size so you can also see Rhino.
As you create lighting in HDR Light Studio, the HDRI map is shared with Rhino and updates with each change. Welcome to HDRI lighting in Rhino!
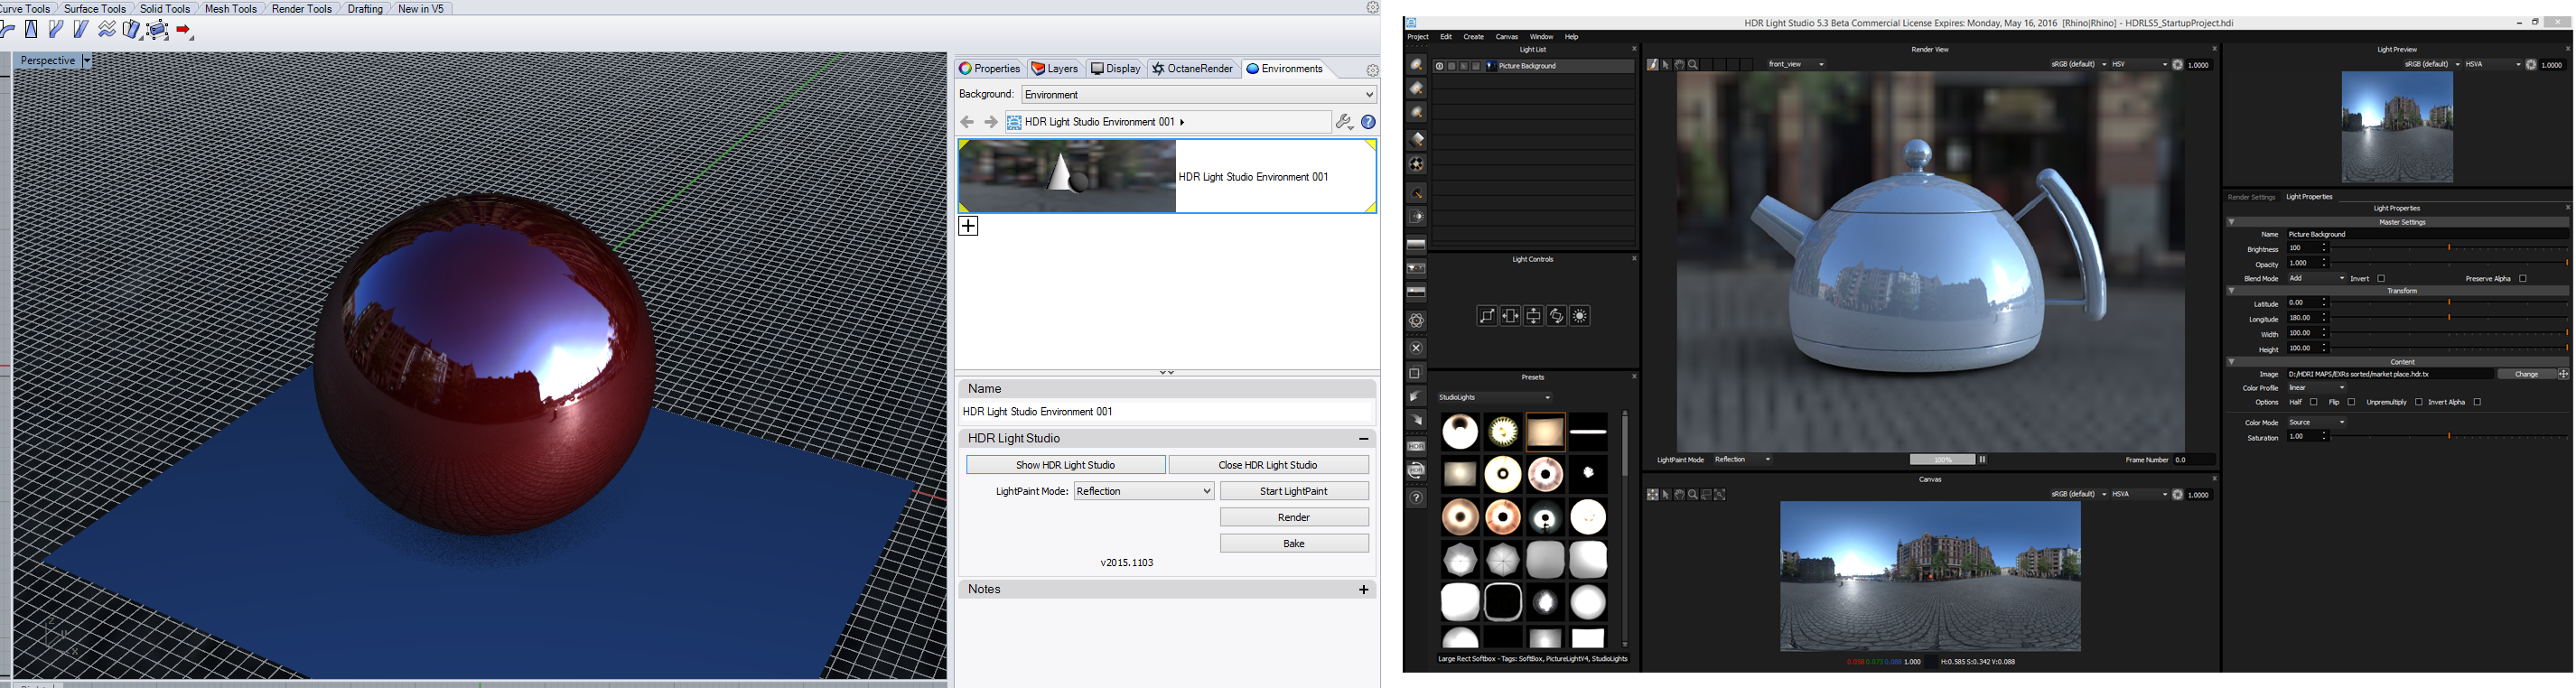
By default HDR Light Studio displays a rendered view with a default Kettle model, but this view can be closed when using Rhino, as you will make your lighting decisions in the Rhino viewport.
LightPaint
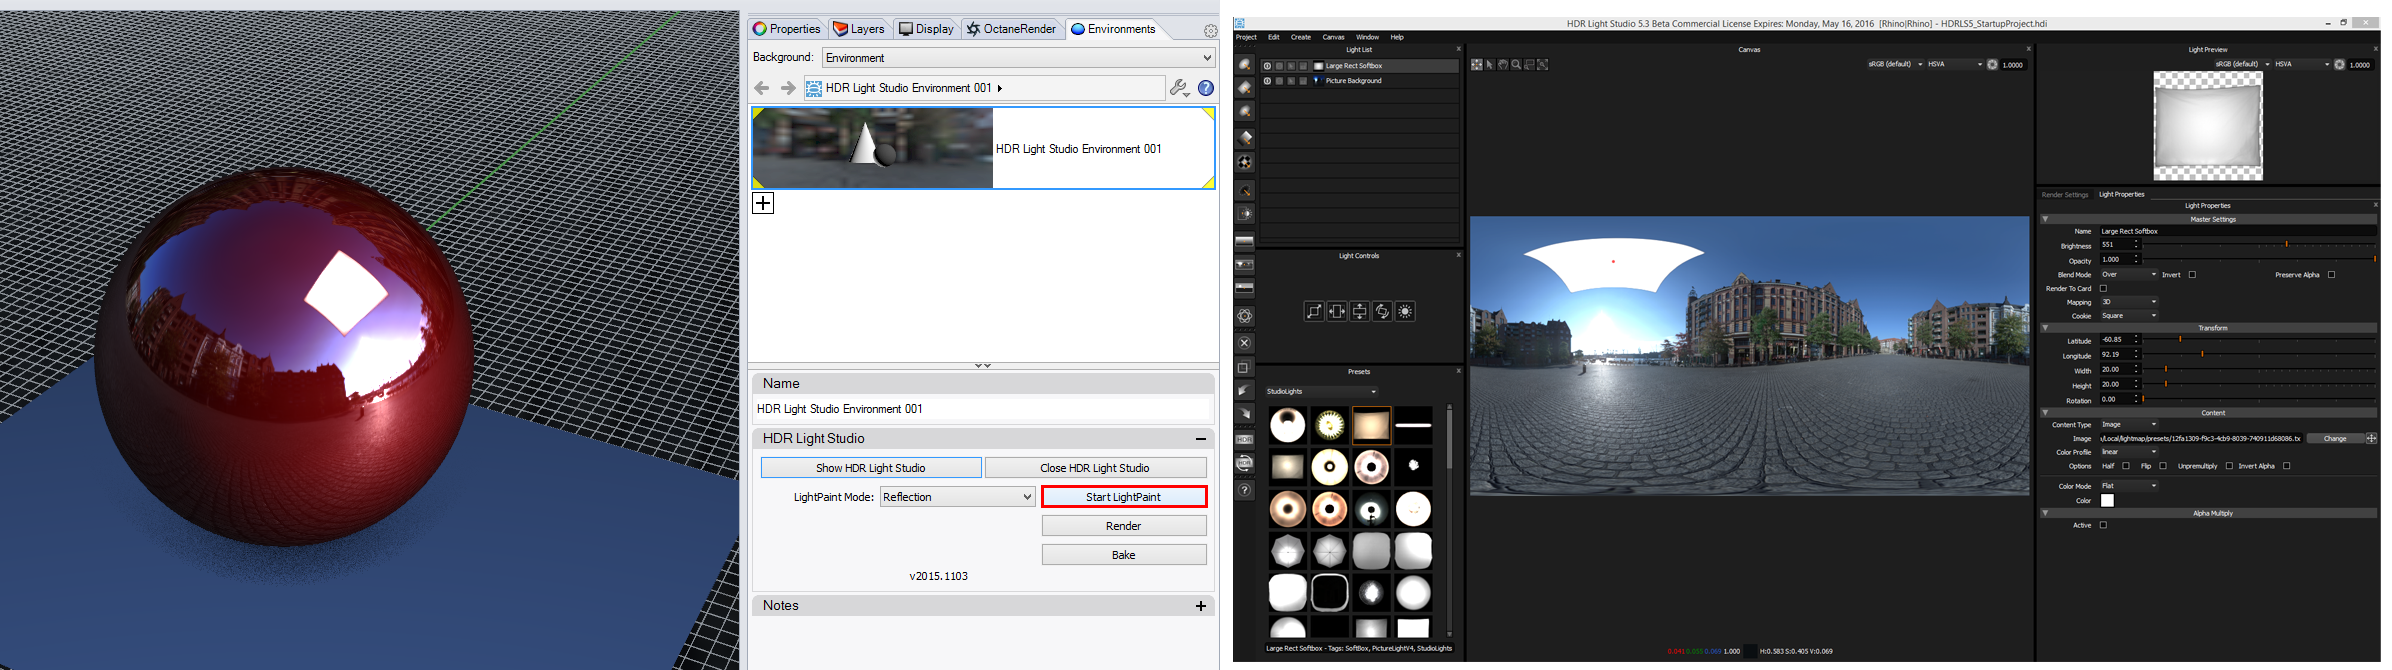
To quickly and easily position a light on your 3D model in Rhino, create a new light in HDR Light Studio and then press the LightPaint button in Rhino. Now click on your 3D model in the Rhino viewport (ensure the view is shaded), and the light will move in HDR Light Studio to reflect in that location on your model. The LightPaint mode can be changed to alternatively ‘illuminate’ or ‘rim light’ the location selected. To drop the LightPaint tool in Rhino press the ‘Escape’ button on the keyboard.
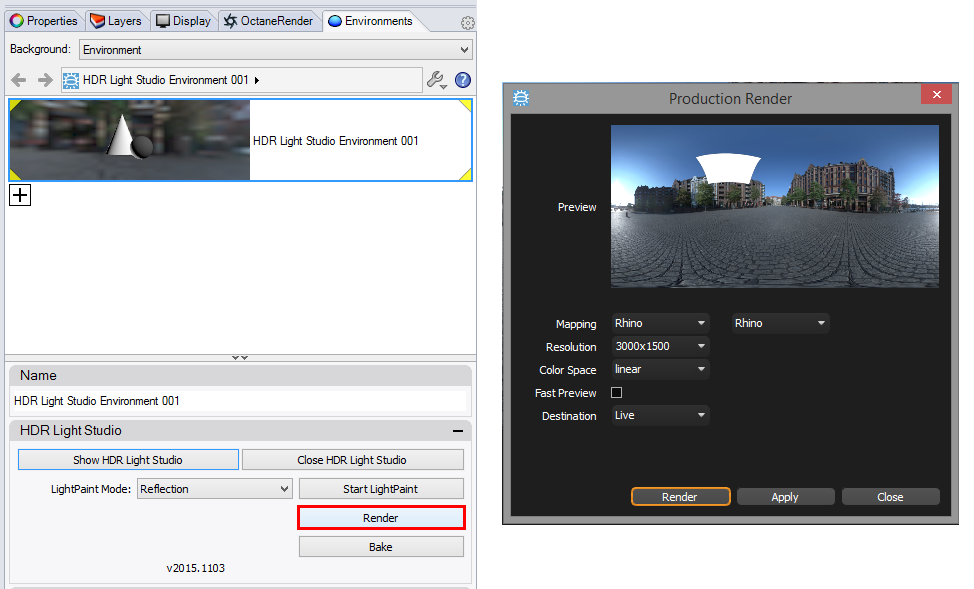
If you were to save your Rhino scene now, it would have the HDR Light Studio project embedded and also the lo-res HDRI map shared from HDR Light Studio. To render a higher quality, high resolution version of the HDRI map, press the ‘Render’ button in the HDR Light Studio controls in Rhino.
Once this has been pressed, click on the HDR Light Studio app and you will see the ‘Production Render’ Window. Choose a resolution for your HDRI map and press Render. A high resolution HDRI map will be generated and shared with Rhino. If you saved your Rhino project now, it would have this high quality HDRI map embedded in your scene file.
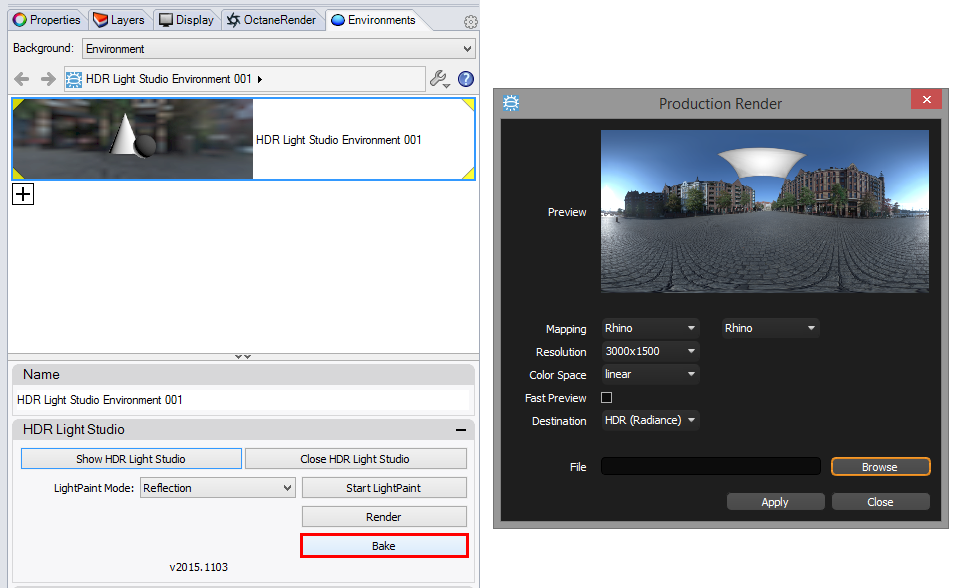
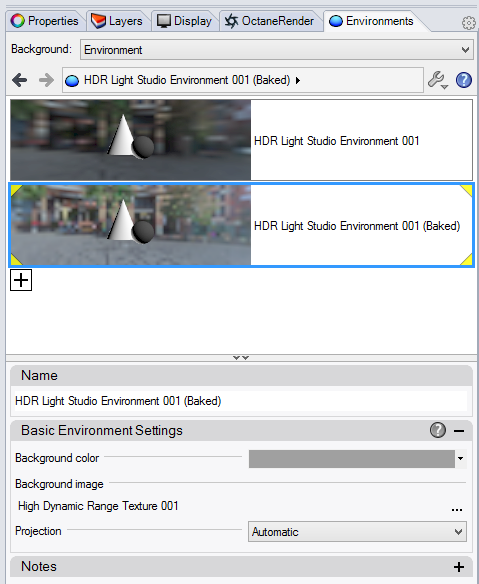
If you wanted to render your HDRI lighting design to a HDRI map file on disc, so that another user without HDR Light Studio could open this Rhino project, press the Bake button in the HDR Light Studio controls in Rhino.
Click on the HDR Light Studio app and in the Production Render window, select a file location and give the file a name, using the Browse button, and then Press Render.
You will now see that a second environment appears in the list, this is a generic rhino environment with the HDRI map on disc as its texture.
The Rhino scene can contain as many HDR Light Studio Environments as you like, so you are free to try out lots of different lighting designs for your 3D renders, or create different lighting designs for different camera angles.
