Let's light an Octane Standalone scene using only a single HDRI map containing all of your light sources.
In Octane Standalone, use the Windows drop down menu, to choose HDR Light Studio Connection

The HDR Light Studio Connection panel will open.
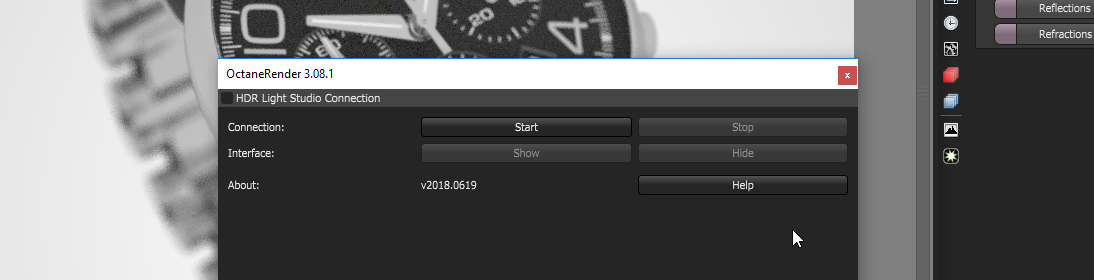
Click hold and drag the small square to the left on the panel title 'HDR Light Studio Connection' in order to dock this new panel in your Octane Standalone interface layout. Here we have docked it above the Node Inspector.
If you do not dock the panel, this panel can end up behind the main Octane interface, it is therefore always best to dock the panel.
The connection requires a Render Target node to be selected in Octane before starting. Selecting the Render Target starts the rendering in Octane which is a pre-requisite for the connection to start.
Press the Start button to start HDR Light Studio in a connection with Octane Standalone. HDR Light Studio will open and replace your environment texture with a live HDRI map.
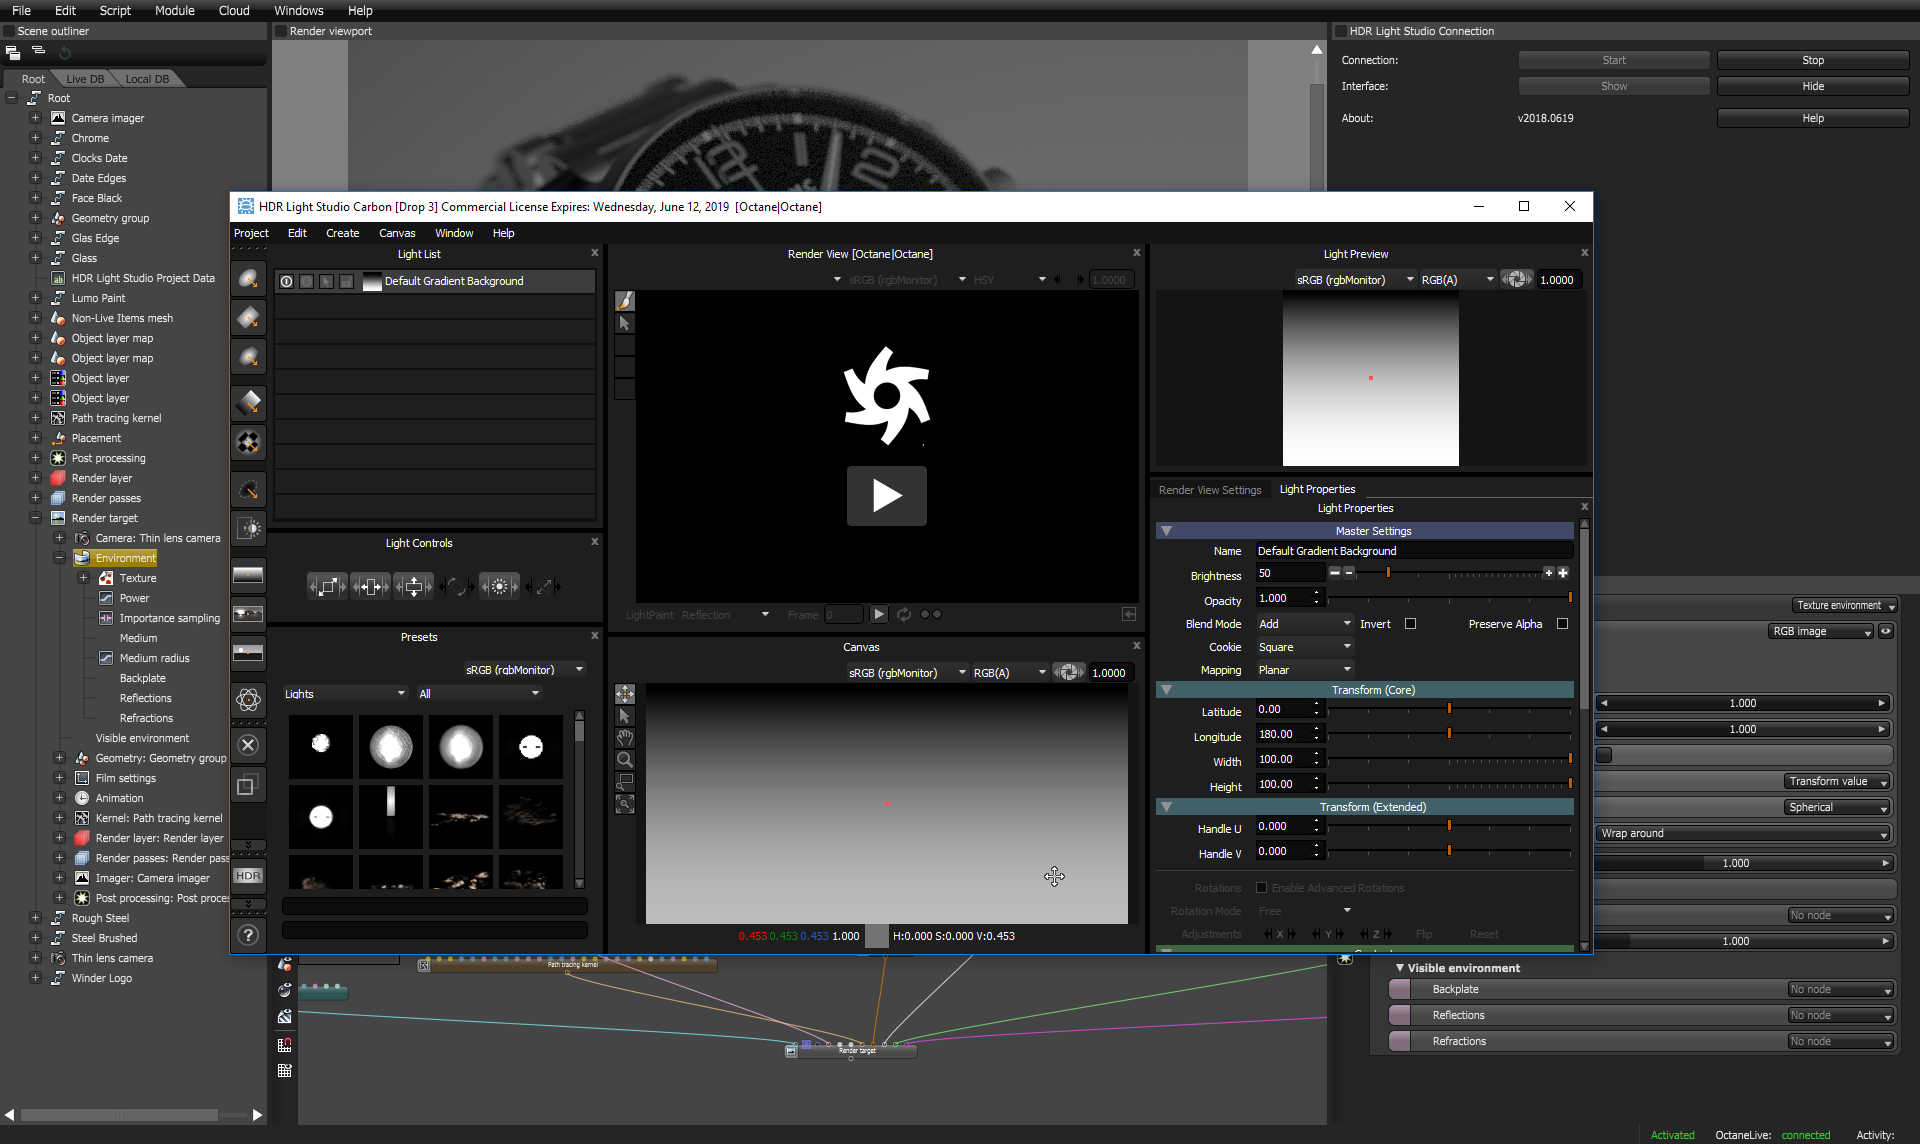
Maximize the HDR Light Studio interface, as we do not need to see the Octane layout when using HDR Light Studio.
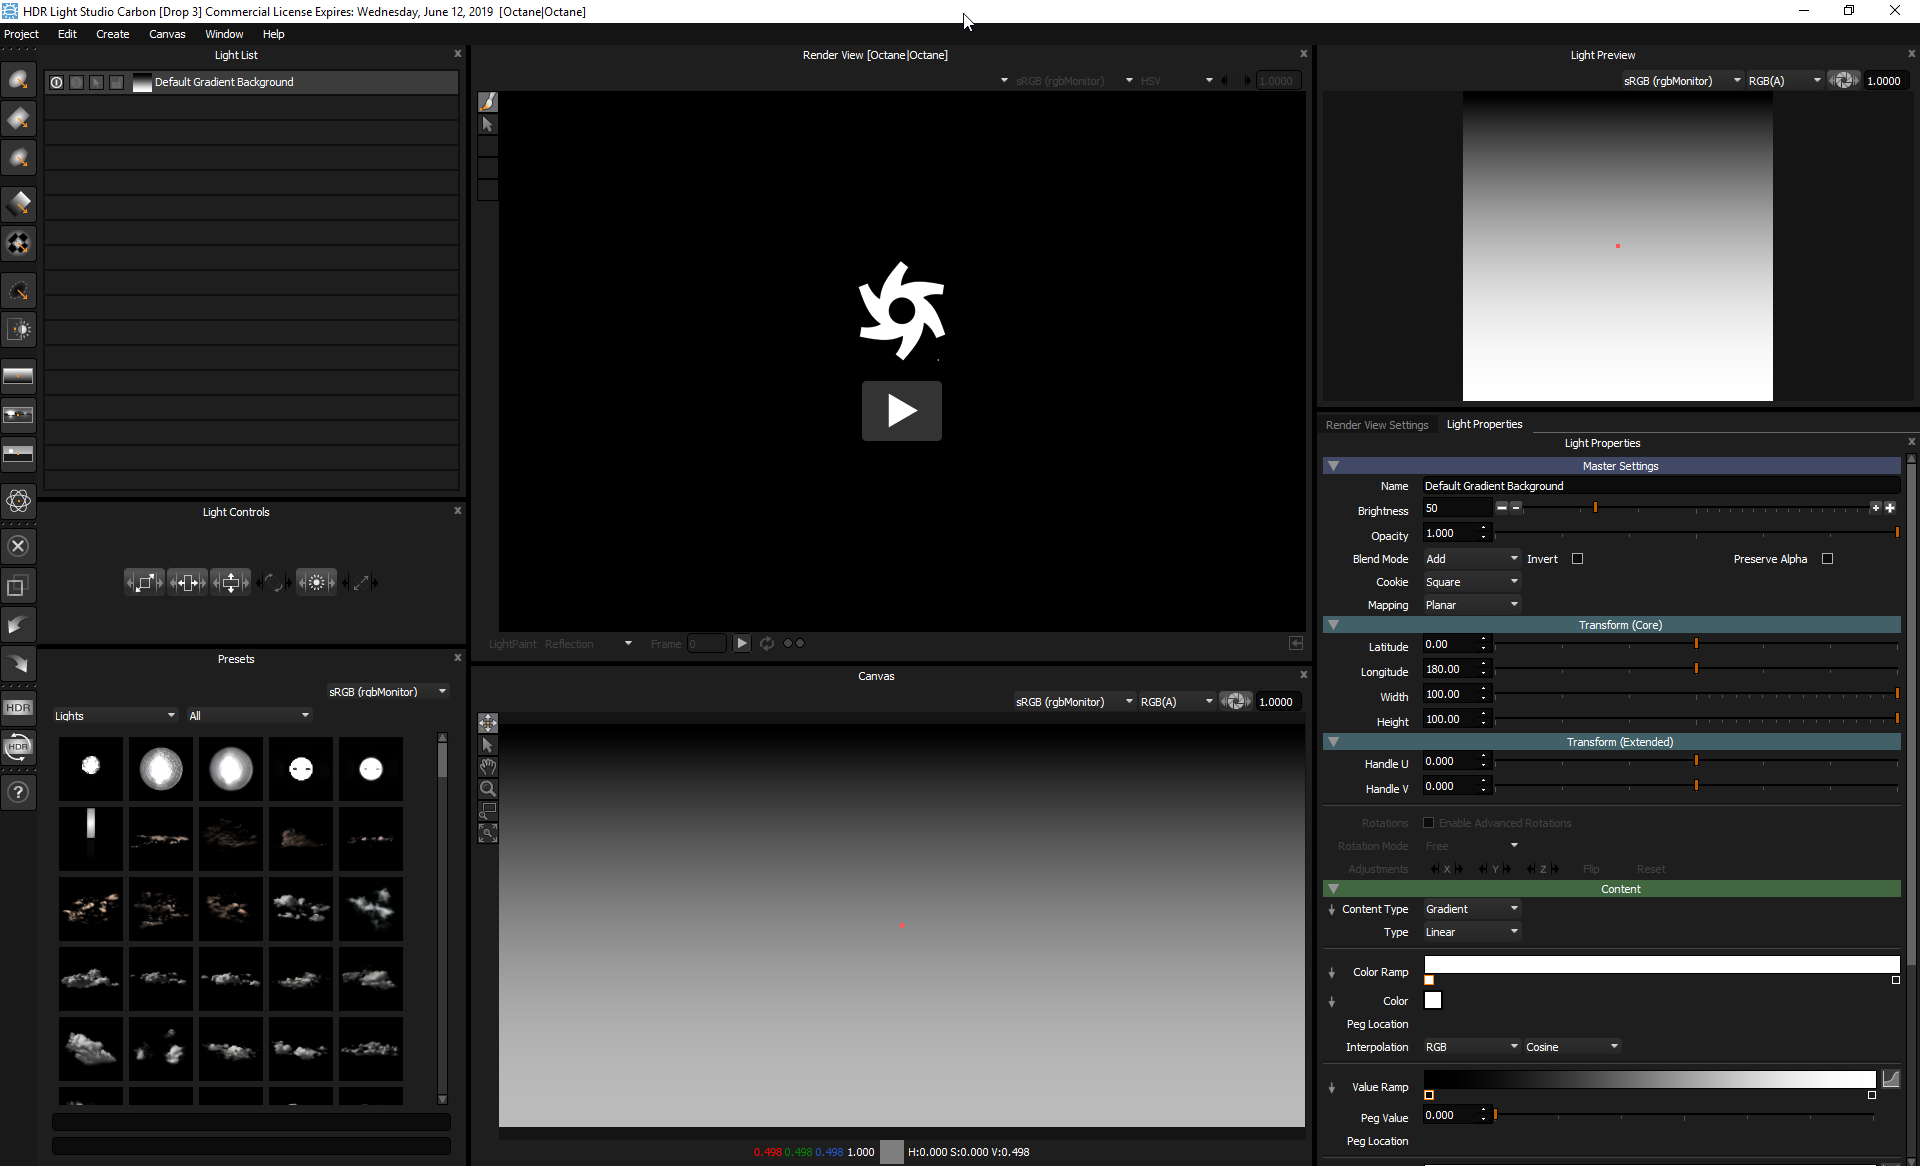
Press the large play button on the Render View (Octane|Octane) Panel. This will display the rendered image from Octane Standalone within the HDR Light Studio interface.
Please note, our Render View allows you to choose the display LUT for the incoming image. You may need to set the LUT to 'None' if the image has already got a LUTs or Gamma applied in Octane Standalone, becuase otherwise the sRGB LUT we apply by default will make the image look washed out and not match the Octane view.
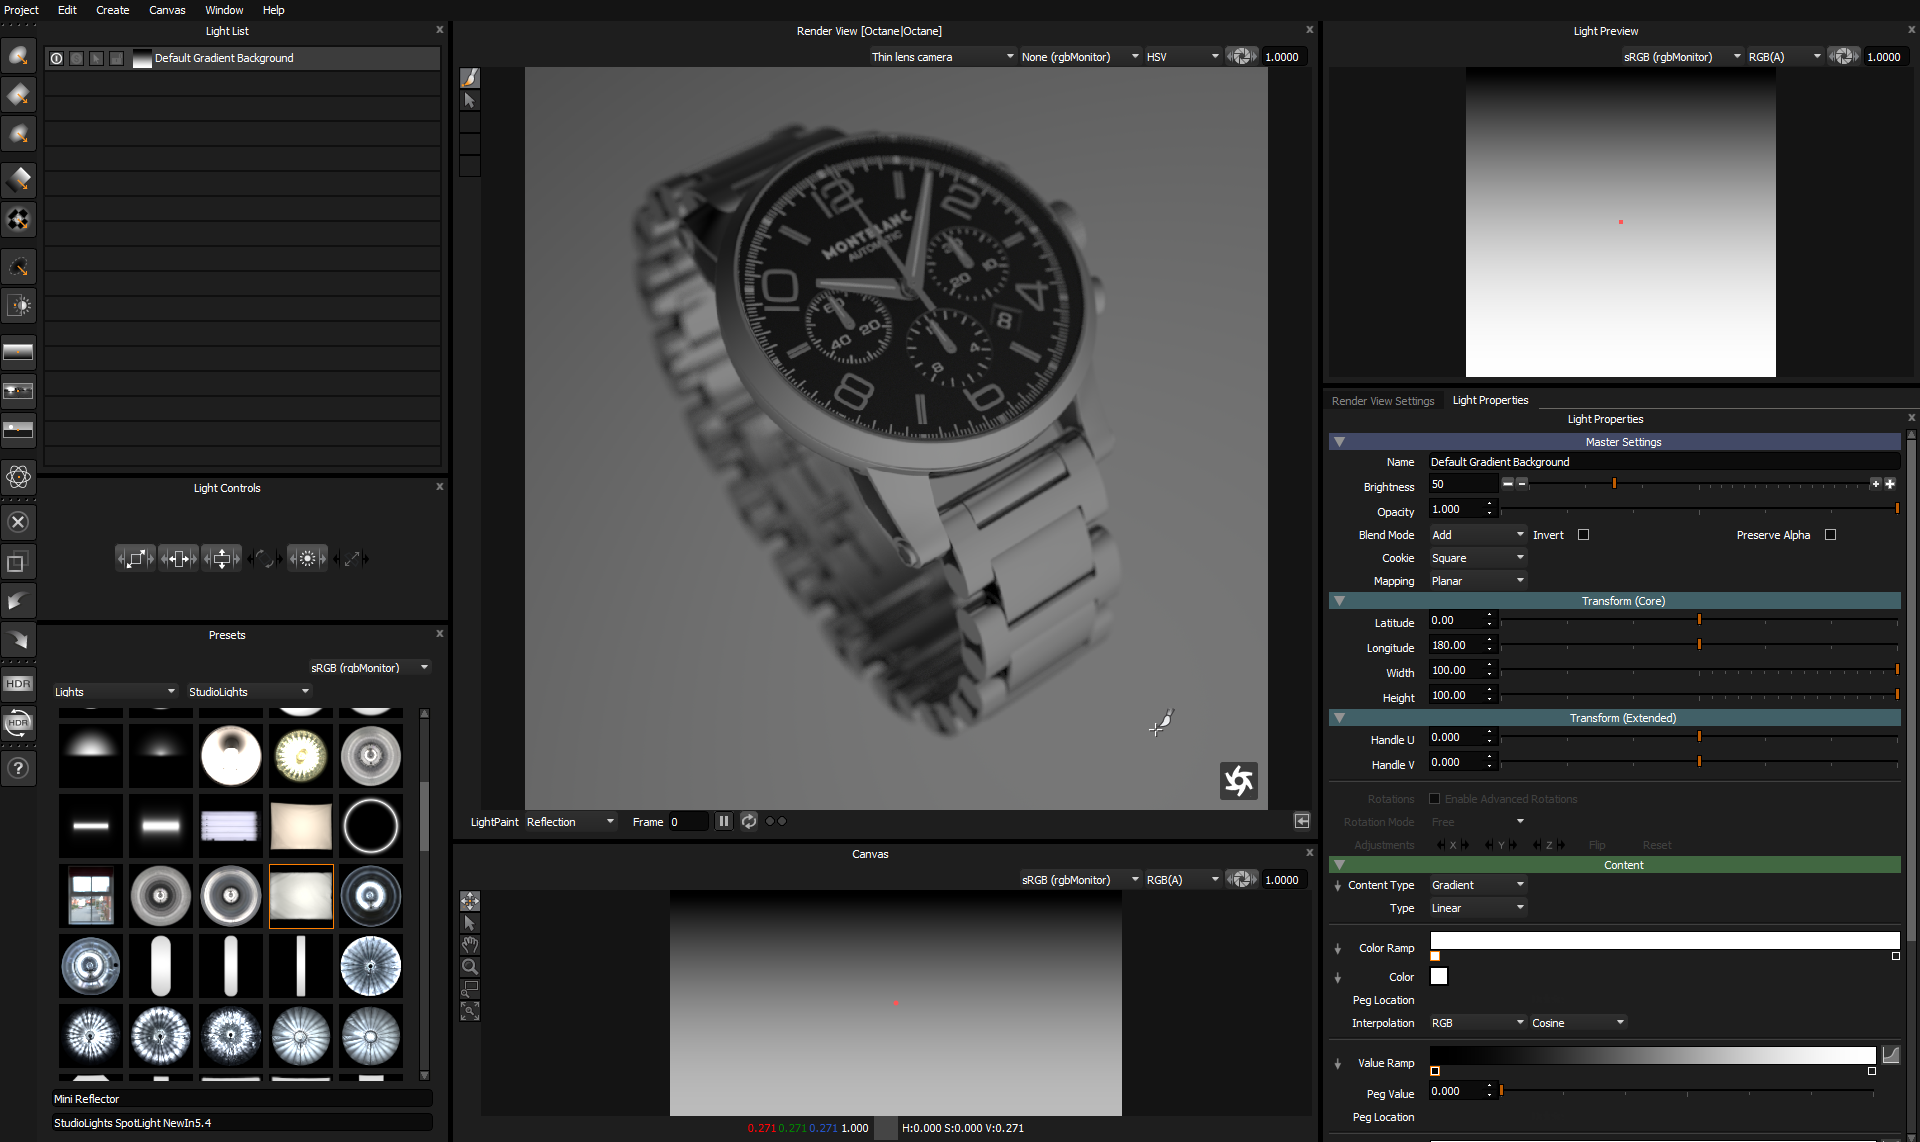
Now we can start to light the shot. Let's drag and drop a Preset Light from the preset panel and onto the Render View (Octane|Octane).
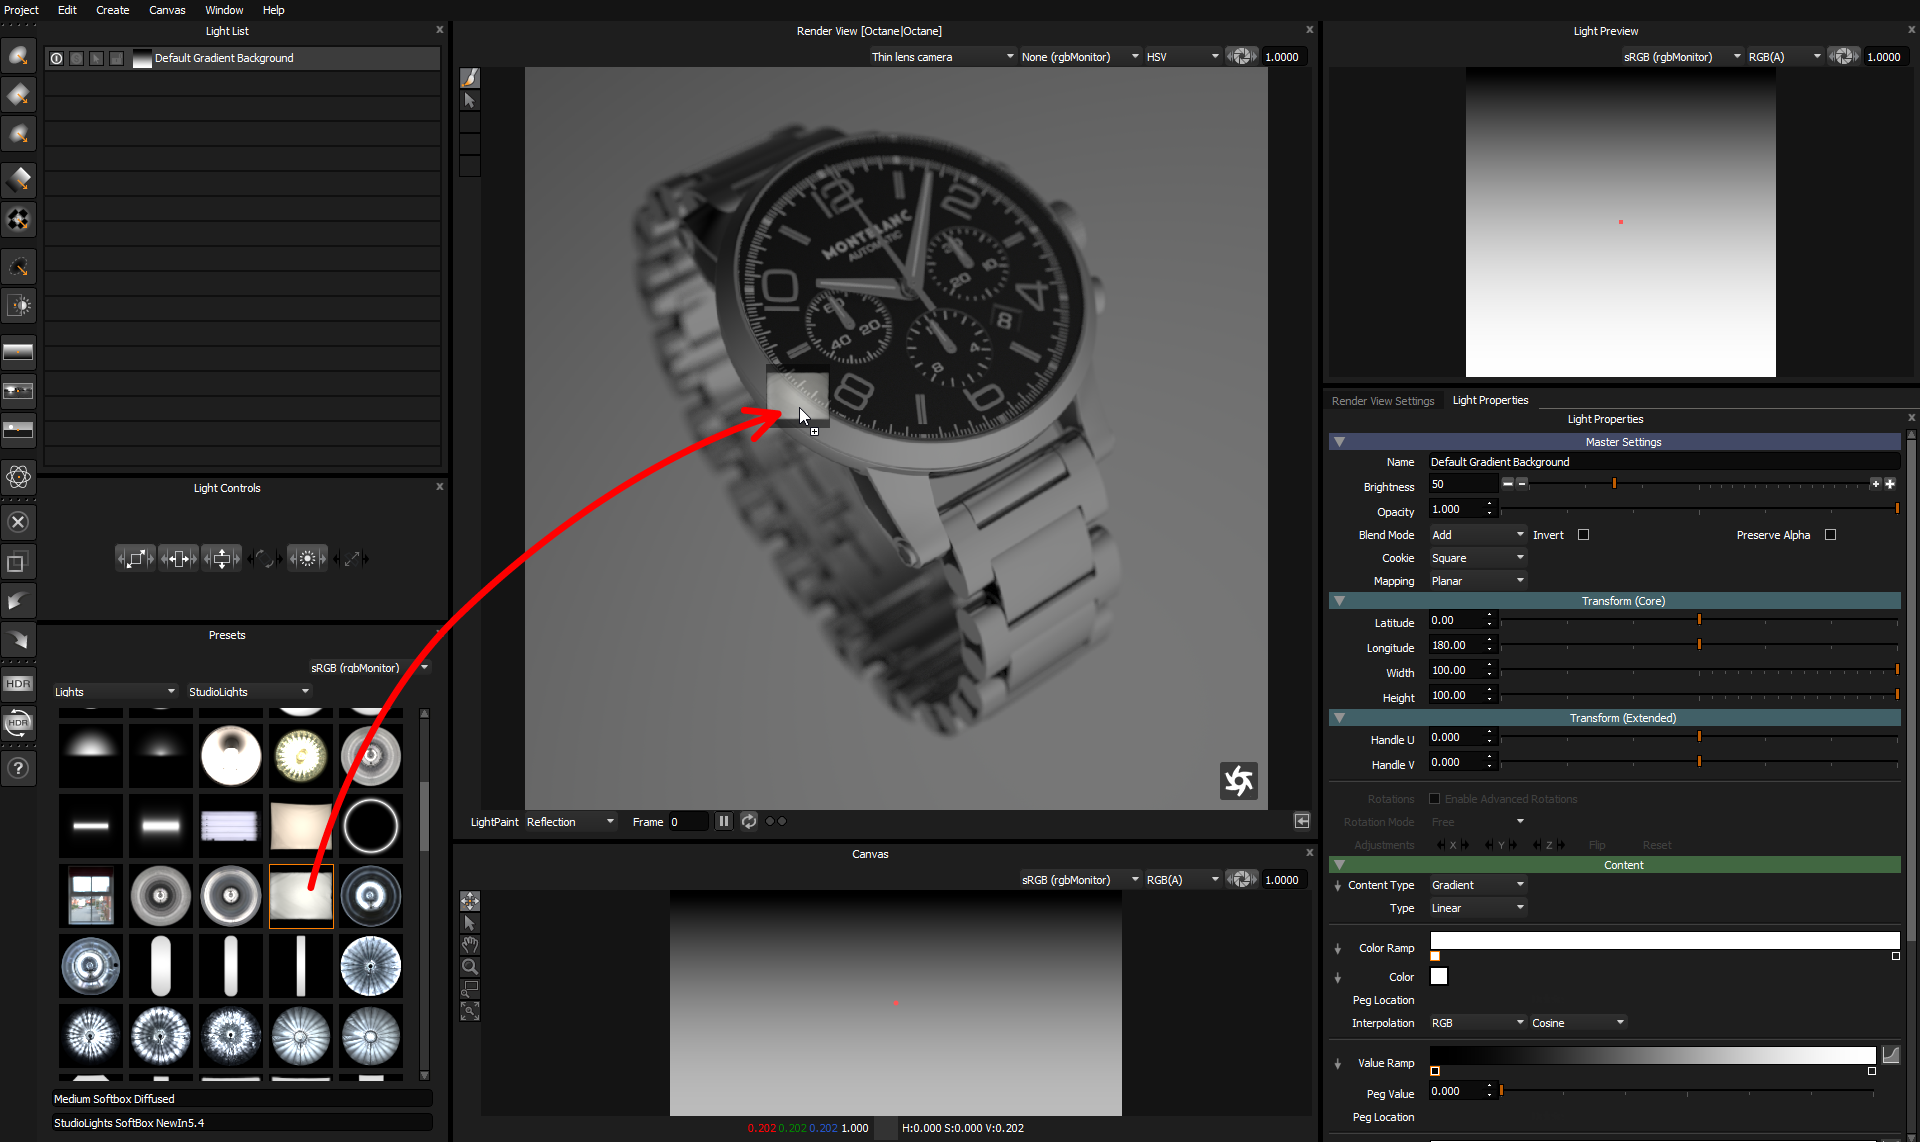
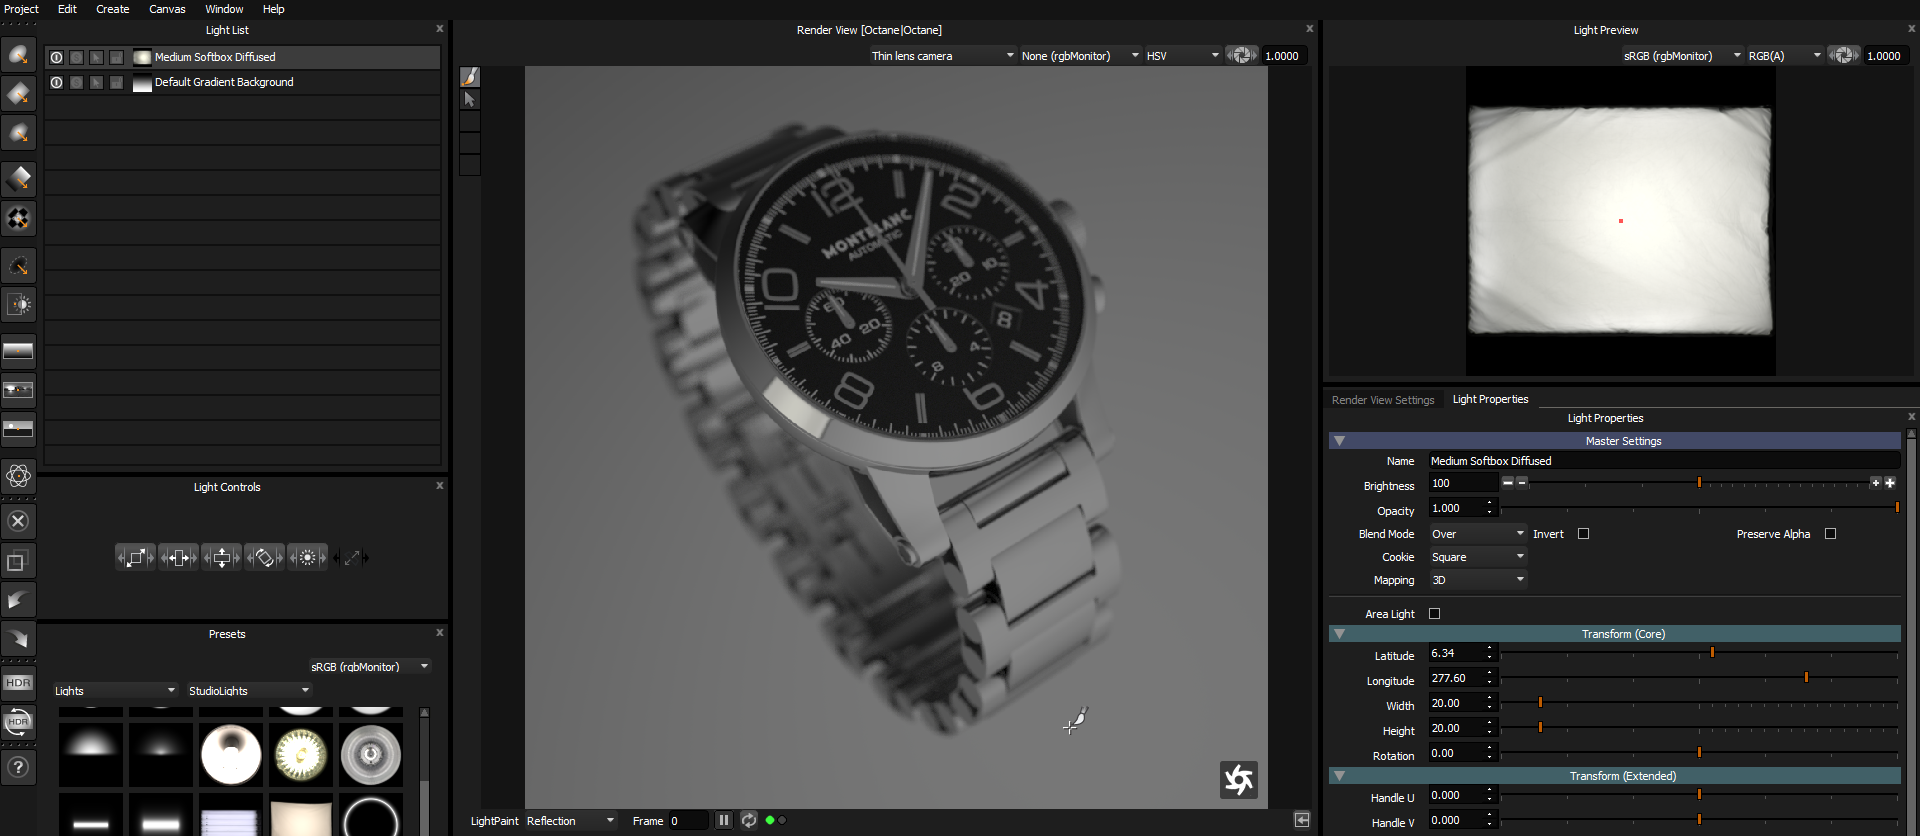
Once the light is dropped, it is added to the HDRI map in HDR Light Studio, which is instantly updated and shared with Octane Standalone. So you can see the new light is added to the view, and added to the Light List. The last light created is selected and highlighted in the Light List.
Because the 'LightPaint' mode of the RenderView is set to the default 'Reflection' setting - the preset light was added to the HDRI map in a location that reflects in the location where it was dropped onto the 3D model.
To reposition the light we can click on the 3D model again to move it - we call this 'LightPaint'.
Let's click in another location on the model.
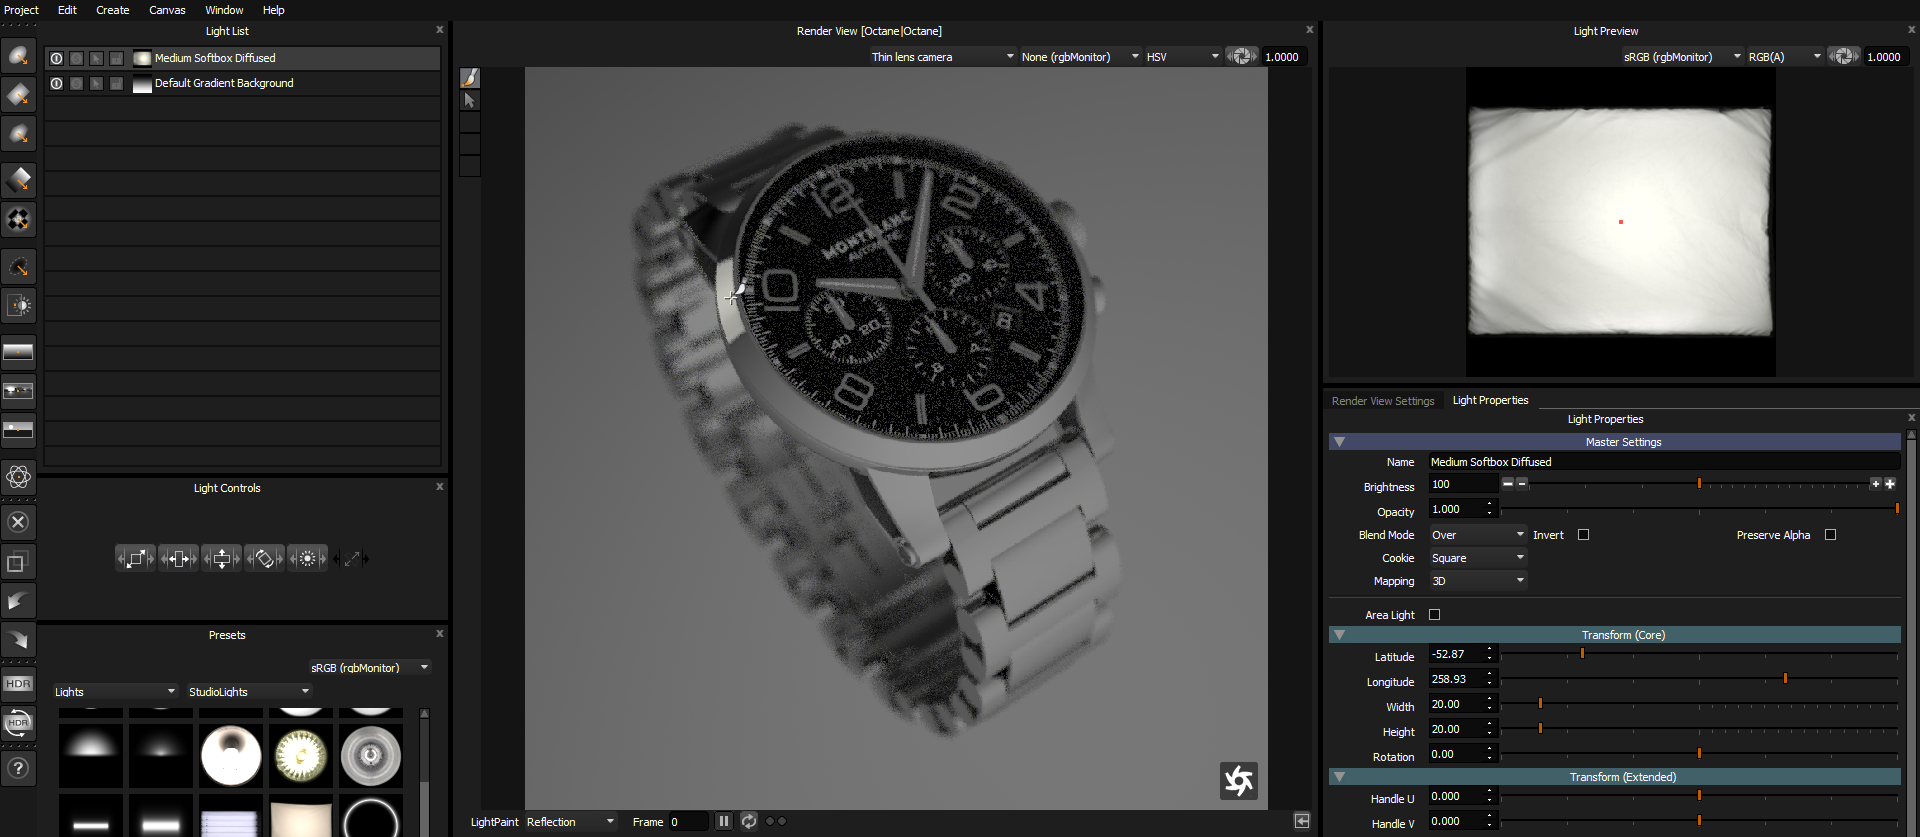
The selected light is moved to a new location on the HDRI map to reflect in the new position clicked on the 3D model. This allows you to place lighting effects exactly where they are needed on your model. When a light is selected, its properties are displayed in the Light Properties panel. You can adjust the size, rotation, brightness and much more for any light in here.
In this example, we have now skipped ahead after adding and adjusting more lights.

To complete the lighting process we need to save a high resolution, sub-sampled (smoother and higher quality) HDRI map, as a file on disc for Octane Standalone to use.
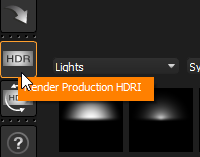
We do this by pressing the HDR button on the tool bar in HDR Light Studio.
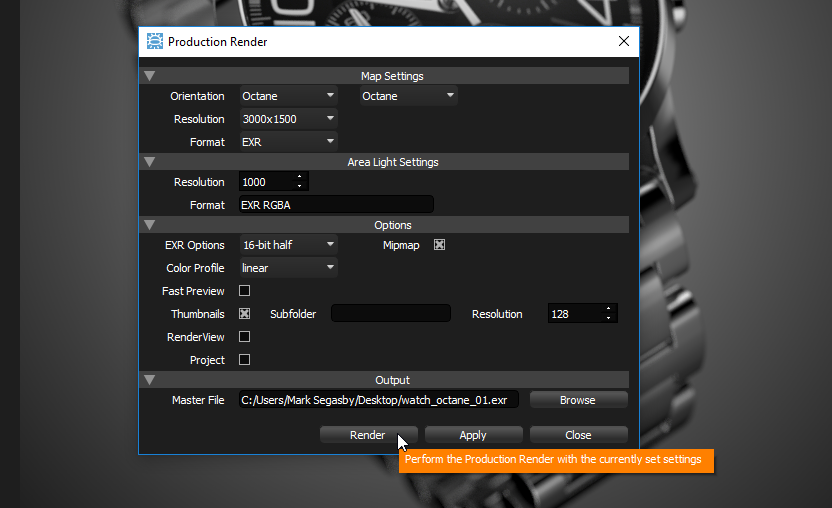
The Production Render panel is displayed.
Choose a Resolution for the Map, then use the Browse button to select a location and create a filename for the final map. Then press the Render button to generate the final HDRI map on disc.
Once this is completed, Octane Standalone will be updated to use this new file.
In Octane Standalone, press the Stop button to close HDR Light Studio.

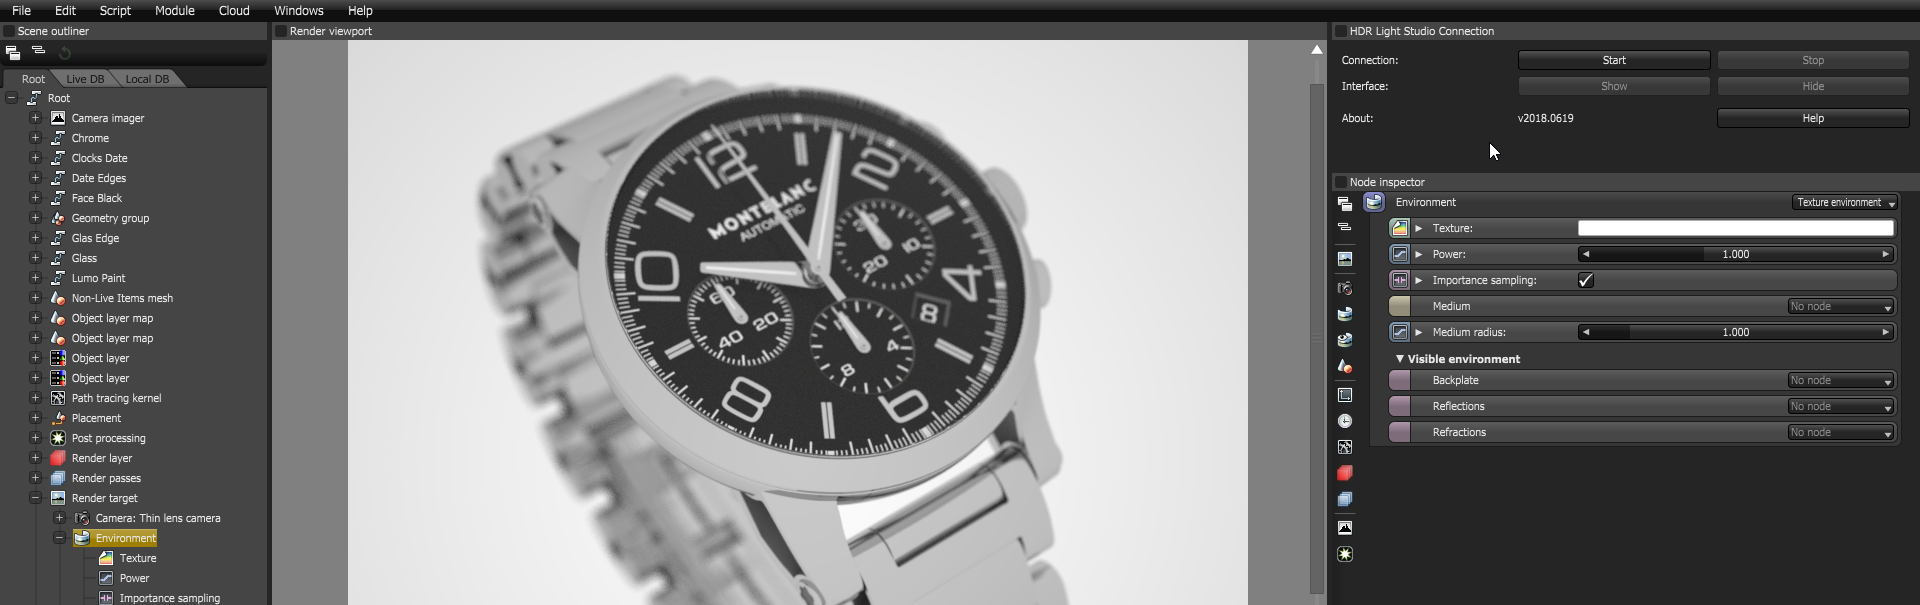
If we examine the Octane scene, we can see that the Environment is now using the HDRI map we just created.
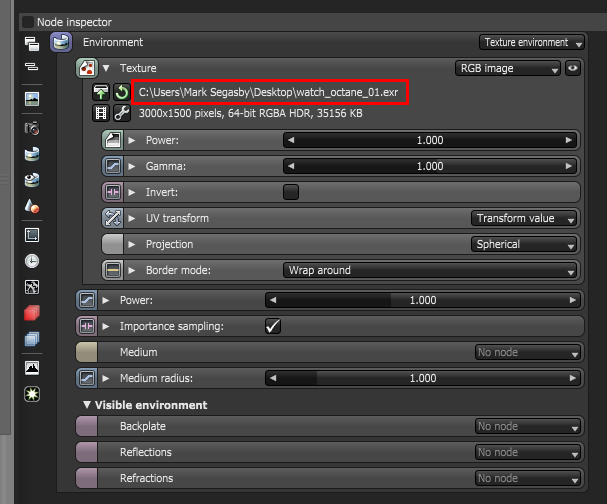
This Octane scene is lit and is ready to render at high resolution for the final image. Make sure you save the Octane scene now too.
If you decided that you wanted to edit the lighting further, the HDR Light Studio project is embedded within the Octane scene you saved. If you press the Start button on the HDR Light Studio Connection panel again. HDR Light Studio would start, load the embedded lighting project, and replace the high resolution file on disc with the live lo-res HDRI map that is generated quickly as you design the lighting. So remember always to use the HDR button to render the final HDRI map at the end of every lighting session.
